How To Make A Face Mask With A Cricut Machine
ADVERTORIAL
Before lockdown, people would have been baffled if you had started walking around with a face mask on. However, it’s now become a necessity, and many crafters have turned to making their own masks, so that they have spares or can coordinate them with their outfits. One of the easiest and most effective ways to do this is to fire up your Cricut machine and get to work – if you’re unsure as to how to do this, fret not – Craft Label have you covered with their set of easy-to-follow instructions.

YOU WIlL NEED:
Die-cutting machine, Cricut Maker or Cricut Explore
Cricut Easy Press
Fabric
Cutting board
Brayer
Fabric adhesive
METHOD:
How To Make A Cricut Face Mask
1. Find a pattern on the Cricut website. Before you begin the construction of your face mask, you need to find an appropriate pattern to follow. There are multiple options on the Cricut website if you have a sewing machine, then there’s also an option for those who would prefer to sew a face mask together. However, if you don’t, then just grab a needle and thread – or some fabric glue!
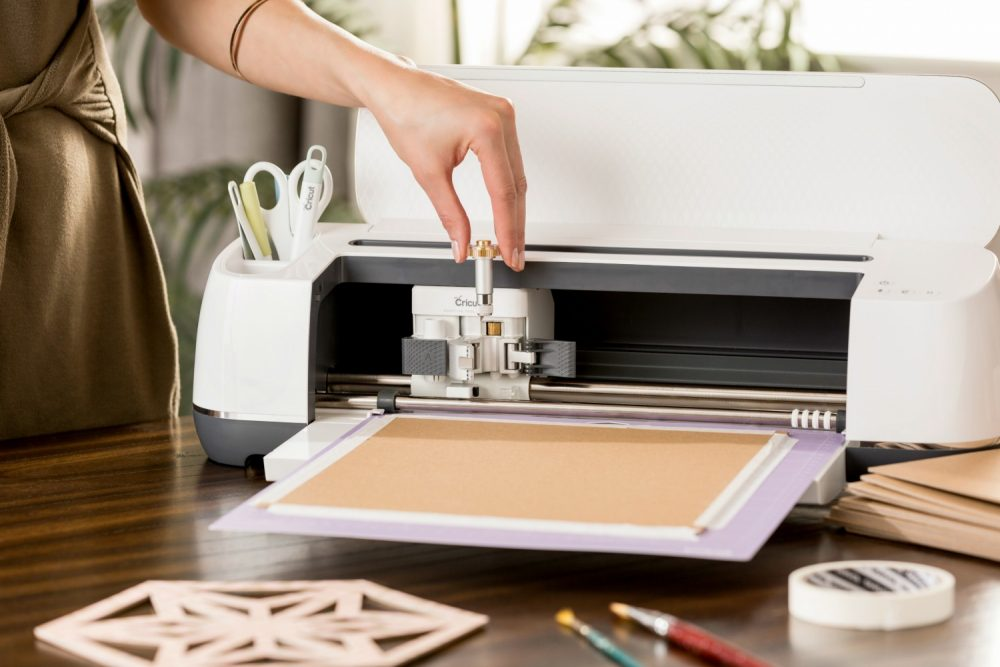
2. The next thing you’ll want to do is cut your fabric pieces out to the sizes you want. Lay the fabric on your Cricut cutting board, grab your brayer and ensure it is entirely flat and wrinkle-free, and then load it into the Cricut Maker Machine or Cricut Explore. Use the Cricut fabric pen to line the areas that need cutting, ensuring you’ve set the right settings, and then press ‘go’.
3. Once the precise pieces are cut out, they can be assembled. You don’t need a sewing machine for this bit (you can always use fabric glue) however, if you do have a machine, this is when you would sew the pieces together as per the pattern describes. Or alternatively, glue them.
4. Use your Cricut Easy Press to iron the stitches you’ve made. If you’ve used a fabric glue, then you may have already ironed your pieces together, so consider whether you need to iron the whole product to give it a sleek look or not. Don’t forget to glue or stitch on your elastic straps to fit around your ears – and then voila!
To browse Craft Label’s extensive range and pick up a Cricut Maker for yourself, head to craftlabel.com.


