


Card making Papercraft Papercrafter Papers
Bring some botanic to your cardmaking with this exciting collaboration
Please login to download. Sign in here
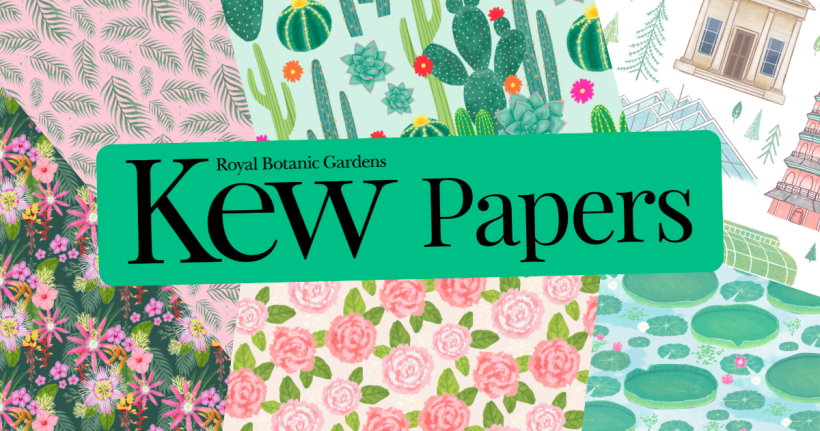
We’ve teamed up with the lovely people at Kew to bring you these exclusive papers. Designed by Millicent Venton, the collection is made up of seven pretty prints, one sheet of toppers featuring the Royal Botanic Gardens’ iconic buildings, and a selection of sentiments. The illustrations are as diverse as the gardens themselves (well, hardly!) flitting between giant lily pads and impressive cacti, with a smattering of colourful flowers thrown in for good measure.
As ever, we’re here to show you what you can make with your new papers. Sarah Jackman Read has whipped up four varied cards, as well as a no-template gift bag which we’re sure you’ll turn to time and time again. The floral prints are diverse, but they work beautifully together – have fun layering, then see where your creativity takes you.
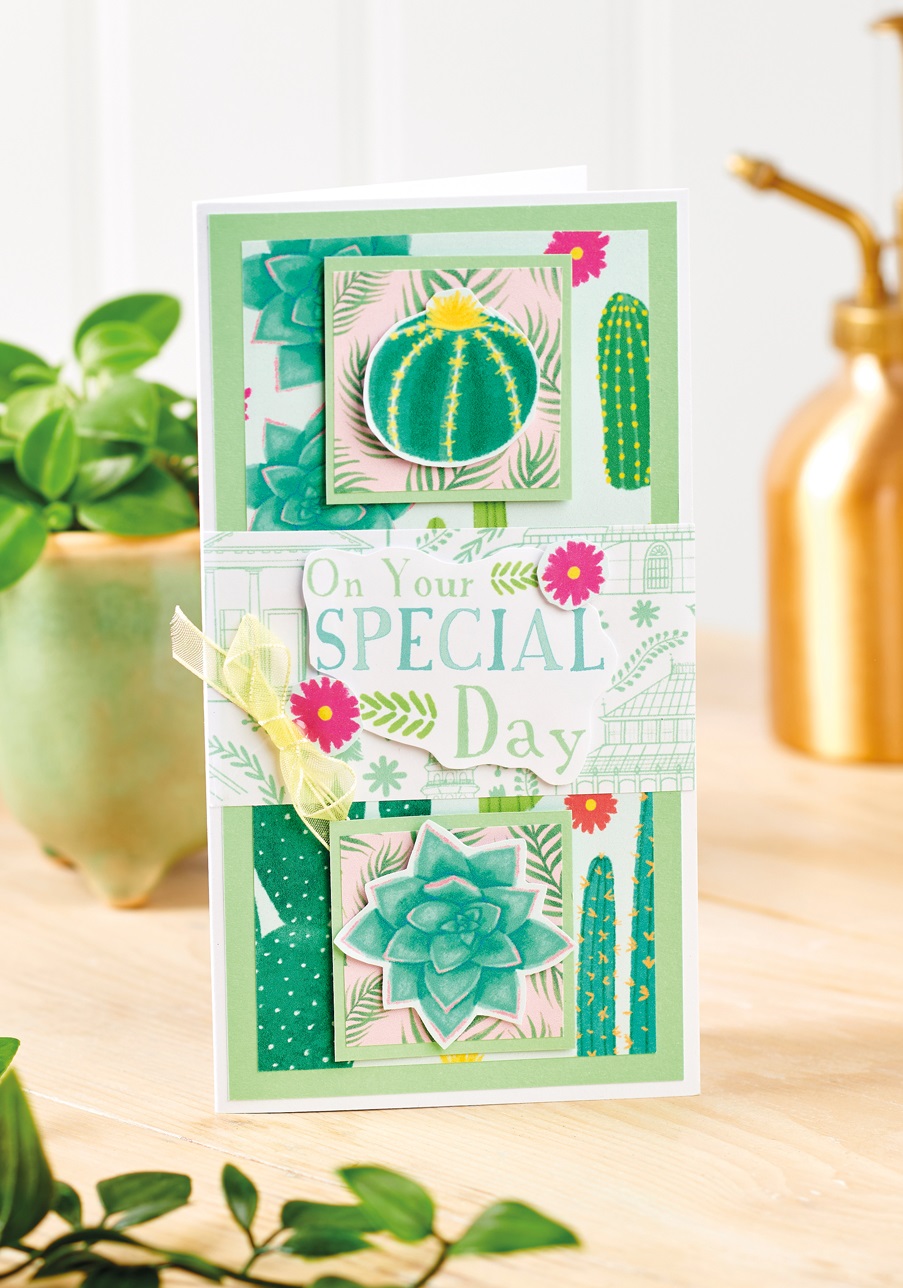
Slimline Card
1. Matt the front of a 9cm x 17cm white blank with green card. Attach cactus paper, 7.5cm x 15.5cm, on top. Trim building paper to 5cm x 9cm and adhere across the centre. Cut out one of our sentiments, then fix on top with 3D foam pads. Add two small flowers either side.
2. Trim two 4cm square panels of leaf paper, layer onto green card, then secure above and below the sentiment with 3D foam pads. Cut out a cactus and succulent, before attaching on top of the squares with 3D foam pads. Finish with an organza bow on the left-hand side.
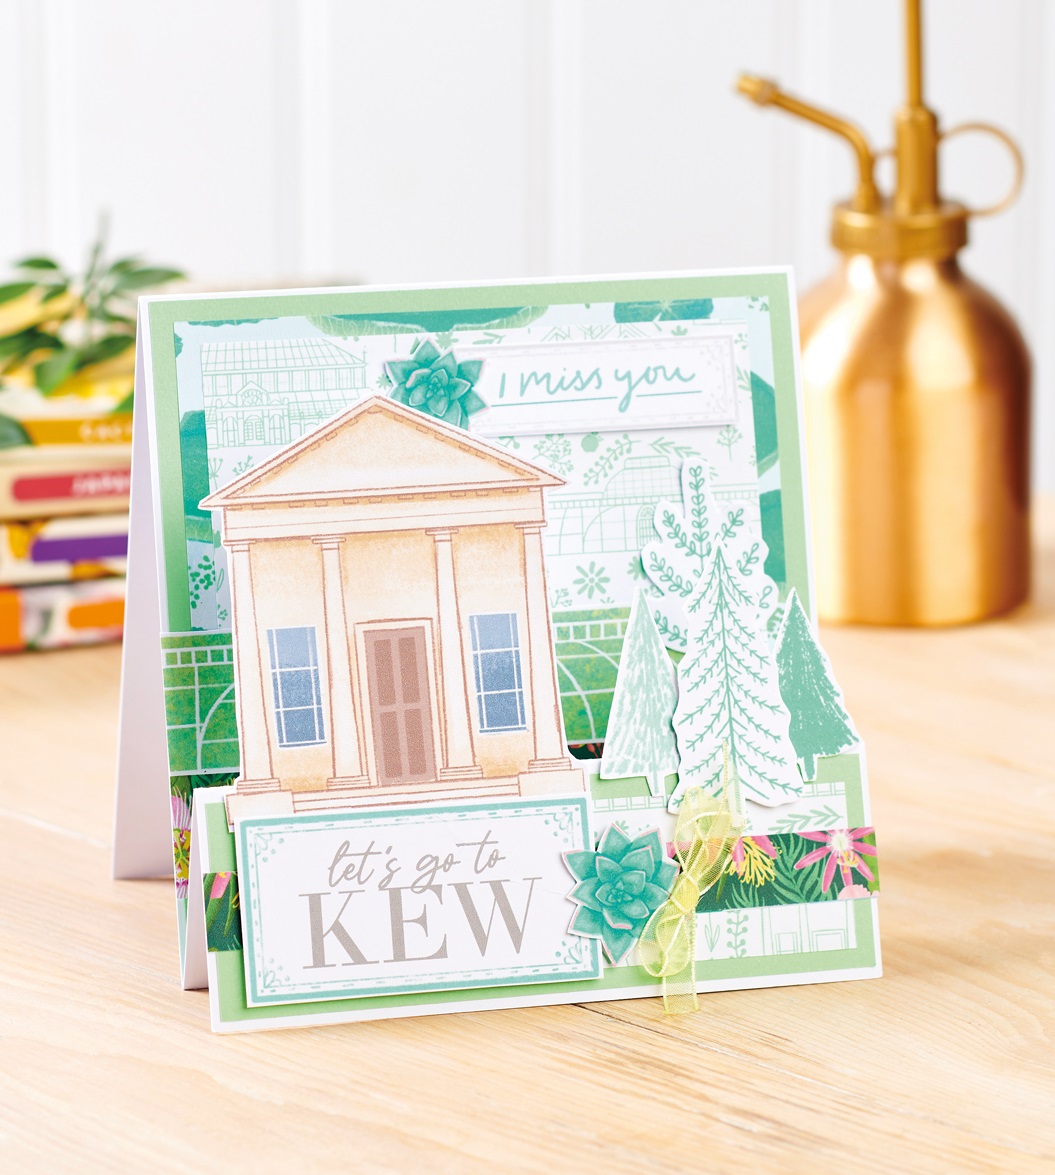
Stepper Card
1. Create a 14.5cm square top-folding white blank. Trim white card to 11cm x 14.5cm, then score down from the short edge at 5cm and 10cm. Adhere the flap to the bottom of the base card then mountain-fold to make a stepper card.
2. Matt all the panels with green card. Adhere lily pad paper, 13cm square, to the back panel. Snip building paper to 12cm square and layer on top. Cut out a greenhouse, then stick on the left-hand side, trimming to fit.
3. Trim two contrasting papers to 3.5cm x 13cm, then fix to the middle and front panels. Snip a 1.5cm border of floral paper and secure across the front. Attach another floral border towards the bottom of the back panel.
4. Cut out a building. Adhere to the top of the front panel on the left. Trim two sentiments, then attach with 3D foam pads. Stick a succulent next to each one. Cut out four trees and secure on the right-hand side, so they’re overlapping. Finish with an organza bow.
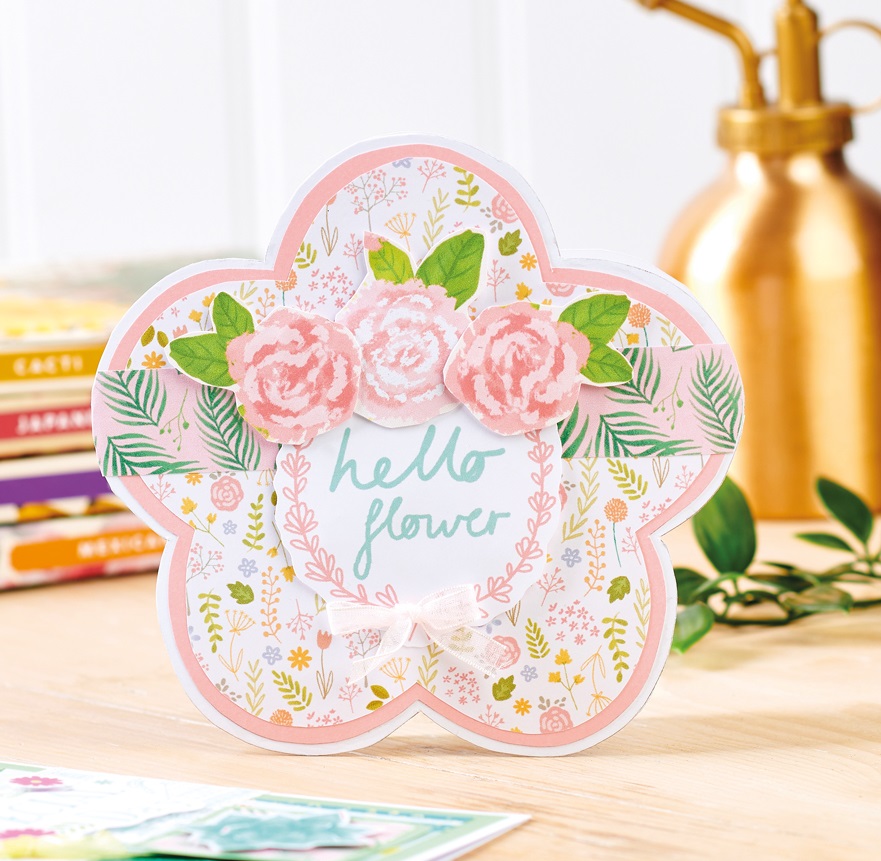
Flower-Shaped Card
1. Make a 14.5cm square white blank. Use the flower template to cut out a flower, then lay it on the blank so the fold on the card is in line with the line on the template. Draw around it and cut out. Trim another flower from white card and adhere to the front.
2. Matt the greeting with pink card and floral paper. Trim a 2.5cm wide border of leaf paper, then stick across the front, snipping the ends to fit. Cut out our ‘Hello flower’ sentiment and fix in the centre with 3D foam pads. Add three flowers above with 3D foam pads and an organza bow below.
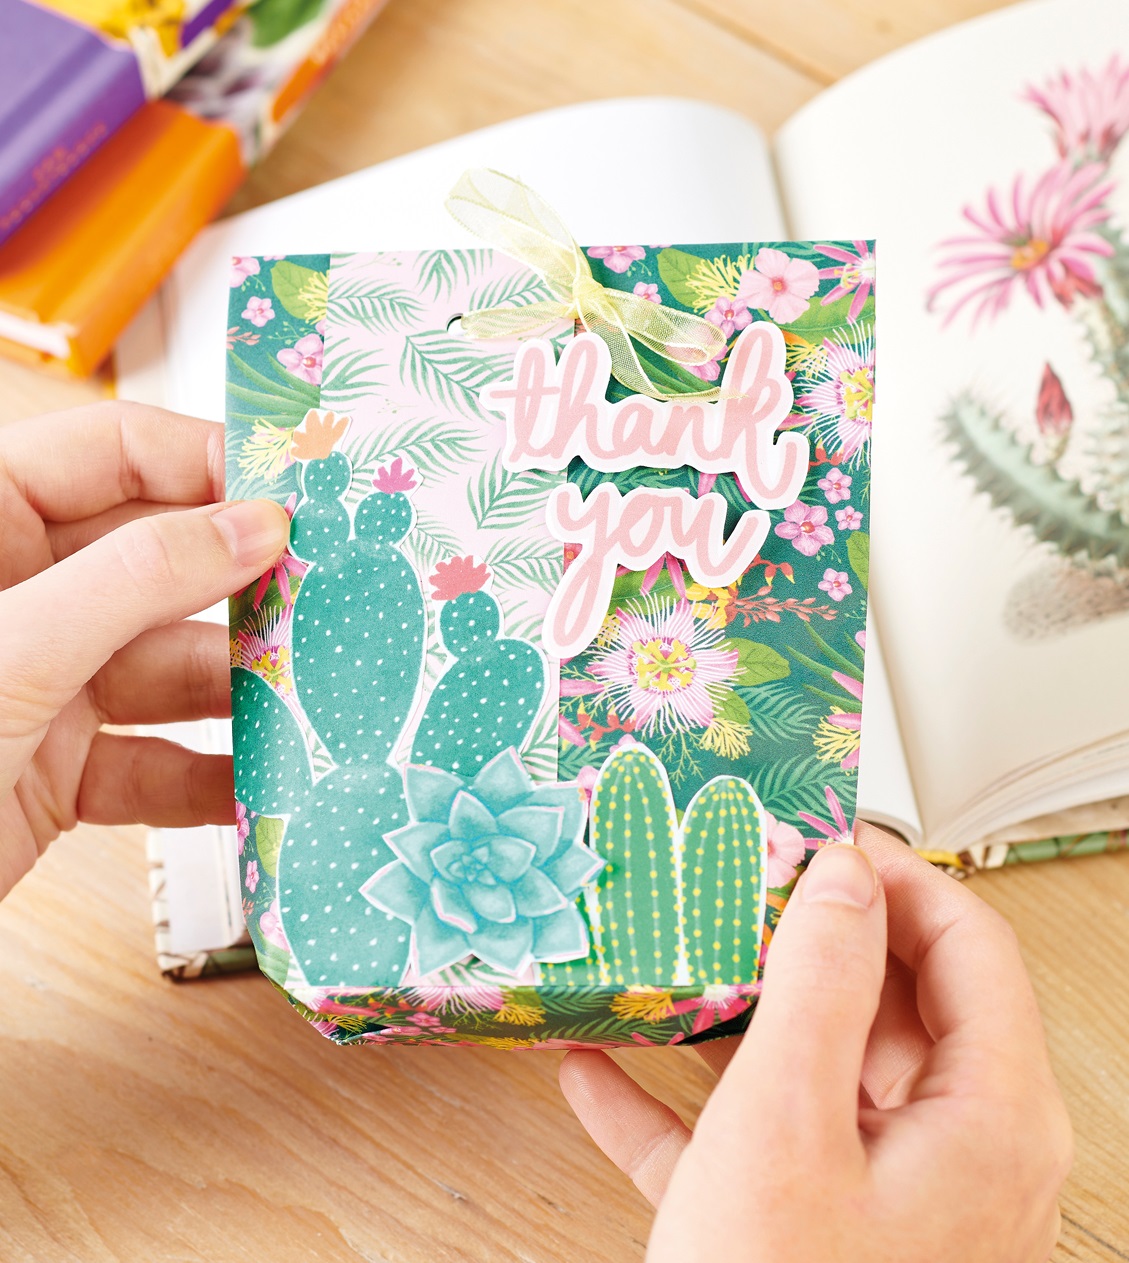
Handmade Gift Bag
1. Trim our A4 sheet of floral paper to 24cm in height and lay face-down. Bring the short edges together and adhere to form a tube. Flatten down the sides.
2. Score and fold 5cm up from the bottom of the tube. Pull down the top layer of the folded section so the sides start to fold in and form triangles. Press the triangles neatly so they lay flat. Fold in 3cm of the top and bottom sections so they overlap to make the base of the bag and adhere.
3. Trim contrasting paper to 5cm x 14cm and secure down the left side. Cut out two large cacti, then fix across the bottom. Attach a succulent on top with 3D foam pads.
4. Cut out our ‘Thank you’ sentiment and adhere towards the top-right with 3D foam pads. Punch two holes through the top, thread with organza ribbon, then tie in a bow.
TOP TIP
Watch our video on how to make a gift bag from scratch
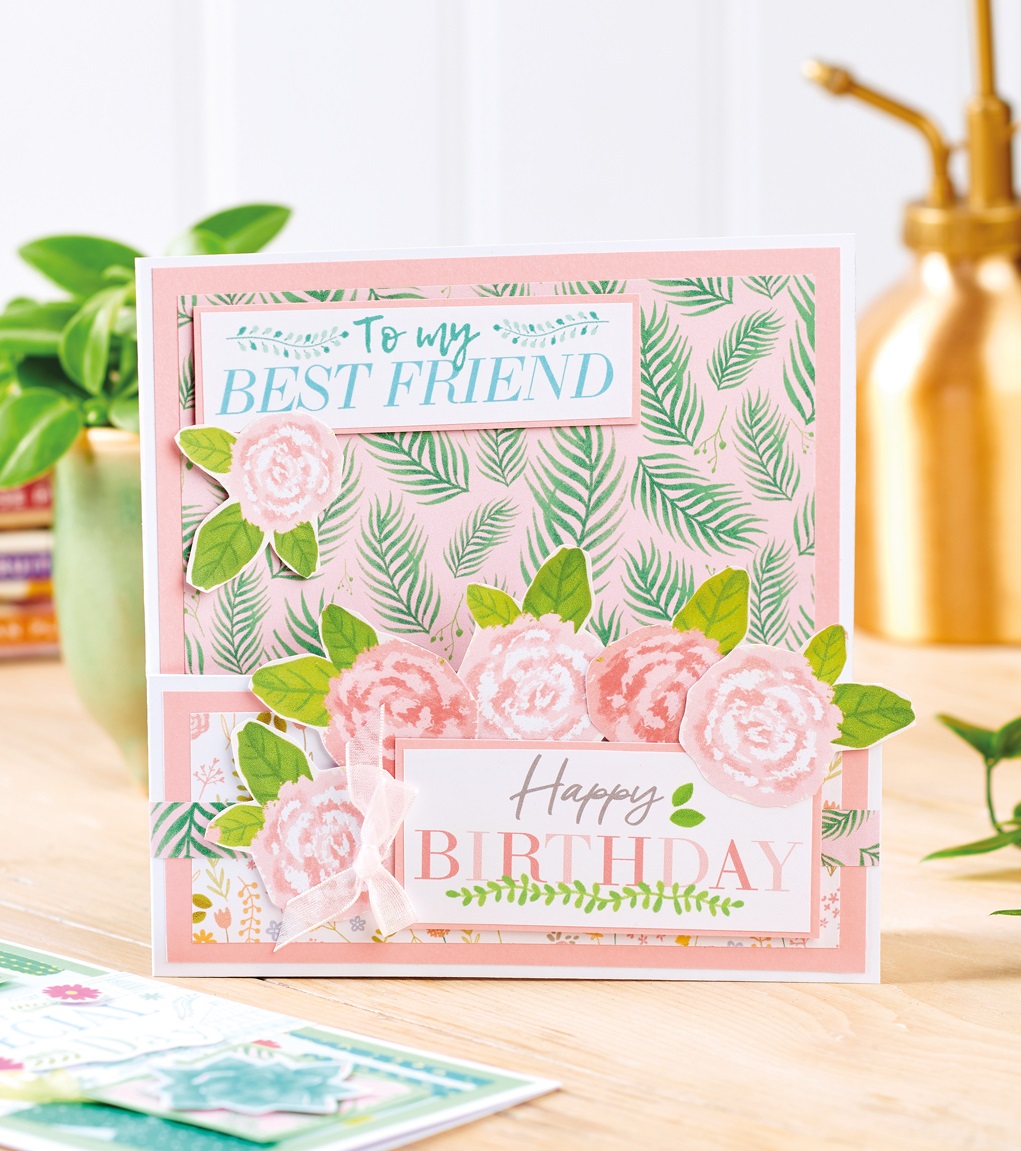
Half-Front Card
1. Create a 14cm square white blank, then trim the card front to 6cm high. Matt the front and inside panels with pink card. Snip leaf paper to 12.5cm square, then adhere inside. Cut floral paper to 4.5cm x 12.5cm and secure to the front. Add a 1cm border of leaf paper on top.
2. Cut out our best friend sentiment, layer onto pink, then attach in the top-left corner with 3D foam pads. Add a flower below. Layer another sentiment and secure at the front on the right-hand side. Snip five flowers, attach around it, then finish with an organza bow on the left.
Loving our paper collections? We’ve got lots more for you to enjoy.

To download our templates, simply click ‘Download Now!’ and it will open in your browser. Why not send us a picture of your project once you’re done? For your chance to be…
Home decor Home decorations Papercraft Papercrafter Party makes Templates

There’s nothing quite so relaxing, or quite so fun, as settling down with a good colouring page. It’s even better if that colouring page happens to include Wallace & Gromit. This duo…
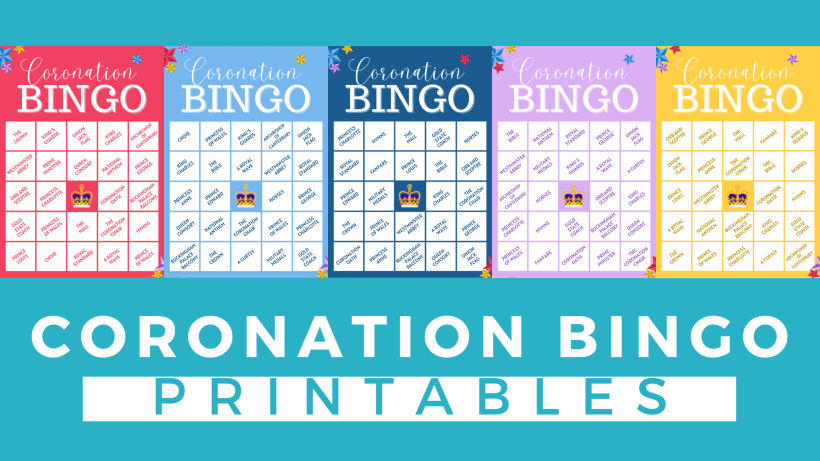
Gather your friends, get the TV on, bring a pen, and play Coronation Bingo! Extra points for prizes.
HOW TO PLAY
1. Each player will need one scorecard and a pile of…
.png)
Featuring motifs full of whimsy and joy, this Clearly Besotted digi stamp set is perfectly suited to wish someone a happy day. Use your nine-piece printable pack as many…
Birthday crafting Card making Papercraft Stamping Techniques


