We've finished our updates! If you experience any log-in or download issues, please email patterns@craftihive.com
Die cutting Home decor Home decorations How to Papercraft Papercrafter Projects
Round up your coloured cardstock and bonus templates for our easy woodland scene

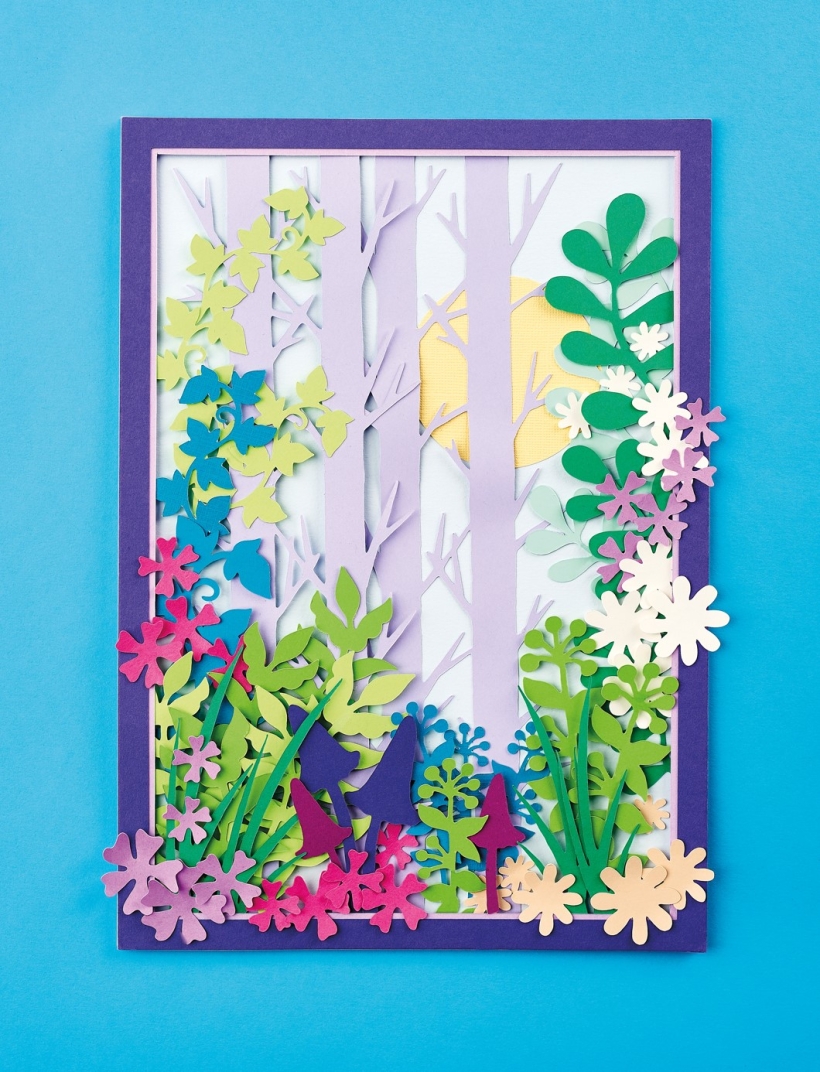
Whilst this may look like a paper cutting that took hours to create, it really couldn’t be any easier. Our talented designer Corinne Bradd has created 15 templates for you to download, transfer onto your Brother ScanNCut machine and set to cut out. It’s that simple! You can then enjoy positioning and layering the shapes to create a stunning woodland composition. We love the mix of dusky background shades and foliage in vibrant colours – there’s lots of fun to be had cutting the templates from various tones and textures, so download yours and give it a go today.
You Will Need:
Templates or SVGs files
Brother ScanNCut CM900 machine
Cardstock, various colours
Die-cut Woodland Display
1. Take 21cm x 30cm of light blue card to use as a background. Trim a narrow frame from two shades of purple card, 21cm x 30cm, then stick together. Trim a 7cm circle from yellow card and fix it in the top-right corner of the background.
2. Cut two tree silhouettes from lilac card. Glue one to the background and the other to the left of it with 3D foam pads. Cut foliage, flower and toadstool shapes from purple and green card.
3. Adhere ivy leaves to the left of the design and vines of leaves on the right. Layer the foliage, flowers and mushrooms along the bottom edge of the background using 3D foam pads to add dimension.
4. Place the frame over the design and fix in place with 3D foam pads. Use your templates to cut different sized flowers from cream, purple and pink card. Curl each petal, then arrange in clusters, allowing them to overlap the frame.
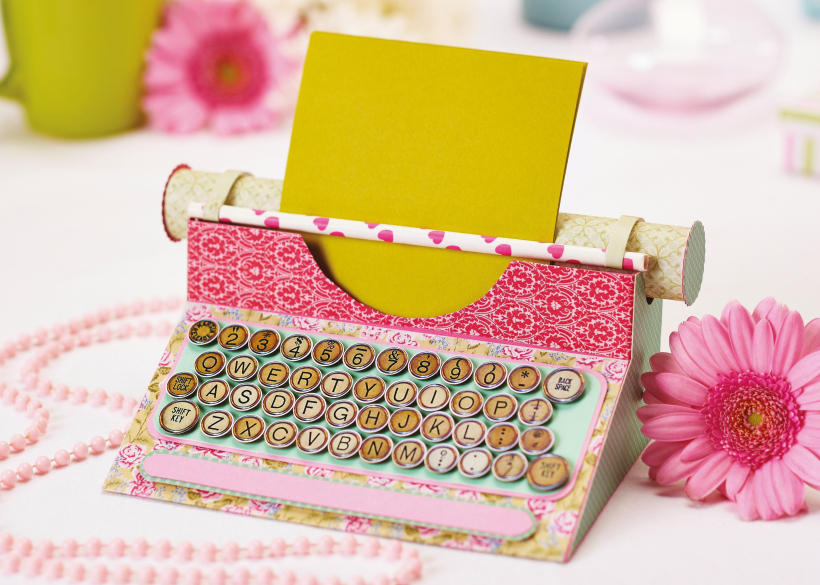
Busy lives often involve a lot of memos and reminders, and it can sometimes be hard to keep track. Luckily, we’ve got a sophisticated solution to keep your desk tidy and…

If you’re having a quiet Valentine’s with your beloved at home this year, make the place look a little more special with a speedy-to-make hearts frieze. Papercrafting doesn’t get much easier than…
Home decor Home decorations How to Papercraft Papercrafter Techniques Projects
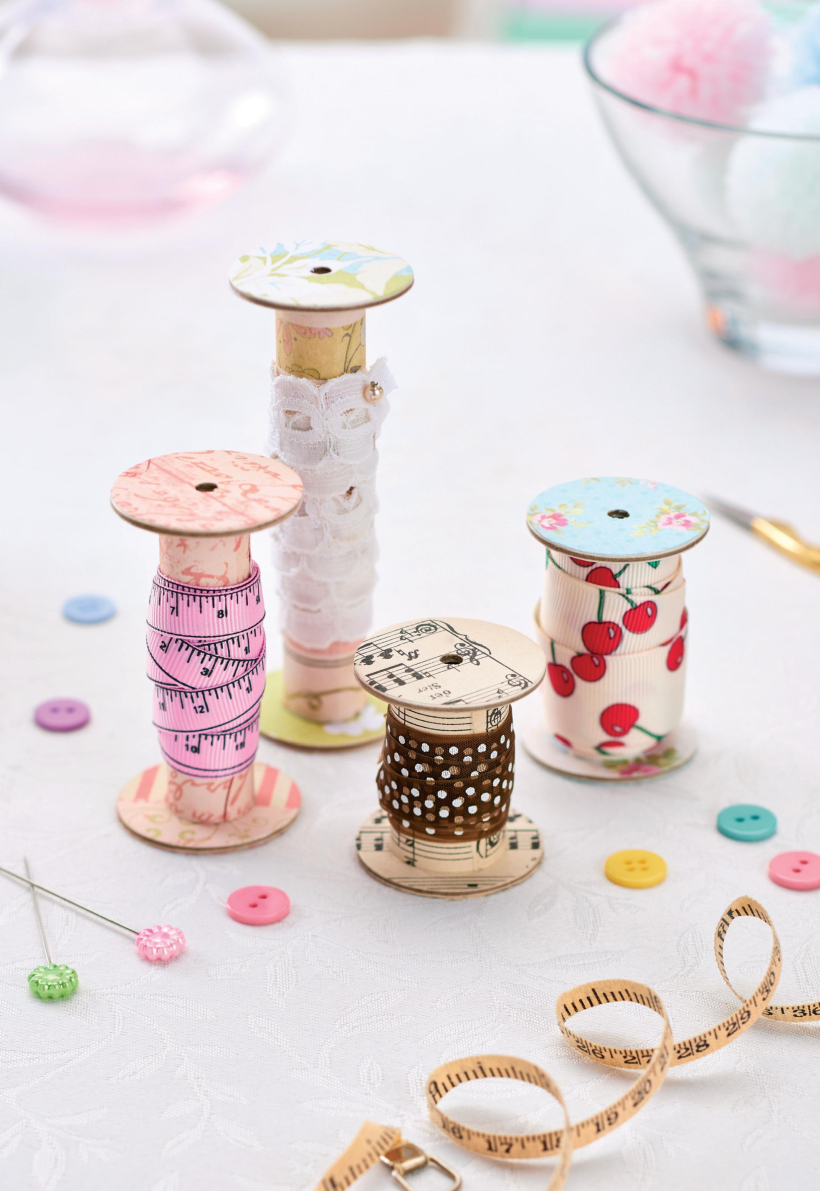
1. Using a 3.5cm circle die, cut eight discs from chipboard and sixteen circles from patterned paper. Glue the patterned circles to either side of the discs and punch a…
Craft essentials
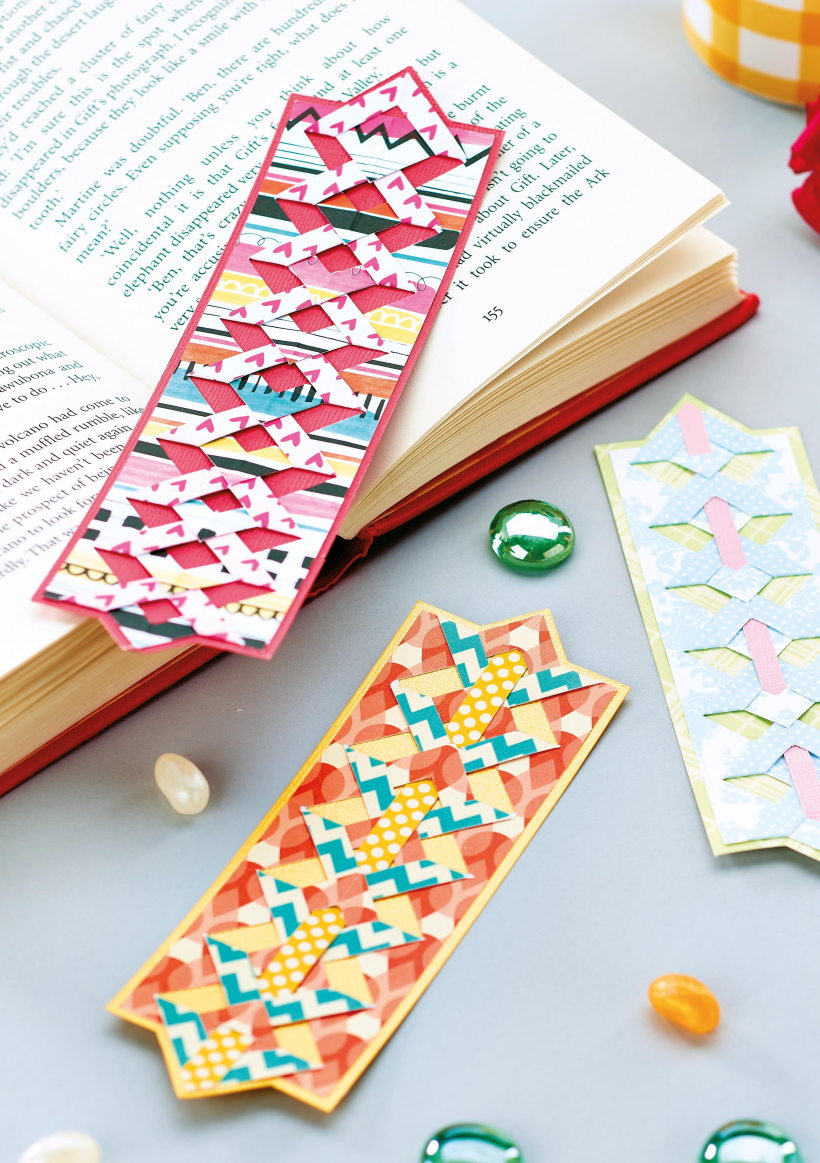
1. Cut a 5cm x 15cm strip of double-sided patterned paper and fold in half lengthways. Draw parallel pencil lines at 1.5cm and 2cm from the…
NO SPAM
Just pure crafty goodness!
YOU CAN REGISTER WITH US TODAY OR CHECK OUT THE MEMBER BENEFITS YOU CAN GET YOUR HANDS ON

Not only will you receive our amazing newsletters packed with the latest projects, exclusive giveaways and freebies, you’ll also get your hands on all of this...
View the benefits
All of our offers will be delivered straight to your inbox - they’re only a click away!
Show me the next benefit...
Get access to loads of free printables and downloads at your fingertips.
Show me the next benefit...NO SPAM
Just pure crafty goodness!
NO SPAM
Just pure crafty goodness!


