


Card making Papercraft Papercrafter Projects
ADVERTORIAL
The Silhouette Cameo is a great all-round digital die-cutting machine. You’ll find a selection of free images already in the library but if you want more, simply head to the store and purchase extra. From the design page, you can ungroup the image into separate parts and resize as you wish. Once you’re happy, place the material onto the cutting mat, send it to the machine and select the right settings for the material used. Load the mat and send it to cut, then the machine will do the rest. Dear Santa, a Silhouette Cameo, please – and for anyone looking to put it on their Christmas list themselves, Graphtec have you covered.
YOU WILL NEED:
Die-cutting machine, Silhouette Cameo
Cardstock, coloured
Embellishments, silver gems
Pen, silver gel
METHOD:
Christmas Character
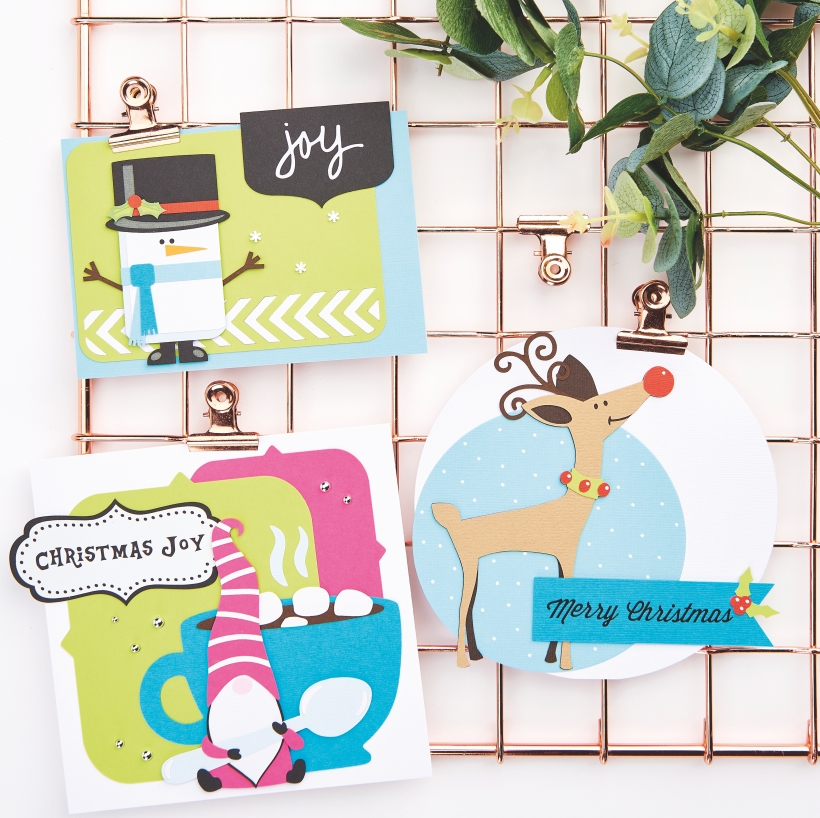
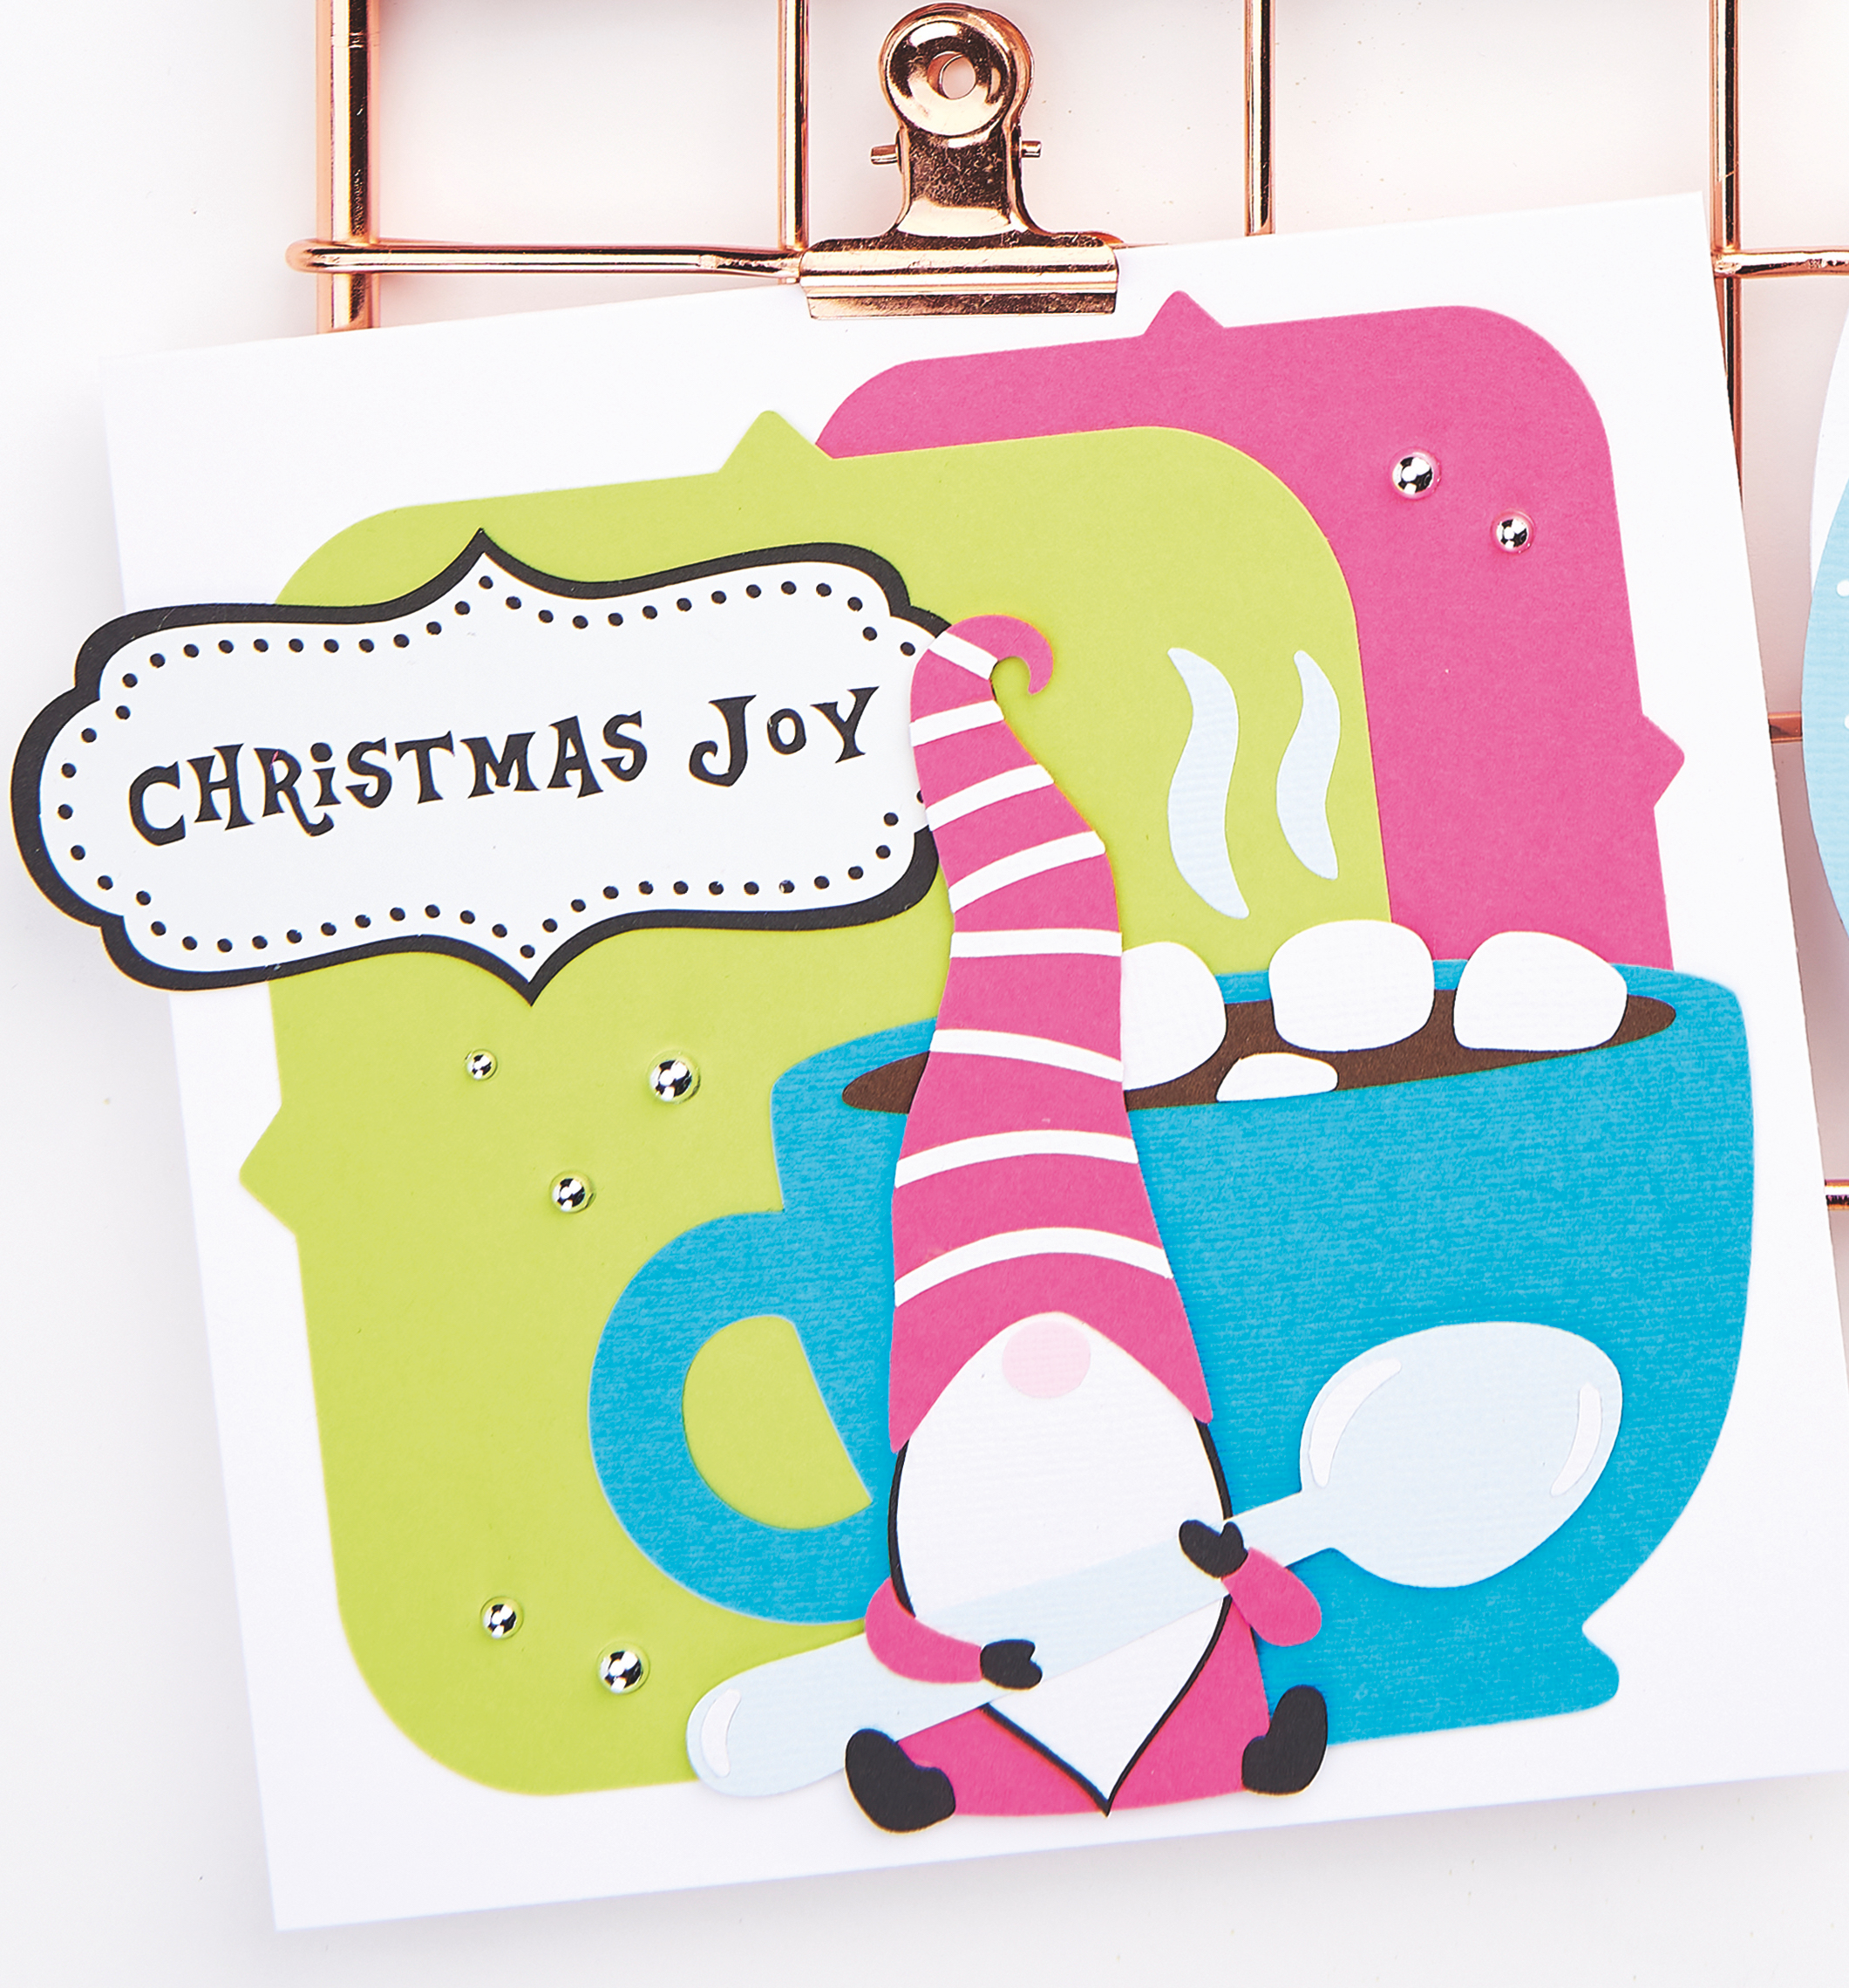
1. Purchase the Christmas Gnome with Hot Chocolate Cup (#308719), Christmas Labels 2 (#35990) and 4 Bracket Labels (#50259), then add them to your design space. Resize the gnome to 11.5cm tall and the Christmas label to 4.5cm x 9.5cm. For the bracket labels, resize to make rectangular shapes, 11.5cm x 13.5cm and 8.5cm x 10cm.
2. Ungroup the images and cut the gnome and mug from coloured card. Die cut the largest bracket label from lime and the smaller one from pink. Cut the sentiment from white and black vinyl, then the background from black card. Secure the bracket labels onto a white 15cm square blank. Assemble the gnome and mug, then fix to the right. Layer up the sentiment and attach to the top-left, overlapping the edge slightly. Add silver gems to complete.
![]()
Chevron shapes
1. Purchase the Snowman (#71399), ‘Joy’ Tab (#69076) and Life Cards Chevron Strip (#31013), then add them to your design space. Resize the snowman to 9cm tall, the sentiment tab to 4.5cm x 6.5cm and the chevron card to 9.5cm x 13cm. Ungroup the images. Cut out the snowman elements from various coloured card.
2. Die cut the chevron card in lime and white, then cut out the sentiment tab in black. Cover a white blank, 10.5cm x 14.5cm, with blue card. Secure the chevron card to the top-left and infill the shapes with the white die-cuts. Assemble the snowman and fix to the left. Mount the ‘Joy’ tab onto white and glue to the top-right, overlapping the edge. Add three snowflakes to finish.
Reindeer day
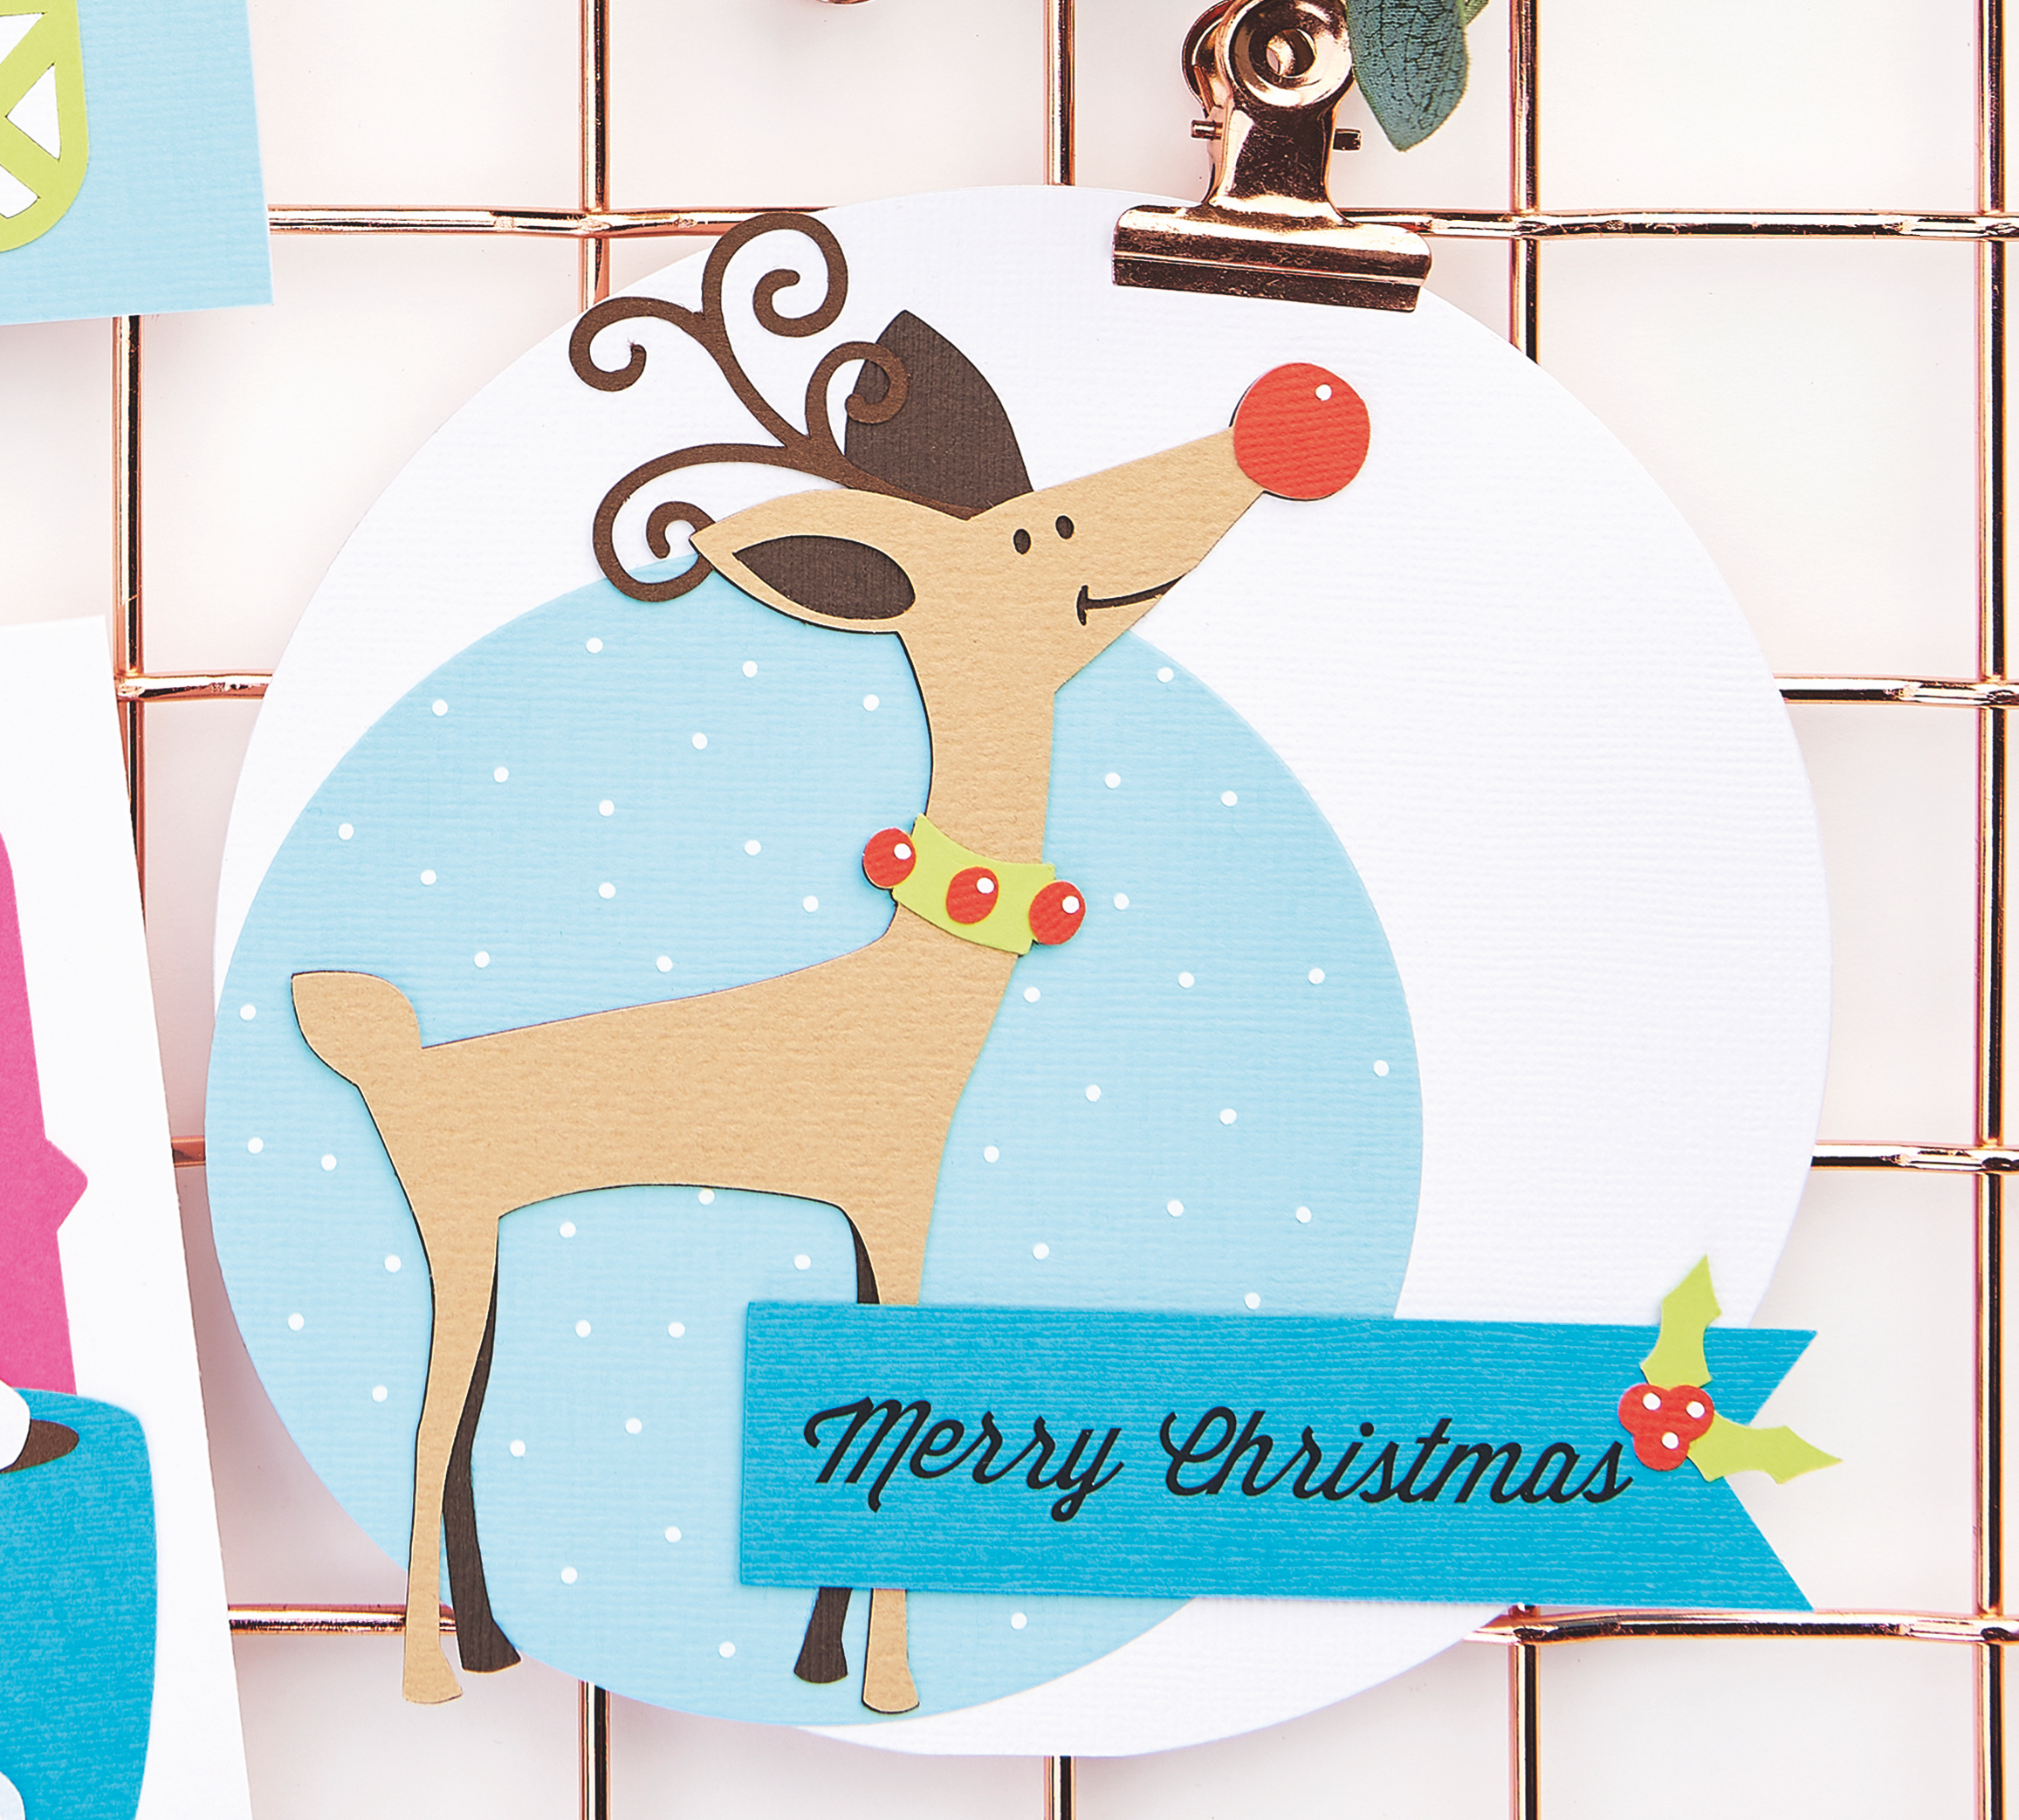
1. Purchase the Reindeer (#52044) and Merry Christmas (#52241), then add to your design space. Resize the reindeer to 14.5cm tall and the sentiment tab to 3cm x 10cm. Ungroup the images. Cut the reindeer from various coloured card. Die cut the sentiment tab from blue, red and lime, then the wording from black vinyl. Create a 15cm diameter circular blank from white card and an 11.5cm circle from blue.
2. Add the blue circle to the left of the blank so it overlaps the edge slightly. Adhere the reindeer and sentiment tab. Using a white gel pen, apply white dots to the blue section for snow and add highlights to the bells, nose and berries.
Shop a wide variety of crafty goodies at graphtecgb.shop.

Busy lives often involve a lot of memos and reminders, and it can sometimes be hard to keep track. Luckily, we’ve got a sophisticated solution to keep your desk tidy and…

If you’re having a quiet Valentine’s with your beloved at home this year, make the place look a little more special with a speedy-to-make hearts frieze. Papercrafting doesn’t get much easier than…
Home decor Home decorations How to Papercraft Papercrafter Techniques Projects

1. Using a 3.5cm circle die, cut eight discs from chipboard and sixteen circles from patterned paper. Glue the patterned circles to either side of the discs and punch a…

Craft essentials
1. Cut a 5cm x 15cm strip of double-sided patterned paper and fold in half lengthways. Draw parallel pencil lines at 1.5cm and 2cm from the…


