

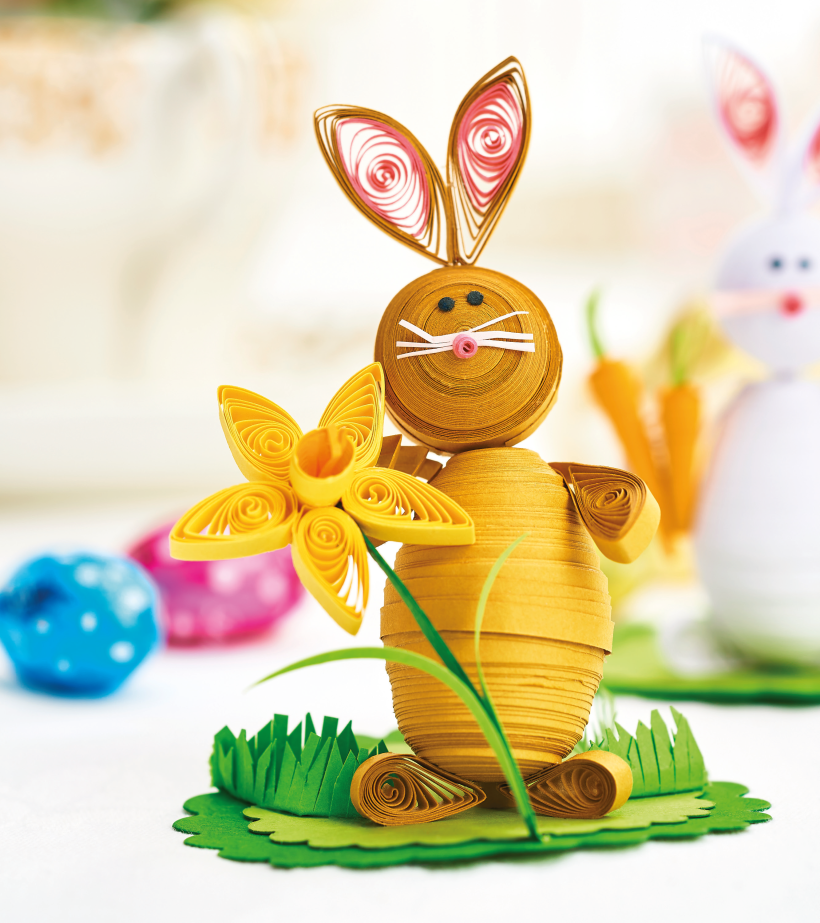


Learn to quill this adorable Easter scene!
YOU WILL NEED:
Quilling papers: 3mm wide, white, orange, green, browns, pinks, yellow; 10mm wide, white
Card: green
Quilling tool
Dies, scallop-edged circles
Fringing tool
Florist wire
PVA glue
1. Glue seven lengths of brown 3mm paper end to end. Coil tightly to the end of the paper, then glue in place. Dome the shape with your fingers or a quilling mould and cover the inside with glue. Repeat with eight brown lengths for the upper body, five for the head front and five for the head back.
2. Decorate the face. Make arms using brown 30cm lengths made into loose closed coils and pinched at one end. Use 20cm lengths of brown for the feet. Make the ears from 15cm pink glued to 25cm brown, coil pink first, then pinch at each end. Fringe 15cm of white 10mm wide paper and coil for a tail.
3. Once the glue has completely dried on the domed shapes, attach the two domes. Stick the two body halves to a small egg shape of polystyrene to help construct. For additional sturdiness, insert florist wire through the centre of the top dome and attach the head. Add ears, arms and feet.
4. Fix fine orange strips of stamen to a 20cm length of yellow and coil to a cone shape, then glue inside. Make petals from 20cm lengths of yellow pinched into teardrops. Glue the frilled trumpet cone to a small circle of yellow and stick petals around. Fix the bunny holding a daffodil to green card.

Busy lives often involve a lot of memos and reminders, and it can sometimes be hard to keep track. Luckily, we’ve got a sophisticated solution to keep your desk tidy and…

If you’re having a quiet Valentine’s with your beloved at home this year, make the place look a little more special with a speedy-to-make hearts frieze. Papercrafting doesn’t get much easier than…
Home decor Home decorations How to Papercraft Papercrafter Techniques Projects

1. Using a 3.5cm circle die, cut eight discs from chipboard and sixteen circles from patterned paper. Glue the patterned circles to either side of the discs and punch a…

Craft essentials
1. Cut a 5cm x 15cm strip of double-sided patterned paper and fold in half lengthways. Draw parallel pencil lines at 1.5cm and 2cm from the…


