

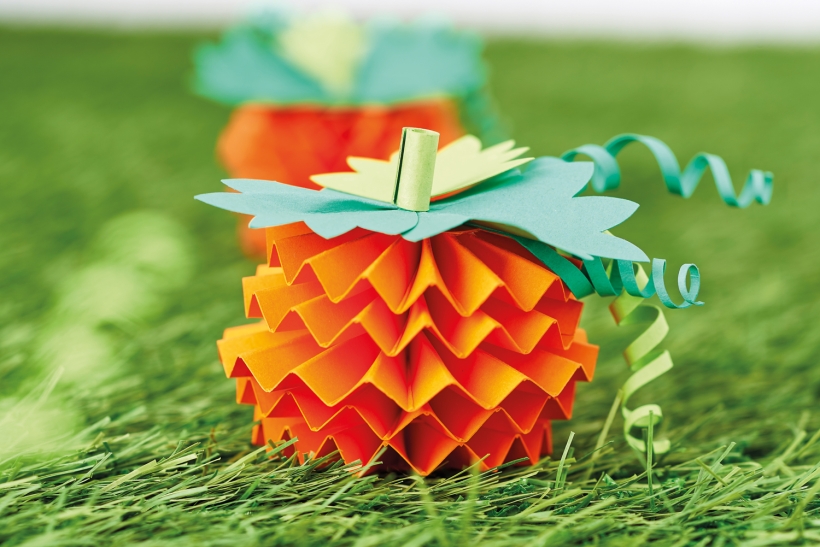


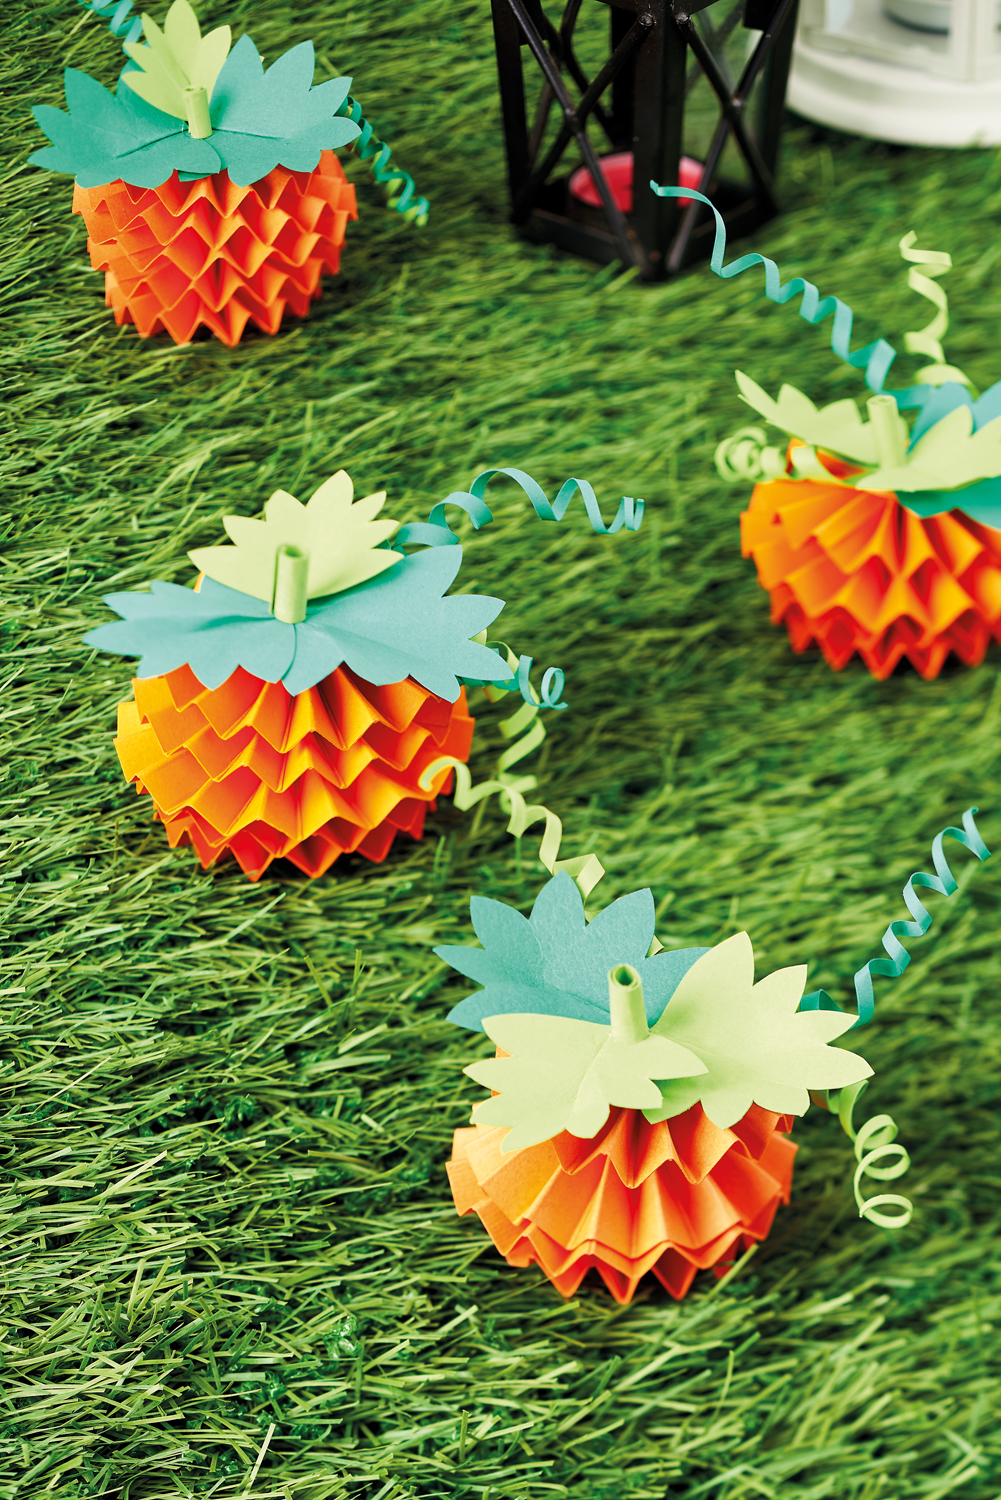
Everyone loves autumn, with its promise of cosy scarves, colourful leaves, warm drinks and Halloween. So why not celebrate the season by creating your very own charming pumpkins? Using concertina folding and curly fronds, Corinne Bradd’s design takes us back to basics in a project that novices and professionals alike will enjoy. All you need are some basic papercrafting tools and coloured cardstock, and you too can have your own little pumpkin decoration!
You will need: Craft essentials, Scoreboard, Knitting needle (optional)
1 Place a piece of landscape oriented orange card on a scoring board and score at 1cm intervals. Flip the card over and score on this side at the 5mm lines,
between the original scores so that the card can be concertina folded.
2 Cut across the card, perpendicular to the previous scores, at varying width strips between 2cm and 3cm to create strips of paper. Concertina fold the
strips and join end to end with a little glue to make a tube. When the glue is completely dry, open up the tubes to make creased rosettes.
3 Trim several 2cm circles of orange card and cover both sides with double-sided tape. Don’t worry if the circles are rough or uneven, as they won’t be visible. Use these circles to join the four rosettes together so that they form a ball shape. Add a disc to the top and bottom of the ball to help hold it together.
4 Snip several thin strips of green card and spiral around a knitting needle or your finger to create curly fronds. Glue several of these to the top of the pumpkin so that they radiate out from the centre.
5 Cut three leaf shapes from two shades of green card. Pinch and crease them halfway down the centre and pleat slightly. Glue the pleat and peg them shut until the glue dries, so that the leaf looks more 3D. Cut 1cm x 2cm of green card and wrap around a knitting needle, glueing the end to make a tube for the
stem, then stick this and the three leaves over the fronds.

Busy lives often involve a lot of memos and reminders, and it can sometimes be hard to keep track. Luckily, we’ve got a sophisticated solution to keep your desk tidy and…

If you’re having a quiet Valentine’s with your beloved at home this year, make the place look a little more special with a speedy-to-make hearts frieze. Papercrafting doesn’t get much easier than…
Home decor Home decorations How to Papercraft Papercrafter Techniques Projects

1. Using a 3.5cm circle die, cut eight discs from chipboard and sixteen circles from patterned paper. Glue the patterned circles to either side of the discs and punch a…

Craft essentials
1. Cut a 5cm x 15cm strip of double-sided patterned paper and fold in half lengthways. Draw parallel pencil lines at 1.5cm and 2cm from the…


