


Christmas crafts Die cutting Home decor Papercraft Die cutting
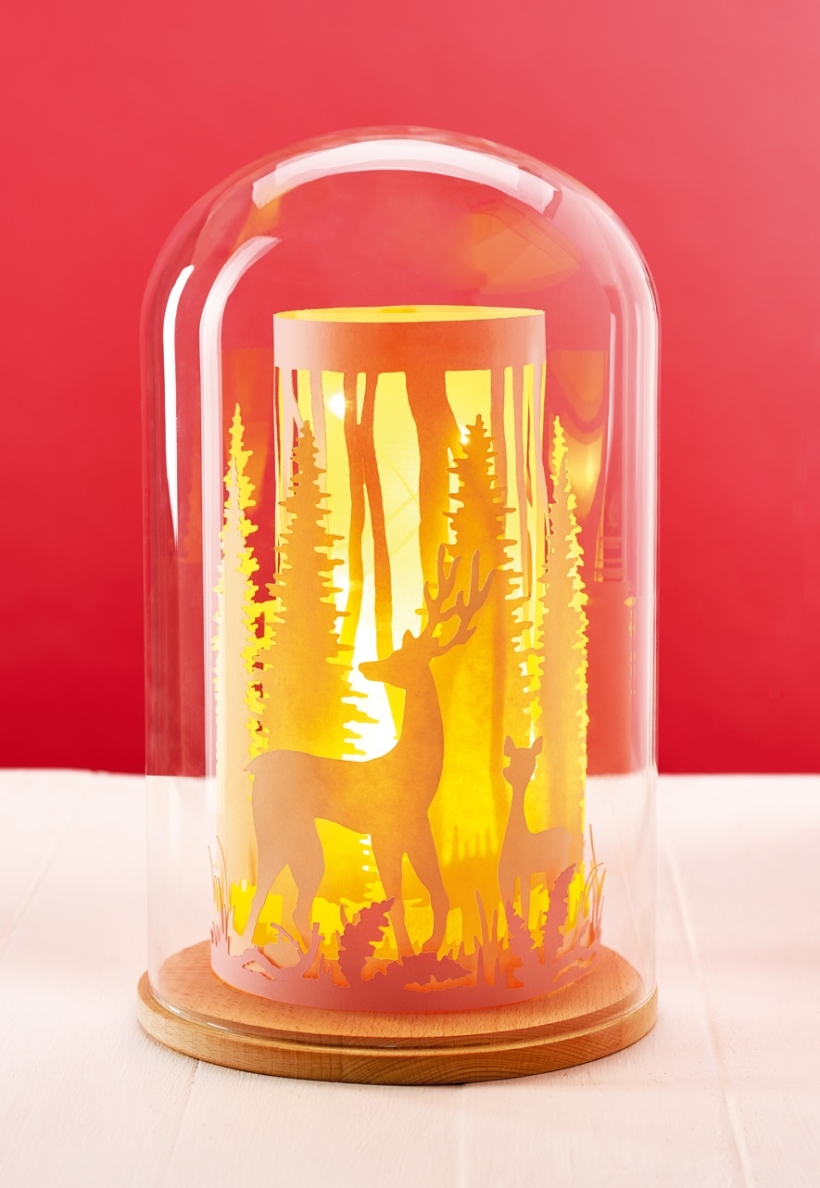
Add a warm touch to your home this Christmas with an illuminated papercut scene
Take some time away from the hustle and bustle of Christmas preparations to create a stunning 3D papercut scene. Whether you choose to therapeutically make yours the traditional way with a craft knife or let your digital die-cutting machine do the work, you’ll be left with a mesmerising decoration. Corinne Bradd shows you how to encase your papercut in a glass dome with fairy lights for a warming evening light, or an impressive table centrepiece. Personalise your design by using different coloured card, embossing paper and building it with more layers.
YOU WILL NEED:
Templates
Brother ScanNCut CM900 machine (optional)
Vellum
Glass dome
Fairy lights
METHOD:
1. Download the templates and trace them onto coloured card. Cut out the scene, starting with the smallest pieces first to keep the sheet as stable as possible. Alternatively, you can download the SVG digital cutting files and cut the templates with a digital die-cutting machine.
2. Take 21cm x 30cm of card and roll into a large tube, ensuring the edges overlap by at least 2cm, then secure with double-sided tape. Wrap a sheet of vellum loosely around the tube and secure with double-sided tape, making sure it doesn’t stick to the card underneath.
3. Take the papercut branches and fix one side of it to the join on the vellum. Allow it to curve around the vellum without touching it and fix the other side to the join. This will become the back of the lamp.
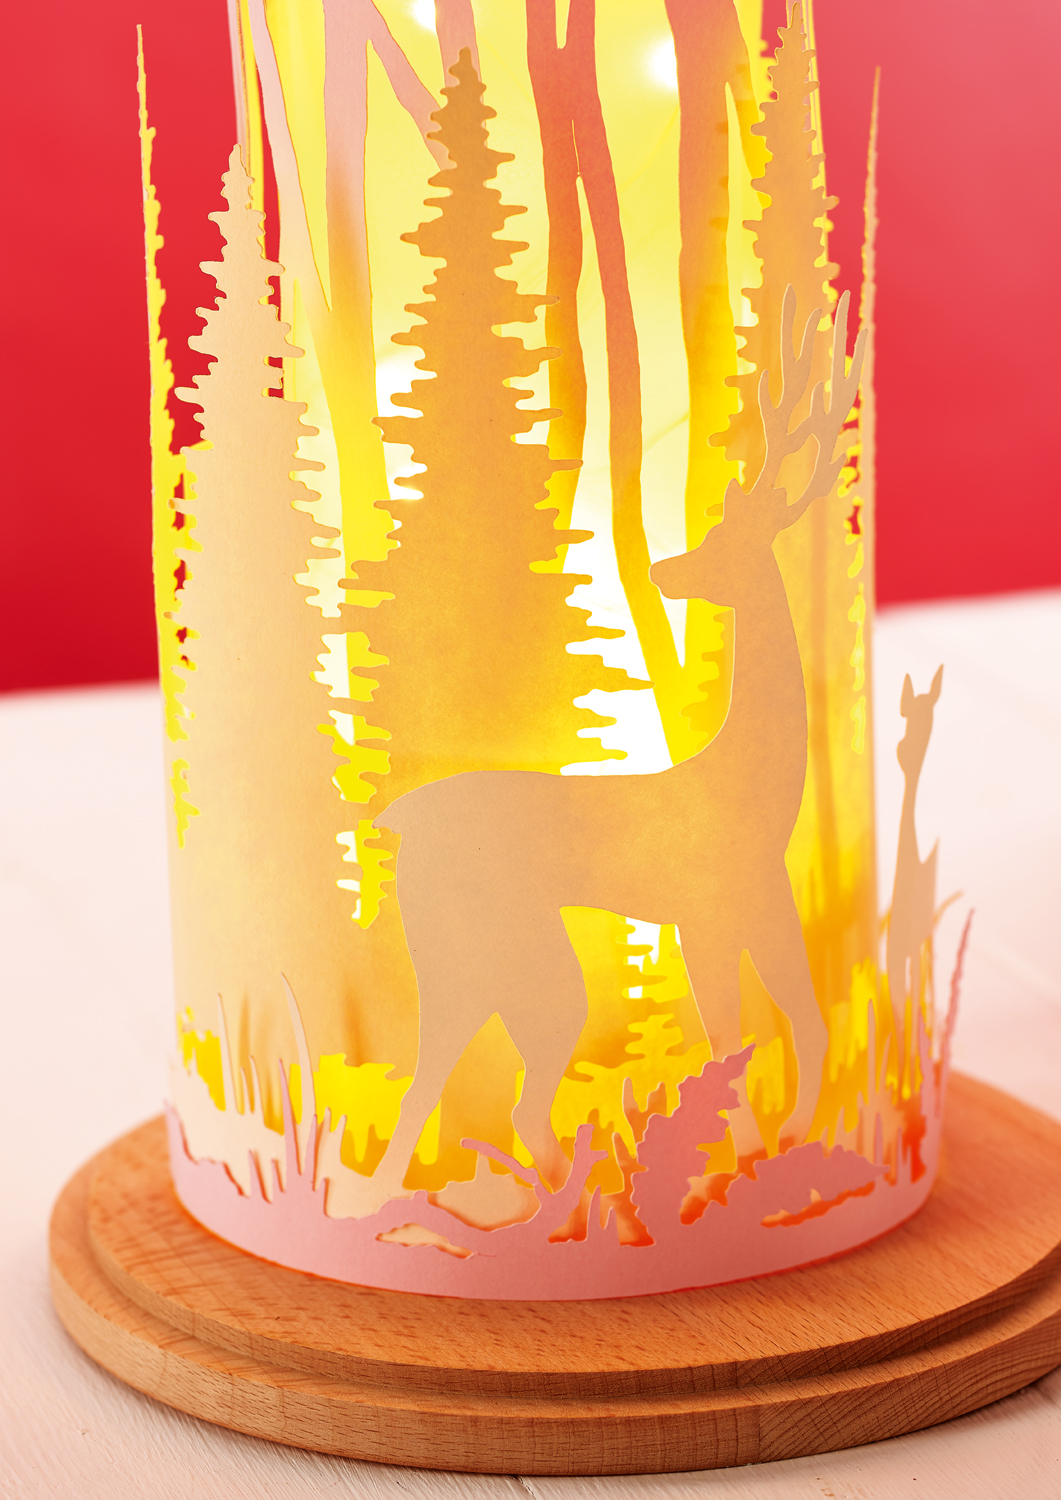
4. Fix the trees, deer and foliage around this, adding additional card tabs to the sides to allow each layer to sit loosely around the last. Cut a small notch in the bottom-back of the arrangement, then place battery-operated fairy lights inside the tube from the bottom up.
5. Place the arrangement to the wooden base of the dome with clear tape, then carefully slide the card tube up and out from the centre without moving the lights. Turn the lights on and position
the glass dome over the top of the papercut display.

Busy lives often involve a lot of memos and reminders, and it can sometimes be hard to keep track. Luckily, we’ve got a sophisticated solution to keep your desk tidy and…

If you’re having a quiet Valentine’s with your beloved at home this year, make the place look a little more special with a speedy-to-make hearts frieze. Papercrafting doesn’t get much easier than…
Home decor Home decorations How to Papercraft Papercrafter Techniques Projects

1. Using a 3.5cm circle die, cut eight discs from chipboard and sixteen circles from patterned paper. Glue the patterned circles to either side of the discs and punch a…

Craft essentials
1. Cut a 5cm x 15cm strip of double-sided patterned paper and fold in half lengthways. Draw parallel pencil lines at 1.5cm and 2cm from the…


