

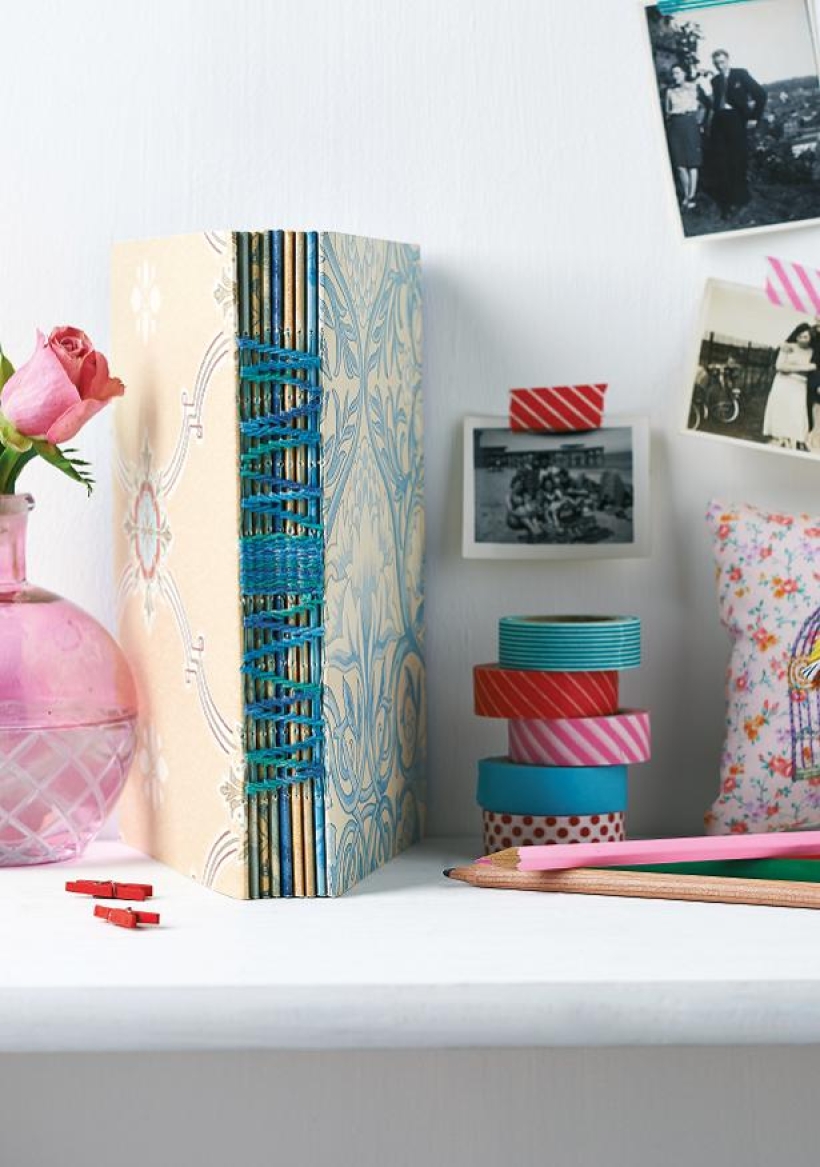


Stitch a jotter in a jiffy with Corinne Bradd’s easy-to-grasp binding techniques
In just one afternoon you can create your own notebook by folding and sewing layers of paper, then finishing it off with beautiful embroidery – nothing too strenuous. It could be used in any way you fancy, but if you’re feeling extra creative, why not spell out a word down the spine? It could be as simple as ‘notes’ or ‘recipes’, or you could personalise the book for a birthday present!
A4 white paper
Cardstock, various colours
Patterned papers
Strong sewing thread
Embroidery thread
Needle
1. Make one section of pages by folding six sheets of A4 white paper in half and inserting them one by one inside the other. Open it out and mark eight points down the centre fold at 2cm intervals, leaving 3cm on either side.
2. Hold the papers in a ‘v’ shape and pierce the marks with a needle, passing through all sheets on the fold. Make a book jacket from card covered with patterned papers. Mark and pierce the jacket on the fold in the same way as before.
3. Slip the papers inside the jacket. Take a double thickness of strong sewing thread, knot the end and, starting from the inside of the section, sew a running stitch through the holes before sewing back in the opposite direction. Fasten the thread into the original knot and trim the ends.
4. Make several sections in this way and stack together. Hold in place with a large bulldog clip, then bind the sections together using the stitching on each spine. Begin by weaving embroidery thread through the centre stitches. Add decoration and interest by oversewing from stitch to stitch. Knot and weave the thread back through your work before trimming.
1. Secure the thread on the wrong side of the card, then bring the needle through to the surface to start the first stitch.
2. Moving forward take the needle back down through the card and bring up again. Keep the distance between the gaps and the stitches the same size and continue along the stitching line.

Busy lives often involve a lot of memos and reminders, and it can sometimes be hard to keep track. Luckily, we’ve got a sophisticated solution to keep your desk tidy and…

If you’re having a quiet Valentine’s with your beloved at home this year, make the place look a little more special with a speedy-to-make hearts frieze. Papercrafting doesn’t get much easier than…
Home decor Home decorations How to Papercraft Papercrafter Techniques Projects

1. Using a 3.5cm circle die, cut eight discs from chipboard and sixteen circles from patterned paper. Glue the patterned circles to either side of the discs and punch a…

Craft essentials
1. Cut a 5cm x 15cm strip of double-sided patterned paper and fold in half lengthways. Draw parallel pencil lines at 1.5cm and 2cm from the…


