


Card making Christmas cards Christmas crafts Die cutting How to Papercraft Stamping Techniques Digi Stamps
Ten ready-to-go festive freebies, courtesy of Hunkydory
Please login to download. Sign in here
These adorable Hunkydory digi stamps make for seriously cute and characterful Christmas cards. They work perfectly individually as a focus or shrunk down into a scene. Why not pair them with marker pens, stencils or sequins? The choice is yours. You’ll also find a bonus sentiment in your pack – oh, handy! So, without further ado, consult our top tips below, then get cracking on Claire Richards’ projects.
Download and print them
1 Press ‘Click here to download now’ then log in – or register if you don’t currently have an account with us.
2 Click ‘Download now’ and you’ll see the download processing at the bottom of your screen.
3 Open the folder, then right-click on the file and select ‘Print’.
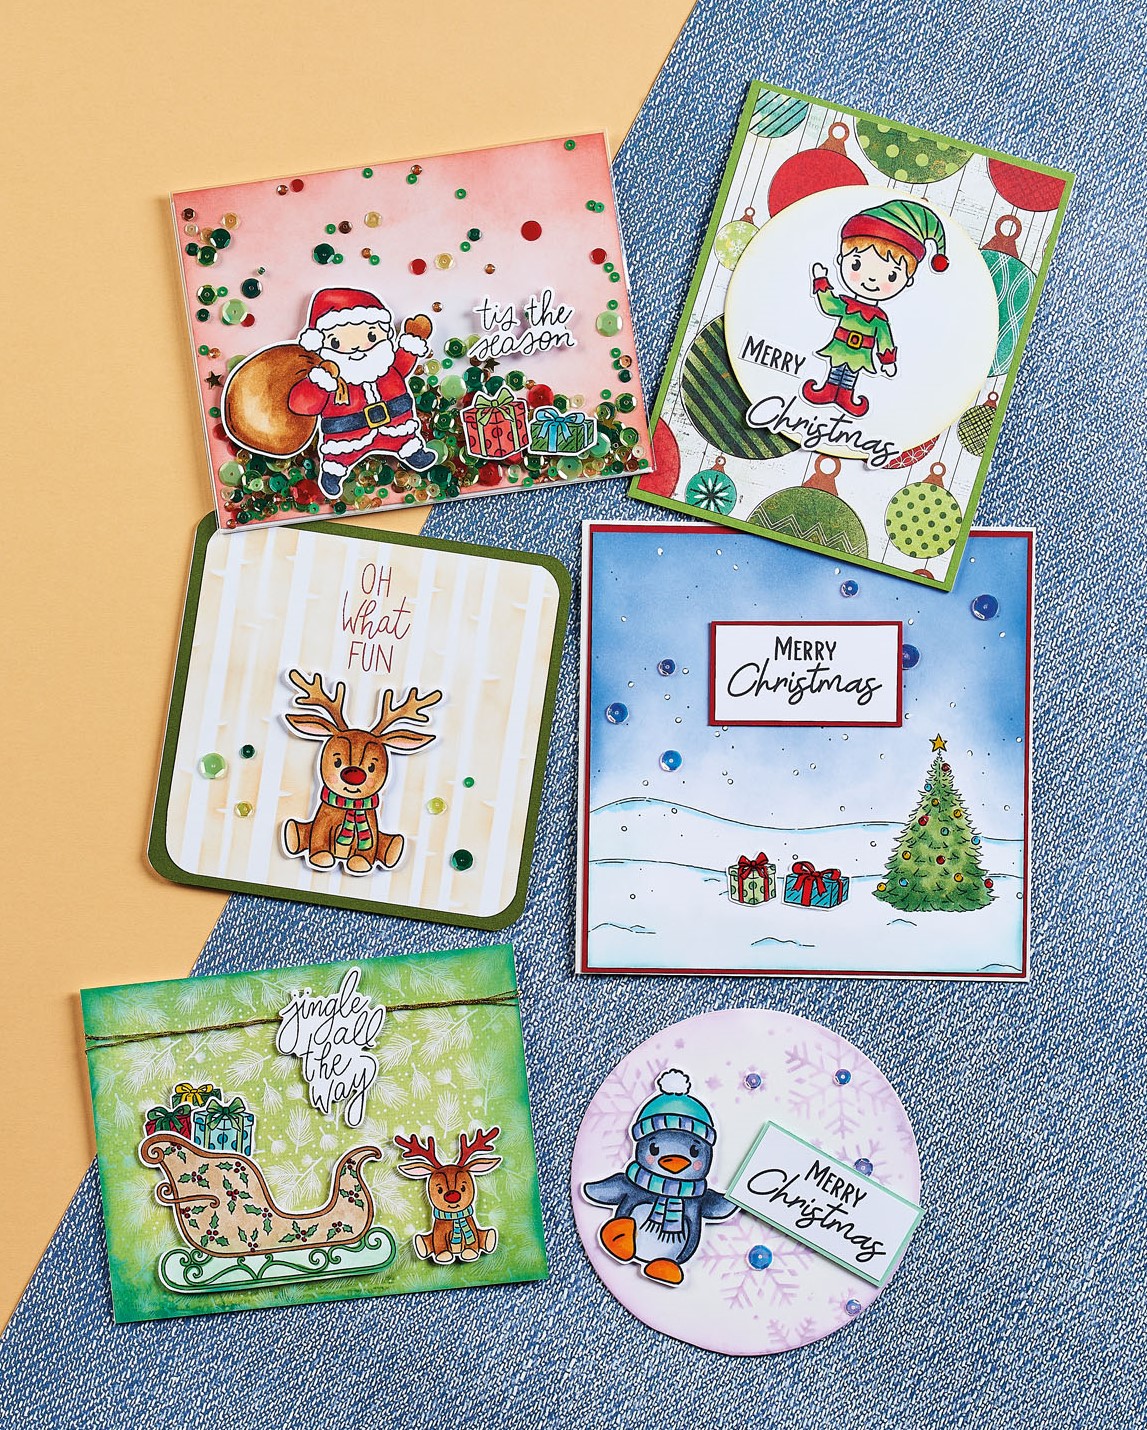
Sequin-packed shaker
If you want to go all out, copy Claire’s ‘Tis the season’ card. A twist on the traditional shaker card, rather than making a separate shaker element, Claire has made the entire card into a shaker using the plastic packaging from one of her stamp sets – genius! Simply slip a panel of card into a clear sleeve, fill with sequins, seal, then mount onto a blank. What a great way to save on plastic waste too.
Colour notes
The great thing about our digi stamps is that you can really show off your colour blending skills. Before you get started, think about which direction the light source is coming from to help you determine the light and dark areas. For seamless blends, Claire has used a smooth white cardstock and Copic marker pens. If you’re new to Copics, we recommend sticking to shades from the same numbering family.
Tidy-up tricks
Colouring in can get a little messy. Trust us, it happens to the best of us. Next time you accidentally slip and colour outside of the lines, don’t panic as we’ve got a little trick up our sleeve. Rather than starting again, just grab a white gel pen once you’ve finished colouring, then go around the edges to cover and erase any slip-ups. It works a treat. Shh, no one will ever notice!
YOU WILL NEED:
Hunkydory North Pole digi stamps
Stamps, The Stamp Market Season’s Scripty Greetings
Dies: The Stamp Market Season’s Scripty Greetings, Presscut Circles
Stencils: Lawn Fawn Snowflake Background, Echo Park Winter Aspen
Paper pad, Vicki Boutin Warm Wishes
Cardstock: white, red, green, blue
Ink pads: Ranger Distress Oxide Barn Door, Stormy Sky, Chipped Sapphire, Tea Die, Pine Needles, Scattered Straw, Shaded Lilac; black, red
Punch, corner rounder
Embellishments: Ranger Glossy Accents, sequins, gold string
Alcohol markers
Gel pen, white
Plastic sleeve
Ink blending tool
Adhesives: 3D foam pads, glue
Die-cutting machine
Santa Shaker
1. Create a white 11cm x 14cm blank. Trim white card to 11cm x 14cm. Blend red distress oxide ink around the edges. Once dry, insert the panel into a plastic sleeve and add a handful of sequins into the pocket. Fold over the seal and fix the shaker pocket to the blank.
2. Print and colour in the Santa and present digi stamps with alcohol markers. Cut out, then adhere to the card front. Stamp a sentiment in black, die cut and glue to the card front to finish.
Elf Card
1. Cover a white 11cm x 14cm blank with green card. Mount bauble paper on top. Die cut a 9cm circle from white card and ink the edges with yellow distress oxide ink. Fix to the card front with 3D foam pads.
2. Colour in the elf digi stamp with alcohol markers, then glue to the centre of the circle. Stamp a sentiment in black, trim and secure below the elf.
Snowy Background
1. Create a 14.5cm square blank from white. Matt red card on top. Print and snip the snowy background digi stamp to 14cm square. Blend navy blue distress oxide ink along the top. Use a white gel pen to draw back in the falling snow.
2. Colour in the Christmas tree motif with alcohol markers. Print, colour and cut out the two present digi stamps. Secure to the left of the tree. Stamp a sentiment in black and snip to 3cm x 6cm. Mount onto red card, then fix to the card front with 3D foam pads. Apply Glossy Accents to the baubles and presents. Finish with sequins.
Stencilled Reindeer Card
1. Create a 12cm square blank from white card and round off the corners with a punch. Cover with green card. Trim white card to 11.5cm, then blend brown distress oxide ink through a tree trunk stencil. Round off the corners, then glue to the card front.
2. Colour in the reindeer digi stamp, trim and adhere towards the bottom of the card front using 3D foam pads. Stamp a sentiment in red ink above. Apply Glossy Accents to the reindeer’s nose, then embellish the greeting with sequins.
Inked Sleigh Card
1. Make a 11cm x 14cm blank from white card. Trim green foliage paper to 11cm x 14cm, then ink the edges with green distress oxide ink. Wrap gold string around the top of the panel, then adhere to the card front.
2. Colour in the sleigh, reindeer and present digi stamps, cut out, then glue to the card front with 3D foam pads. Stamp a sentiment in black, die cut and fix to the top of the greeting. Apply Glossy Accents to the reindeer’s nose and holly berries.
Circle Penguin Card
1. Die cut two 11cm circles from white. Score the top edge of one, then adhere together to form a blank. Apply purple distress oxide around the edges of the front panel, then through a snowflake stencil.
2. Colour and cut out the penguin digi stamp, then adhere to the left of the card front with 3D foam pads. Trim a sentiment to 2.5cm x 5.5cm, mount onto blue card and glue to the greeting. Add sequins to the centres of the snowflakes to finish.
Download our free digi stamps and get your summer crafting off to a sizzling start. Colette Smith has drawn up 12 exclusive designs just for you – expect classic summer holiday…
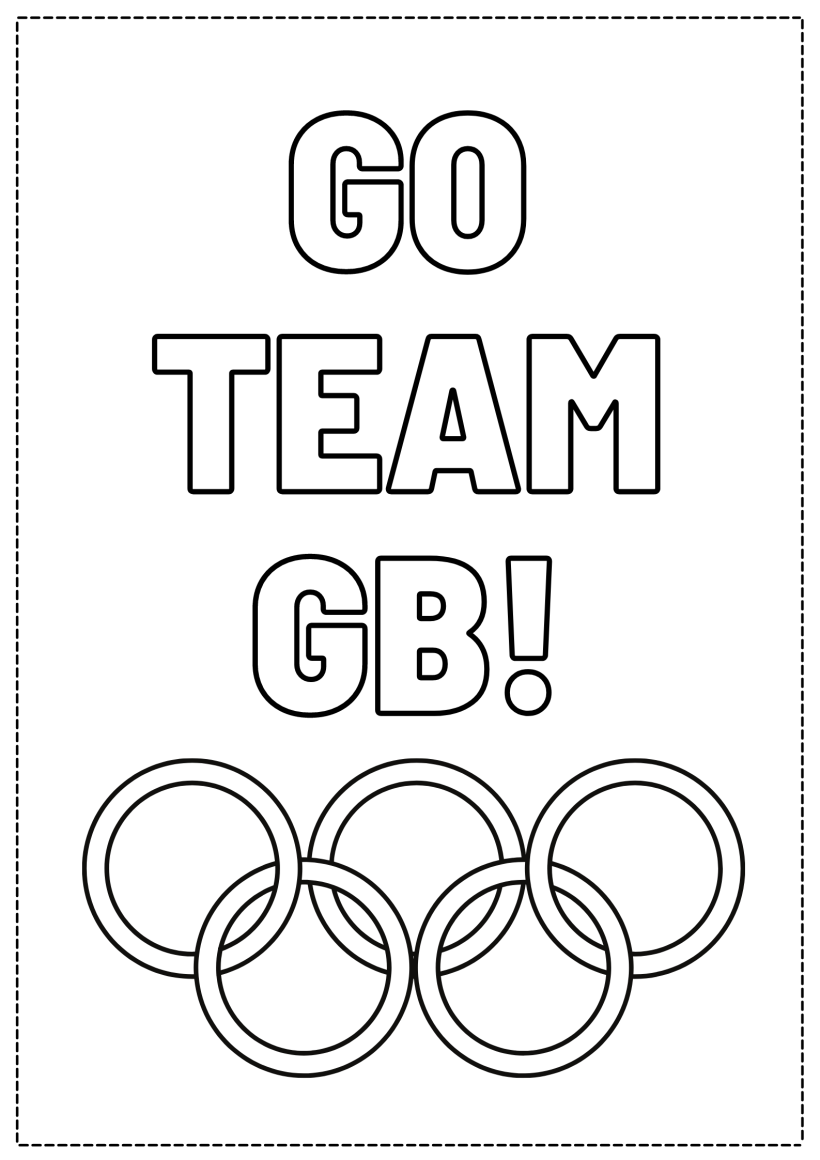
Download our printable, grab your favourite pens or paints, then start colouring! This printable is perfect for crafters young and old, and you can go as simple or as extravagant…

To download our templates, simply click ‘Download Now!’ and it will open in your browser. Why not send us a picture of your project once you’re done? For your chance to be…
Home decor Home decorations Papercraft Papercrafter Party makes Templates

There’s nothing quite so relaxing, or quite so fun, as settling down with a good colouring page. It’s even better if that colouring page happens to include Wallace & Gromit. This duo…


