We are currently undergoing maintenance and currently you may be unable to login to your account. Please bear with us, this should be resolved shortly.
Home decor Home decorations Papercraft Papercrafter Techniques
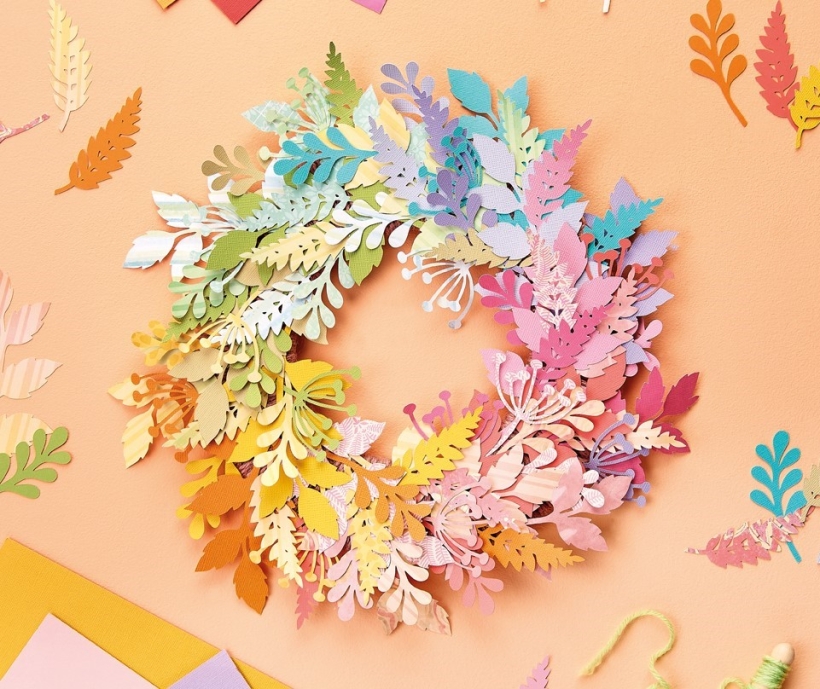
Consider your colour arrangements for a head-turning autumnal wreath

You Will Need:
Templates or SVG files
Brother ScanNCut SDX1200 (optional)
Strong card
Cardstock, various colours
Jute yarn
PVA glue
Autumnal Display
1. Draw a 25cm wide circle on strong card, then draw a concentric 17cm wide circle inside and cut out to make a ring. Glue onto another piece of card and cut around the ring. Repeat until the wreath base is four layers thick. Wrap thick jute yarn around the entire ring, ensuring an even layer. Secure the yarn at the back.
2. Download the foliage templates from our website and upload onto the Brother ScanNCut SDX1200. Save each shape individually so they can be resized and flipped to suit. Group separate parts of the fern and seedhead motifs before resizing to avoid losing the cut-out parts.
3. Group all of the motifs together within a 15cm square on the screen. Resize, duplicate and rotate so you can cut as many shapes as possible from one piece of card. Copy this layout and place into the remaining corners of the layout screen. Cut four pieces of card, 15cm square, in different colours and fix to the mat before cutting the entire arrangement in one pass. Repeat for several other shades of cardstock.
4. Take the main leaf motifs and arrange them in spectrum order. Glue them to the wreath base with PVA glue, allowing them to extend the edge at the same angle. Using this layout as a guide, begin adding the other foliage cut-outs. Keep the colour groups close but allow the shades to merge for a soft rainbow effect.
“Change up the colours of the cardstock you use to suit the occasion”
Corinne Bradd, designer

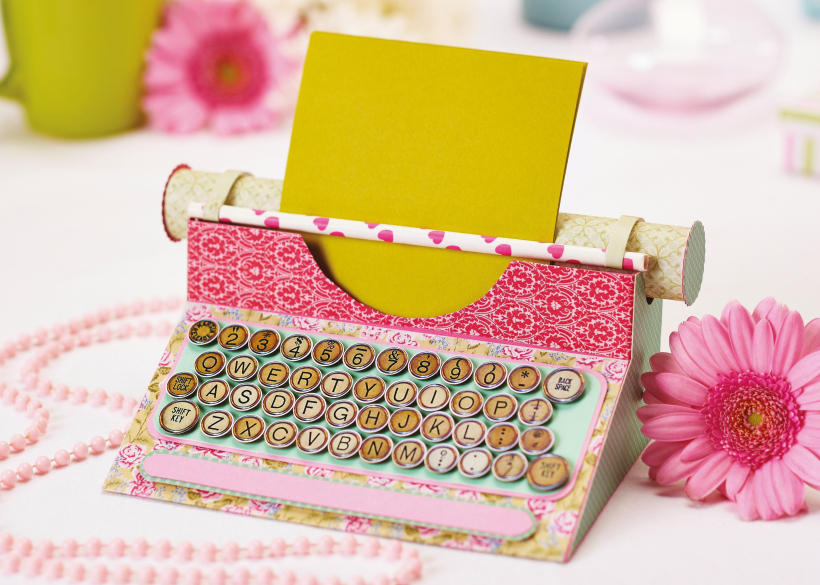
Busy lives often involve a lot of memos and reminders, and it can sometimes be hard to keep track. Luckily, we’ve got a sophisticated solution to keep your desk tidy and…

If you’re having a quiet Valentine’s with your beloved at home this year, make the place look a little more special with a speedy-to-make hearts frieze. Papercrafting doesn’t get much easier than…
Home decor Home decorations How to Papercraft Papercrafter Techniques Projects

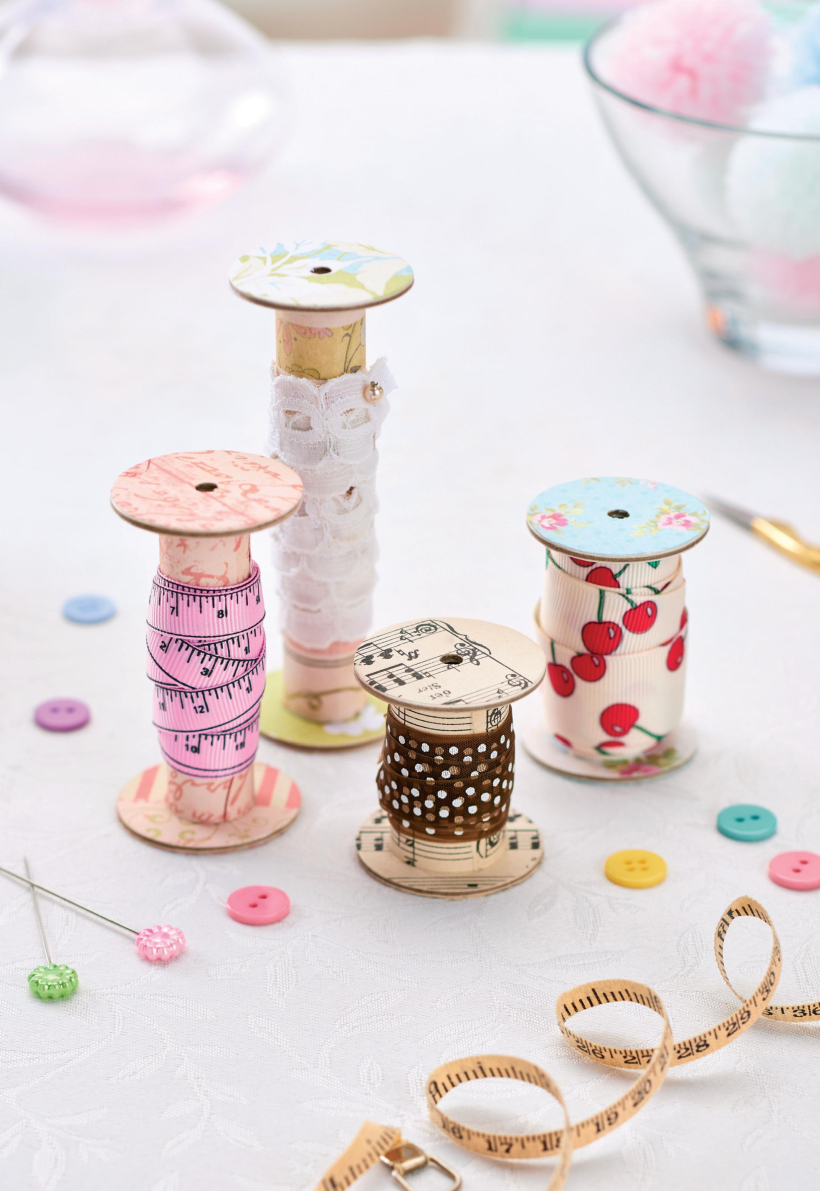
1. Using a 3.5cm circle die, cut eight discs from chipboard and sixteen circles from patterned paper. Glue the patterned circles to either side of the discs and punch a…

Craft essentials
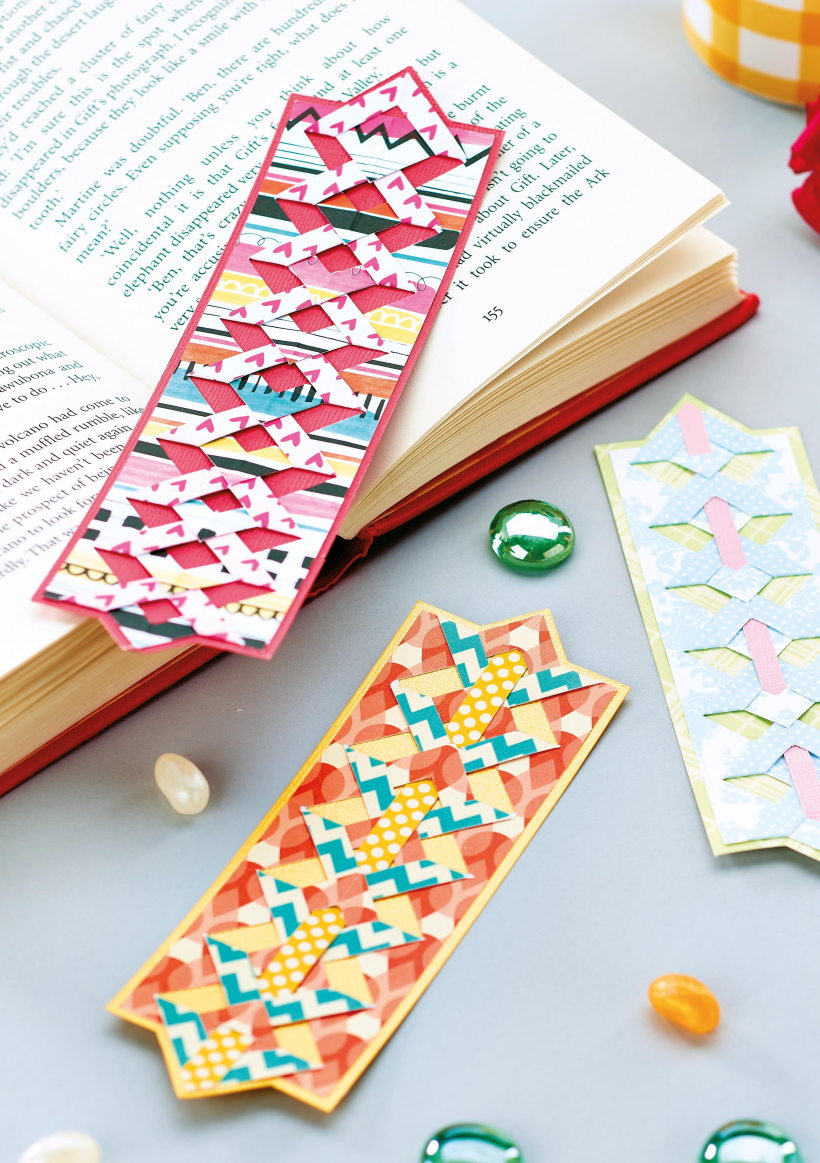
1. Cut a 5cm x 15cm strip of double-sided patterned paper and fold in half lengthways. Draw parallel pencil lines at 1.5cm and 2cm from the…
NO SPAM
Just pure crafty goodness!
YOU CAN REGISTER WITH US TODAY OR CHECK OUT THE MEMBER BENEFITS YOU CAN GET YOUR HANDS ON

Not only will you receive our amazing newsletters packed with the latest projects, exclusive giveaways and freebies, you’ll also get your hands on all of this...
View the benefits
All of our offers will be delivered straight to your inbox - they’re only a click away!
Show me the next benefit...
Get access to loads of free printables and downloads at your fingertips.
Show me the next benefit...NO SPAM
Just pure crafty goodness!
NO SPAM
Just pure crafty goodness!


