


Birthday crafting Card making Die cutting Embossing How to Papercraft Papercrafter Stamping Techniques Digi Stamps
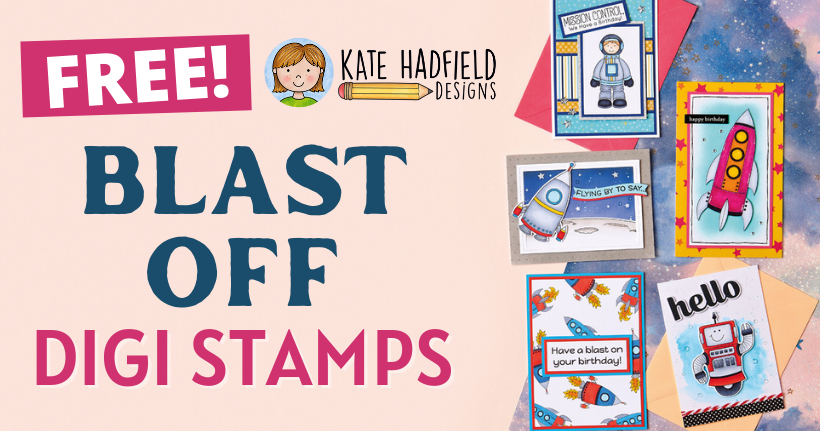
Take your crafting to new heights with these BONUS printables, courtesy of Kate Hadfield Designs
Please login to download. Sign in here
We’re over the moon (see what we did there?) to bring you a selection of space-themed digi stamps for free, courtesy of Kate Hadfield Designs (katehadfielddesigns.com). Expect planets, moons, astronauts, aliens, spaceships and even the odd space pup – cute! Once you’ve downloaded your digi stamp pack, round up your alcohol markers and inks, then consult Kitty Day’s colouring tips and techniques below. Prepare for take off!
Download and print them
1 Press ‘Click here to download now’ then log in – or register if you don’t currently have an account with us.
2 Click ‘Download now’ and you’ll see the download processing at the bottom of your screen.
3 Open the folder, then right-click on the file and select ‘Print’.
Ways with ink
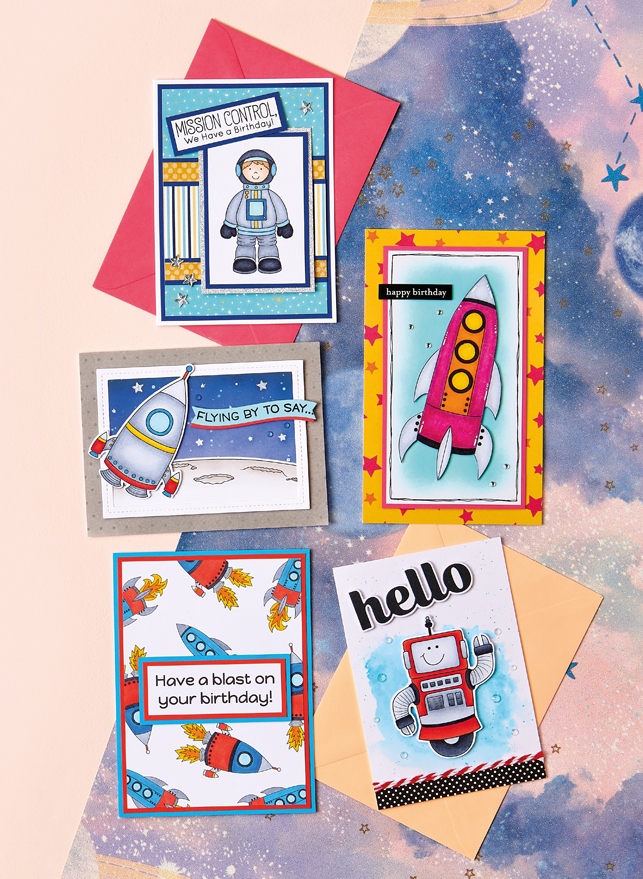
Kitty Day has paired these digi stamps with distress oxide inks, but she’s used these pigments in various ways to prove just how versatile they are. For her ‘Happy birthday’ card, distress oxide ink has been blended onto card using a sponge for soft and diffused results. For Kitty’s ‘Hello’ greeting, she has mixed distress oxide ink with water to create a watercolour effect. Kitty recommends completing the painterly look by flicking ink onto the panel with a paint brush.
Switch it up
Among these digi stamp motifs, you’ll find a selection of cute and quirky characters to choose from. What we love about the astronauts is that each one has a slightly different hairstyle. Why not use various coloured alcohol markers to mix up the hair and skin colours of your characters? You could even make one of the astronauts look like your recipient to add a personal touch to a greeting.
Make a scene
The moonscape digi stamp is the perfect base for a scene card. Take a look at Kitty’s ‘Flying by to say’ greeting and you’ll see why. Simply layer the motif onto a sky background to create a space scene that’ll blow your loved ones away. Ink your own by blending different hues of distress oxide inks or go a step further and use watercolours to create a multicoloured galaxy background.
YOU WILL NEED:
Kate Hadfield Blast Off Digi Stamps
Dies: stitched rectangular frame, sentiment
Ink pads, Ranger Distress Oxide
Patterned Papers
Alcohol markers
Fine liner, black
Cardstock, various colours
Gems
Tools: ink blending, paint brush
Adhesives: glue, 3D foam pads
Die-cutting machine
Colour an astronaut
Layer blue moon paper onto navy card and mount onto a 10cm x 13.5cm white blank. Matt a strip of yellow spotty paper onto navy and run along the middle of the card. Add a narrow strip of navy card and stripy paper on top. Print out the astronaut digi stamp. Colour in with alcohol markers and mount onto navy, then silver glitter card. Attach to the greeting with 3D foam pads. Stamp a sentiment in black ink, layer onto navy and adhere to the card front. Embellish with star gems.
Moonscape scene
Cover the front of a 10cm x 13cm blank with grey spotty paper. Cut white card slightly smaller and blend navy distress oxide inks to create a sky. Splatter a few flecks of water on top. Once dry, stamp stars in embossing ink, sprinkle on silver glitter embossing powder and heat-set. Print out the moon and rocket digi stamps and colour in. Attach the moon motif to the bottom of the background sky and add a white stitched frame on top. Die cut two banners from red and blue, then glue together. Stamp a sentiment onto the banners and fix to the card along with the rocket. Add clear gems to finish.
Rocket background
Create a background panel on your computer using multiple rocket images. Print out the panel and colour in the rockets with alcohol markers. Trim the panel to 10cm x 13.5cm, then mount onto red and blue card. Layer onto a white blank. Print out a sentiment, then matt onto red and blue card. Attach to the greeting with 3D foam pads.
Ink splash
Create a watercolour-look splash with blue distress oxide ink and water. Flick blue ink onto the panel with a paint brush. Run a strip of black spotty paper along the bottom, followed by red baker’s twine. Attach the panel onto a 9.5cm x 13.5cm white blank. Print out the robot image and trim. Colour in with alcohol markers and fix to the card front with 3D foam pads. Finish with a die-cut sentiment and gems.
Pretty in pink
Cover the front of a 10cm x 16cm blank with star paper. Trim white card to 7.5cm x 14cm and apply blue distress oxide ink to the centre with an ink blending tool. Draw a frame around the panel using a black fine liner, mount onto pink card and fix to the greeting with 3D foam pads. Print out the rocket digi stamp, colour in with alcohol markers and cut out. Fix to the card front with 3D foam pads. Complete with a sentiment and gems.
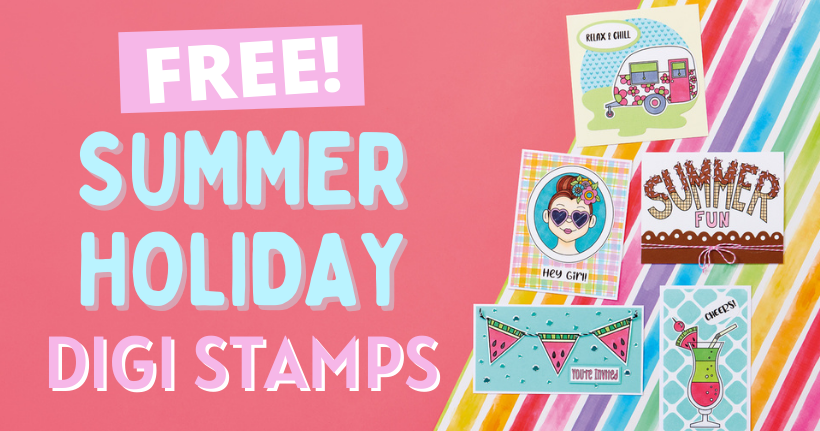
Download our free digi stamps and get your summer crafting off to a sizzling start. Colette Smith has drawn up 12 exclusive designs just for you – expect classic summer holiday…
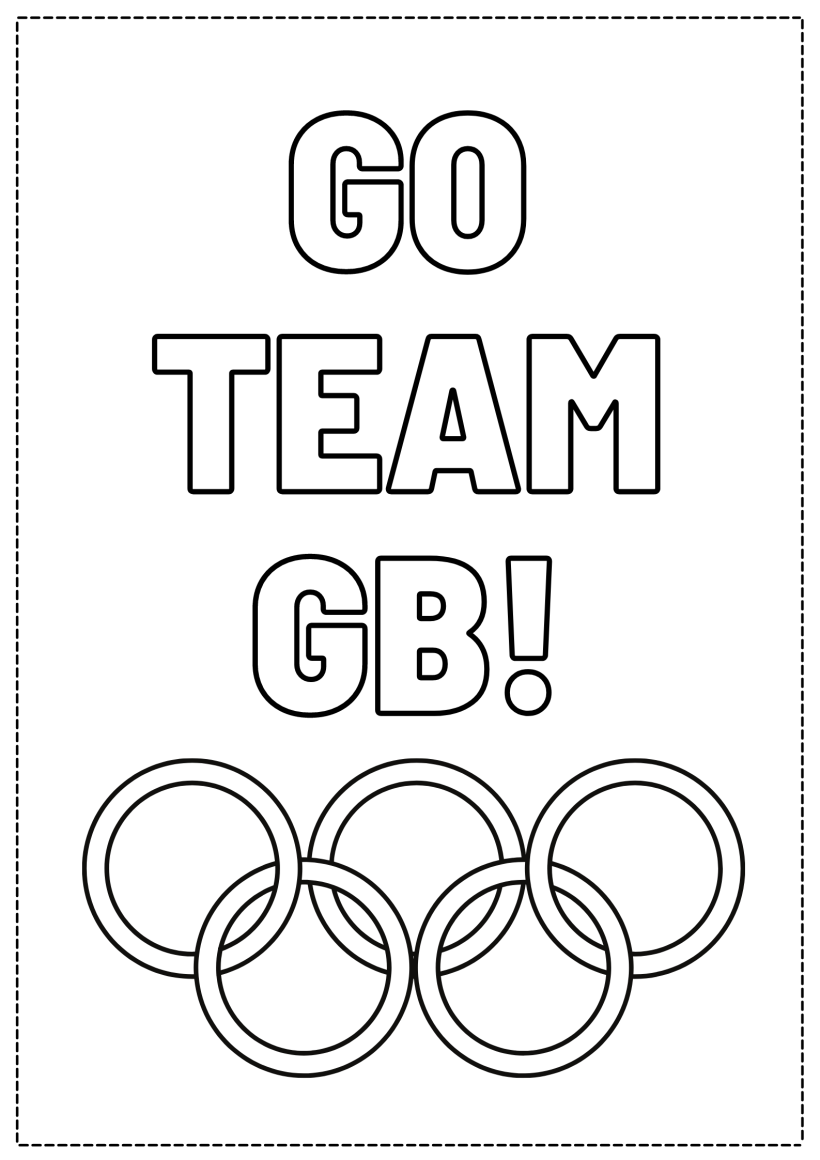
Download our printable, grab your favourite pens or paints, then start colouring! This printable is perfect for crafters young and old, and you can go as simple or as extravagant…

To download our templates, simply click ‘Download Now!’ and it will open in your browser. Why not send us a picture of your project once you’re done? For your chance to be…
Home decor Home decorations Papercraft Papercrafter Party makes Templates

There’s nothing quite so relaxing, or quite so fun, as settling down with a good colouring page. It’s even better if that colouring page happens to include Wallace & Gromit. This duo…


