


Card making Die cutting Easter cards Easter crafts How to Papercraft Stamping Digi Stamps
Expect cute characters, traditional motifs and sentiments that’ll put a spring in your step
Please login to download. Sign in here
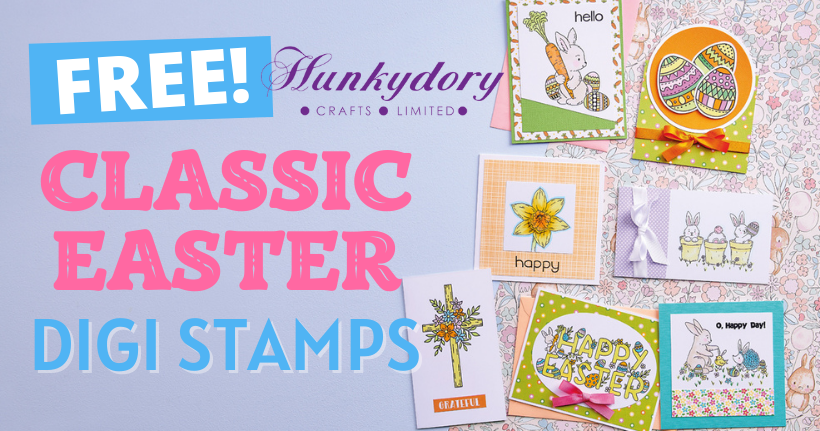
Upgrade your stash for Easter with these bonus printables, courtesy of our pals at Hunkydory (hunkydorycrafts.co.uk). Grab your favourite set of alcohol markers and create an uplifting selection of greetings for spring. Want to pack even more colour into your designs? Take inspiration from Colette Smith and incorporate patterned papers and vibrant cardstock… you’re sure to have plenty in your stash.
Download and print them
1 Press ‘Click here to download now’ then log in – or register if you don’t currently have an account with us.
2 Click ‘Download now’ and you’ll see the download processing at the bottom of your screen.
3 Open the folder, then right-click on the file and select ‘Print’.
Size matters
The beauty of crafting with digi stamps is that you can adapt them to make them your own. If you’re cutting your own shaped blanks or panels using a die, you may need to resize your chosen motif or sentiment to fit. Colette recommends holding your chosen die up to your computer screen to gauge how big or small your digi stamp needs to be. Alternatively, cut scrap paper to the desired size, hold up to the screen, then the image should show through.
Edgy angles
As you’ll see with Colette’s ‘Hello’ card, something as simple as snipping a diagonal section away from your panels pays off big time. Not only does it add interest to your cards, but it allows you to bring in more colour by layering cardstock or patterned papers behind. If you fancy something less dramatic, opt for rectangular or square panels and add patterned borders down the sides or along the top and bottom.
Colour details
Colette has used soft and neutral tones for the bunny digi stamps on her cards. You might not notice at first but opting for barely-there hues allows for subtle results that make all the difference. You can then go in with a soft pink to highlight the finer details such as the ears and cheeks. Remember, you can always add more ink, but you can’t take it away. Gradually build up the pigment so you don’t overdo it.
_(1).jpg)
YOU WILL NEED:
Hunkydory Classic Easter Digi Stamps
Dies: circles, oval
Stamps, sentiments
Ink pad, Versafine Onyx Black
Alcohol markers
Patterned papers
Cardstock: white, orange, blue, green
Embellishments: sentiment stickers, ribbons
Nuvo Aqua Shimmer pens
Adhesives: 3D foam pads, glue
Die-cutting machine
Bunny trio
Download and re-size the bunny motif so it sits to the right of an 8.5cm x 15cm side-folding landscape panel. Print and colour in the motifs and matt onto a white blank. Layer lilac spotty paper, 5cm x 8.5cm, to the left of the bunnies. Wrap and tie ribbon around the left of the card to finish.
Happy daffodil
Download and re-size the daffodil motif so it will sit within a 6.5cm square. Print twice and colour in. Cut out the centre of the flower from one of the images and fix to the centre of the main daffodil motif with 3D foam pads, lining up the outlines. Mount orange patterned paper onto a white square blank. Cut the daffodil panel to 6.5cm square and glue to the card. Stamp ‘Happy’ below the motif in black ink.
Eggs galore
Download and re-size the eggs as desired. Print, colour and cut out. Die cut a 10cm circle from orange card and matt onto a 10.5cm circle of white card. Add the eggs, layering them with 3D foam pads. Create a top-folding blank, 9.5cm x 11cm, and cover with floral paper. Attach the egg panel to the top so it overlaps the edge. Wrap and tie orange ribbon around the base of the card.
Oh, happy day!
Download and re-size the bunny, chick and hedgehog motif, ensuring it sits at the top of a 10cm square. Print, colour and trim. Add a 2.5cm x 10cm strip of floral paper across the bottom of the panel. Stamp a sentiment top-right in black ink. Mount onto a blue 12cm square blank.
Hello, bunny
Download and re-size the bunny and carrot motif so it sits towards the top of a 9cm x 12cm panel. Print and colour in. Cut a diagonal strip from the bottom and matt onto green card, 9cm x 12cm. Cover an 11cm x 14cm blank with green card and layer a 10.5cm x 13.5cm piece of Easter-themed paper onto it. Add the bunny image and highlight the carrot with a shimmer pen. Stamp ‘Hello’ in the top-right corner.
Happy Easter
Download and re-size the ‘Happy Easter’ sentiment so it can fit within a 9cm x 12cm oval. Print, colour and die cut into an oval. Matt floral paper onto a white side-folding blank, 11cm x 14cm. Add the oval to the centre and embellish with a pink bow.
Grateful greeting
Download and re-size the cross image so it fits at the top of an 8.5cm x 14.5cm blank. Print and colour in with alcohol markers. Trim and matt onto a white blank. Add a sentiment sticker below the cross to finish.
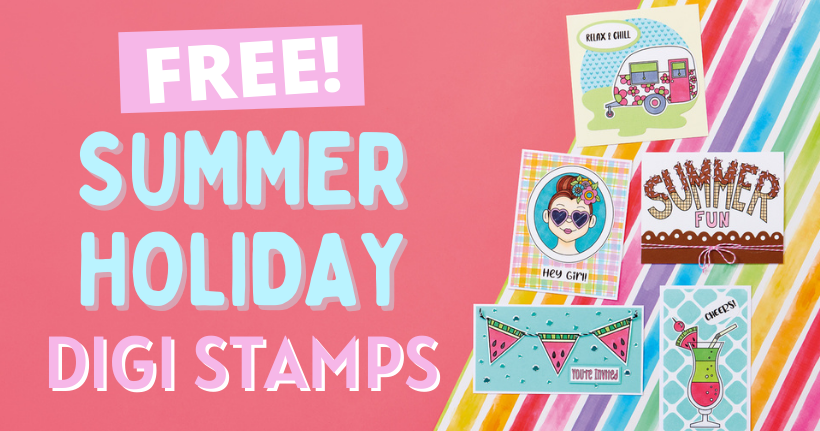
Download our free digi stamps and get your summer crafting off to a sizzling start. Colette Smith has drawn up 12 exclusive designs just for you – expect classic summer holiday…
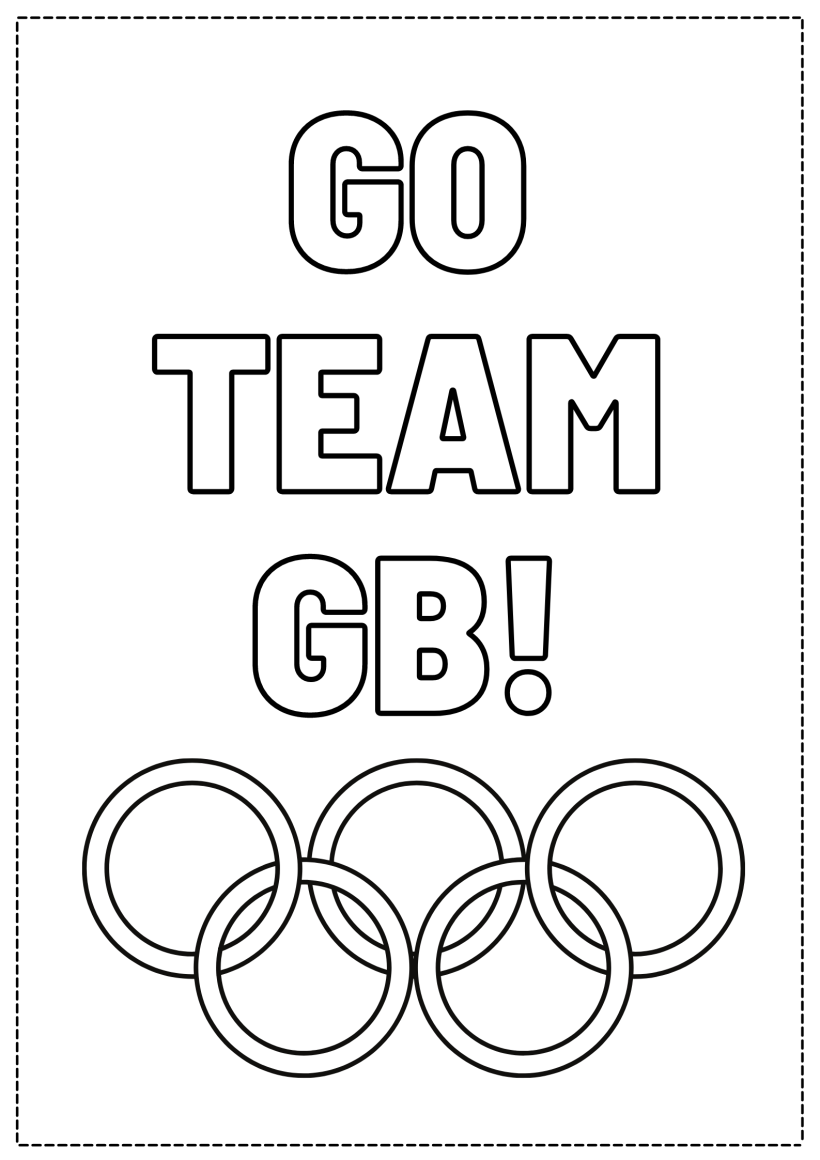
Download our printable, grab your favourite pens or paints, then start colouring! This printable is perfect for crafters young and old, and you can go as simple or as extravagant…

To download our templates, simply click ‘Download Now!’ and it will open in your browser. Why not send us a picture of your project once you’re done? For your chance to be…
Home decor Home decorations Papercraft Papercrafter Party makes Templates

There’s nothing quite so relaxing, or quite so fun, as settling down with a good colouring page. It’s even better if that colouring page happens to include Wallace & Gromit. This duo…


