


Card making Christmas cards Christmas crafts Papers
If Chris Rea’s crooning doesn’t make you feel festive, these digital papers sure will
Please login to download. Sign in here
Well, Millicent Venton has done it again. She’s created a truly wonderful paper pack for you to enjoy – better still, it celebrates some of the most heartwarming moments that Christmas has to offer. Spending time with loved ones, eating a homecooked feast, putting up decorations, exchanging presents and, for some of us, driving home for Christmas… utterly joyous. In your collection, you’ve been treated to seven prints and nine cut-and-go sentiments. Let’s get going with some project ideas…
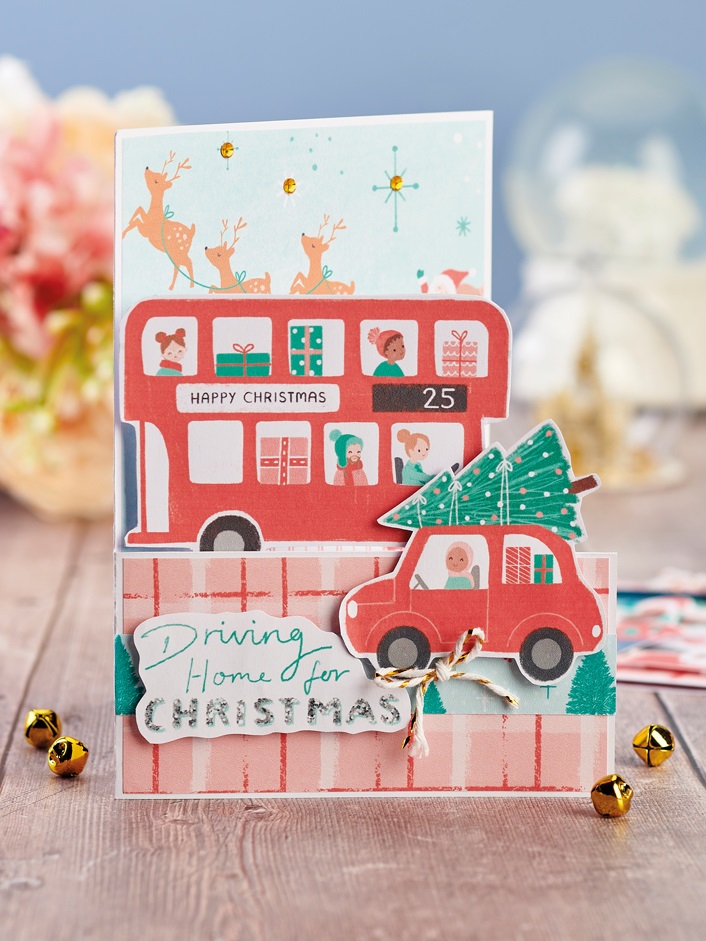
Seasonal Half Front Card
1. Create a 12cm x 16cm white blank, then trim the front down so it’s 6cm tall. Matt the inside with Santa paper and the front with checked paper. Adhere tree paper, 2cm x 12cm, across the middle.
2. Cut out our ‘Driving home for Christmas’ sentiment and fix on the left with 3D foam pads. Add a bus behind the front panel, then attach a car on the right-hand side of the front panel with 3D foam pads. Finish with a baker’s twine bow and gold adhesive gems.
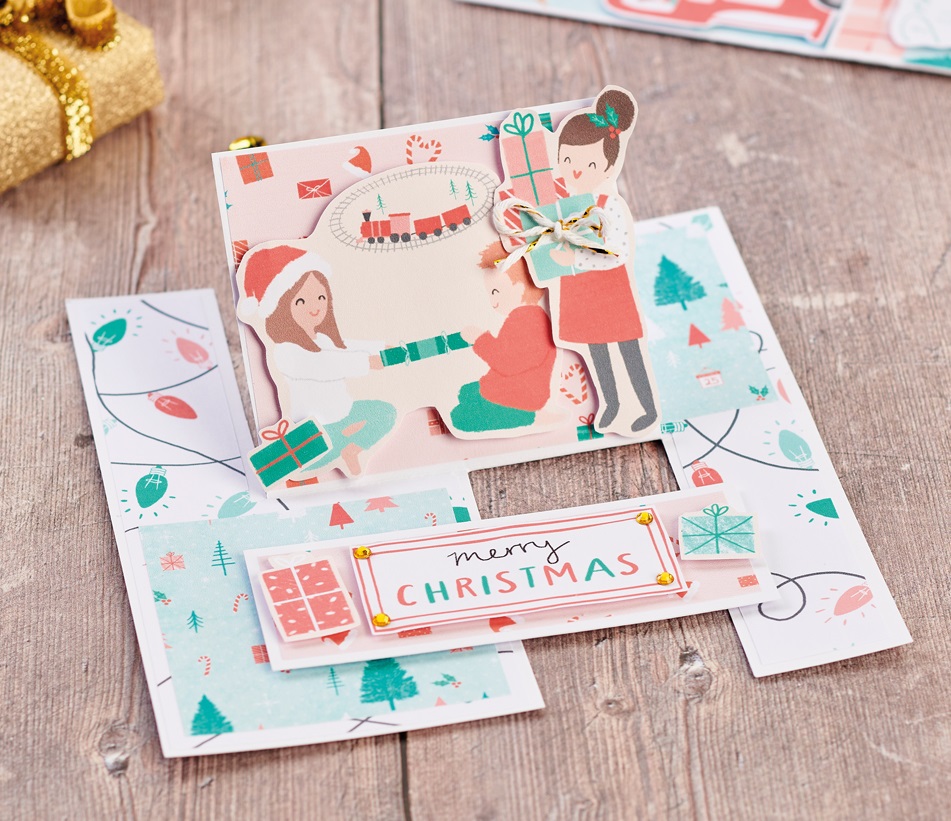
Festive Impossible Card
1. Trim white card to 16cm square. Use the template to score and cut in the areas shown. Fold the score lines, then take the top-right corner and flip over to the back. The central panel should stand upright.
2. Matt both base panels with fairy lights paper. Adhere two pieces of tree paper, 7cm square, on top. Fix present paper, 7.5cm x 8.5cm, to the central panel.
3. Snip white card to 4cm x 11cm and matt with present paper. Attach a sentiment and two presents on top with 3D foam pads. Secure across the front with 3D foam pads. Cut out a family and stick to the central panel with 3D foam pads. Apply a baker’s twine bow and gold adhesive gems.
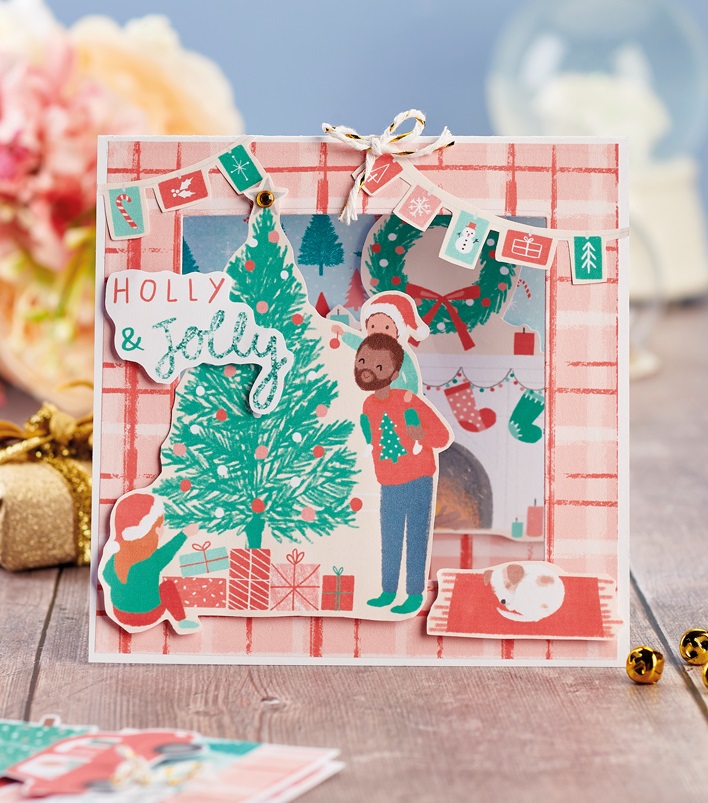
Christmas Aperture Card
1. Matt the front of a 14.5cm square top-folding white blank with checked paper. Die cut a 10cm square through the front. Cover the inside with tree paper, then attach a fireplace on the right-hand side with 3D foam pads.
2. Cut out a dog and fix in the bottom-right corner at the front with 3D foam pads. Add a tree and two lots of Christmas card garlands, then adhere with 3D foam pads. Trim ‘Holly & jolly’ and secure on the left with 3D foam pads. Complete with a baker’s twine bow and gold adhesive gem.
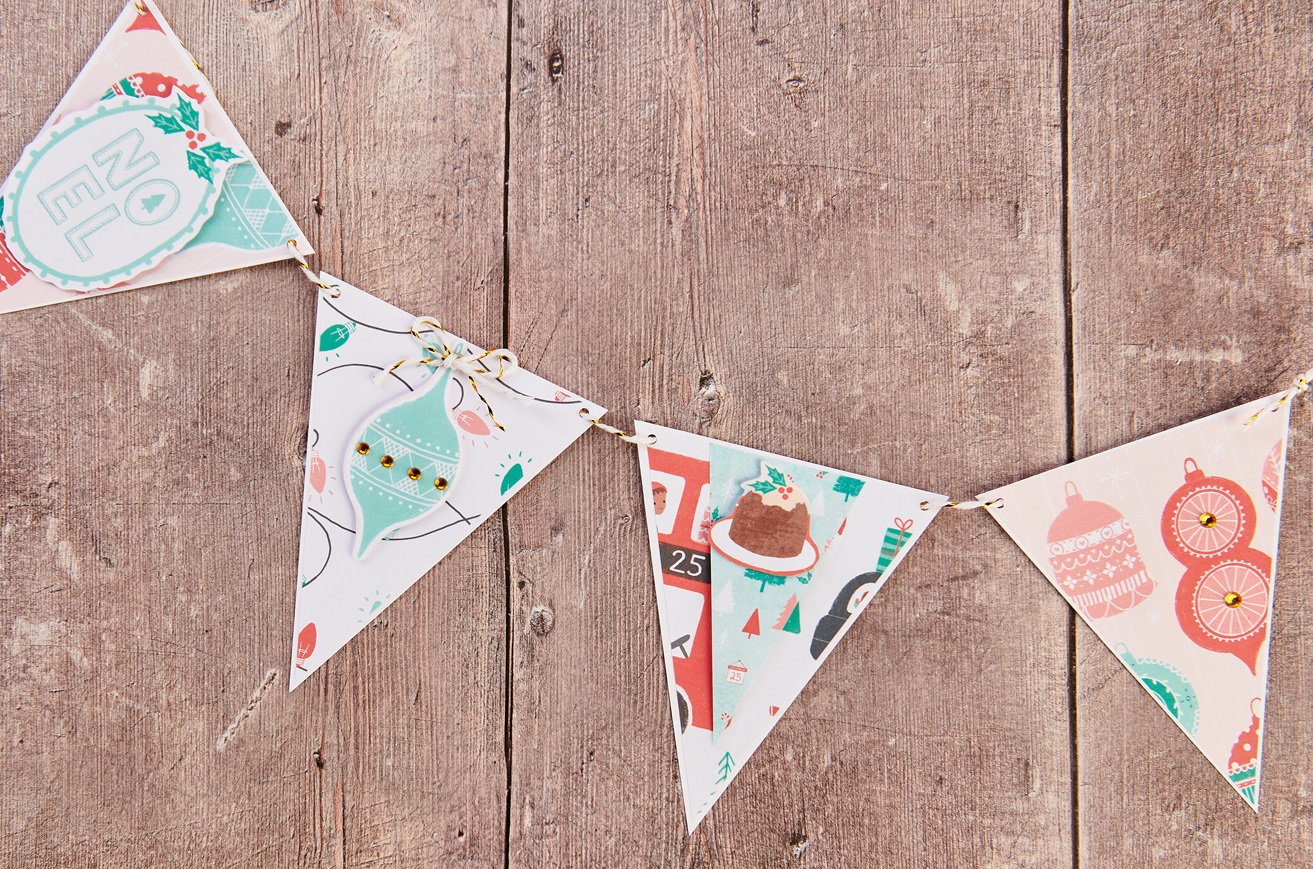
Christmas Garland
Trim pieces of white card to 10cm x 12cm, then cut into triangles. Matt each one with various papers, then add sentiments and toppers with 3D foam pads. Punch holes in the top corners of the triangles, then thread with baker’s twine. Finish with a baker’s twine bow and gold adhesive gems.
Loving our free papers? We’ve got lots more for you to enjoy.

To download our templates, simply click ‘Download Now!’ and it will open in your browser. Why not send us a picture of your project once you’re done? For your chance to be…
Home decor Home decorations Papercraft Papercrafter Party makes Templates

There’s nothing quite so relaxing, or quite so fun, as settling down with a good colouring page. It’s even better if that colouring page happens to include Wallace & Gromit. This duo…
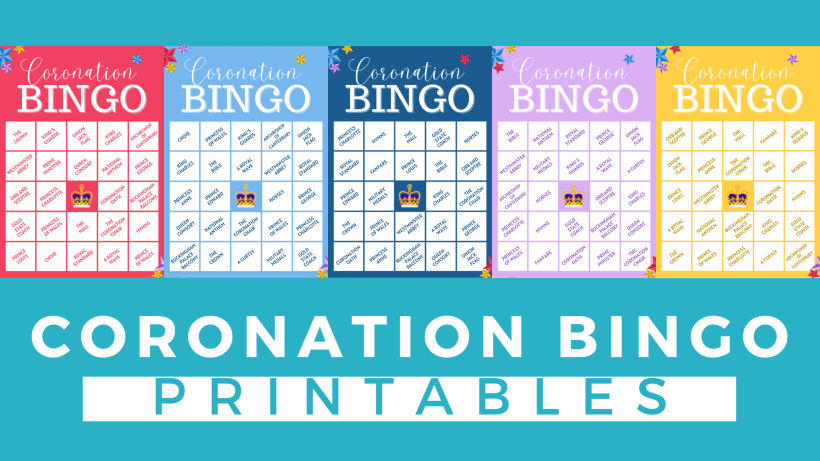
Gather your friends, get the TV on, bring a pen, and play Coronation Bingo! Extra points for prizes.
HOW TO PLAY
1. Each player will need one scorecard and a pile of…
.png)
Featuring motifs full of whimsy and joy, this Clearly Besotted digi stamp set is perfectly suited to wish someone a happy day. Use your nine-piece printable pack as many…


