


Birthday crafting Card making How to Papercraft Stamping Techniques Digi Stamps
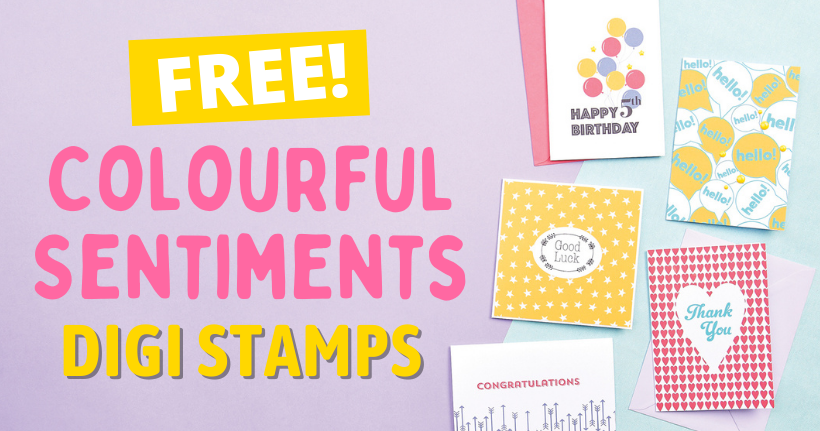
Spread the word... these all-occasion designs are free to download!
Please login to download. Sign in here
Whether you need a card for a birthday, new arrival, wedding, anniversary or to simply cheer up a chum, you name it, we’ve got a sentiment for the occasion. You’ll also find numbers and motifs in your printable pack as an added bonus. Plus, if you’re celebrating a milestone anniversary, why not include the special number on your design using the ‘nd’, ‘st’, ‘rd’ and ‘th’ ordinals?
Download and print them
1 Press ‘Click here to download now’ then log in – or register if you don’t currently have an account with us.
2 Click ‘Download now’ and you’ll see the download processing at the bottom of your screen.
3 Open the folder, then right-click on the file and select ‘Print’.
Colour clever
The great thing about these digi stamps is that they’re pre-coloured so the hard work is done for you. However, if you wish to change the colour of a particular sentiment or motif, the good news is you can! Ingrid has changed the colour of the original digi stamps for her ‘Happy Birthday’ card using digital image software, such as Adobe Photoshop and Procreate. It just proves how versatile these printables really are. Why not opt for a colour scheme that suits your recipient’s taste?
Wise words
Big sentiments are bang on trend right now so why not make them the star of the show? Follow in Ingrid’s footsteps and duplicate one of the sentiments multiple times. You can then resize some of the words, arrange and layer them up until your canvas is completely covered. This will give you a bold and eye-catching background, ensuring your card stands out from the crowd. Ingrid has used this technique on her ‘Hello’ greeting.
Ready to go
If you’re stuck for time or aren’t too confident with tech but like the finished results, you can download and print Ingrid’s complete designs for free. Layer them onto a blank for a super speedy selection of greetings. There’s zero crafting involved, but don’t be afraid to go a step further and add to the designs.
YOU WILL NEED:
Colourful Sentiments Digi stamps
Embellishments: enamel dots, enamel stars
Colour printer
Image editing software (Procreate, Adobe Photoshop or Canva)
Adhesives
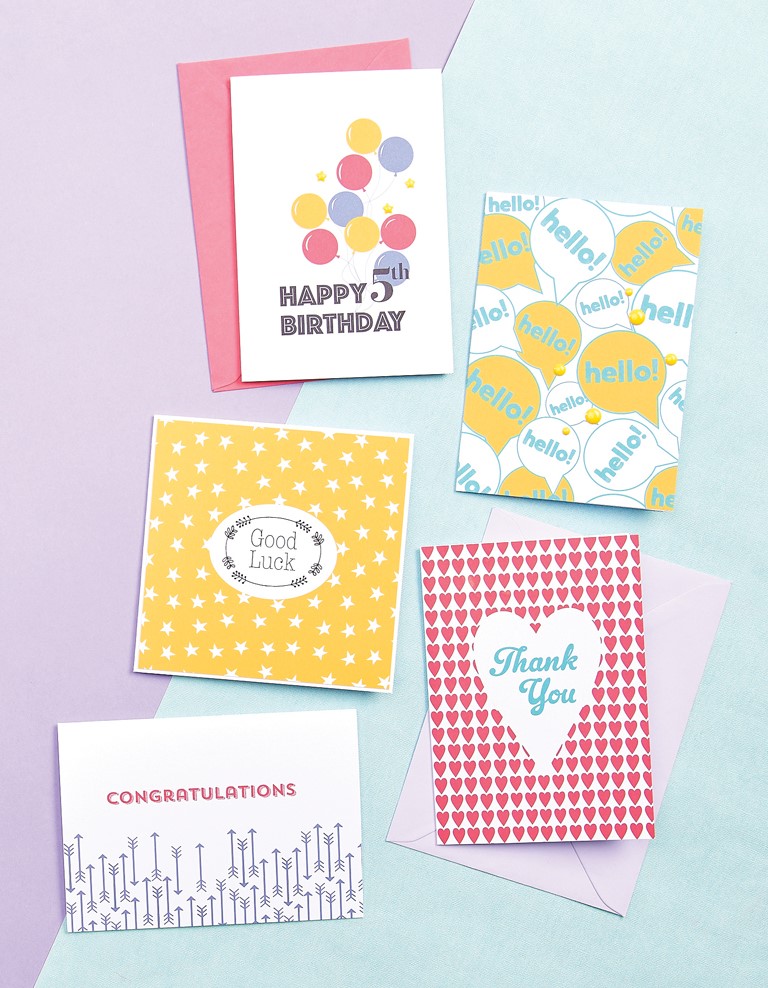
Thank you
Open an A4 sized canvas in an image editing software and use guides to split it into quarters. Isolate the tiny red heart digi stamp onto its own layer, duplicate it a few times (15 in one row), line them up and space them out evenly. Duplicate the entire row a few times until the entire quarter of the canvas is covered. Place the entire image in the top-right quarter. Enlarge the original tiny red heart and trace it, then fill it in with white. You can now delete the enlarged red heart. Place it in the centre of the heart panel and add the ‘Thank you’ sentiment in the centre, then print your card.
Hello
Using an image editing software, open an A4 sized canvas and use guides to split it into quarters. Draw a simple rectangle to fit in the top-right quarter and fill it in with white. Isolate the ‘Hello’ speech bubble motif onto its own layer. Duplicate the original a few times, then scale, tilt and place each image until the entire top-right quarter is covered. Some will be hanging over the sides so once happy with the placement, merge the layers, place the layers above the white rectangle and use the clipping mask feature to snap the image onto it to remove everything overlapping the outer edges and create a perfect card front. Use the mask feature to remove some unwanted lines on the bubbles to make them look as if they’re layered. Fill in some of the speech bubbles with yellow and print out your card. Score and fold in the centre, then add the enamel dots.
Happy birthday
Open an A4 sized canvas in an image editing software and use guides to split it into quarters. Isolate the images and arrange them in the top-right quarter of the canvas. Change the ‘Happy birthday’ sentiment to black, the balloons to red, yellow and purple, then edit the balloon highlights so that they are all on one side. Print out the card, score and fold. Embellish with enamel stars.
Congratulations
Using an image editing software of your choice, open an A4 sized canvas and use guides to split it into quarters. Isolate the images and flip the canvas to landscape. Use the bottom-left or bottom-right quarter to design the card front. Arrange the arrows on the bottom-left, then duplicate the original arrows several times, rearrange and flip them as you wish until the entire bottom section is filled. Add the red ‘Congratulations’ sentiment in the centre and print the card.
Good luck
Open an A4 sized canvas in an image editing software and draw a 13cm square. Isolate the images and place the ‘Good luck’ sentiment in the centre of the square. Change the colour of the sentiment to black. Draw a simple oval in the layer underneath and fill it in with white. Duplicate the small star image a few times, arrange and repeat the process until the entire square is covered in stars. Be sure to fill them with white and the square yellow. Some stars will be overlapping the square so once happy with the design, merge the star layers and use the clipping mask feature to clip the star layer onto the yellow square. Print out the design, trim the square to 12.5cm making sure the sentiment is centred, then adhere the panel onto a 13cm square blank.
Simplify these projects by downloading Ingrid’s ready-made digital card designs!
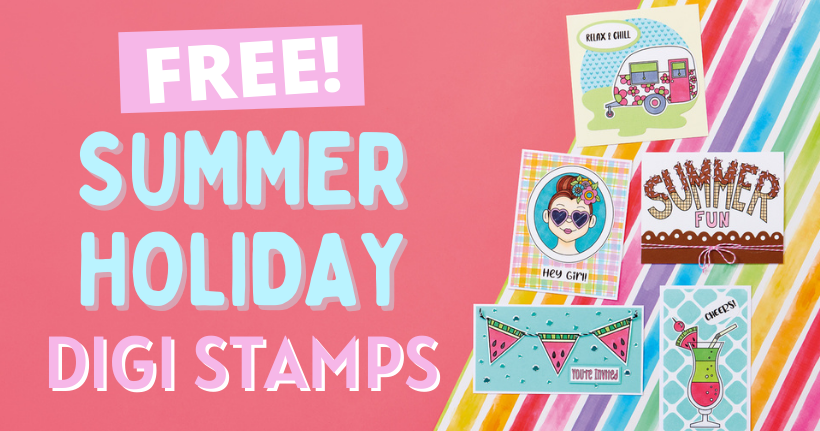
Download our free digi stamps and get your summer crafting off to a sizzling start. Colette Smith has drawn up 12 exclusive designs just for you – expect classic summer holiday…
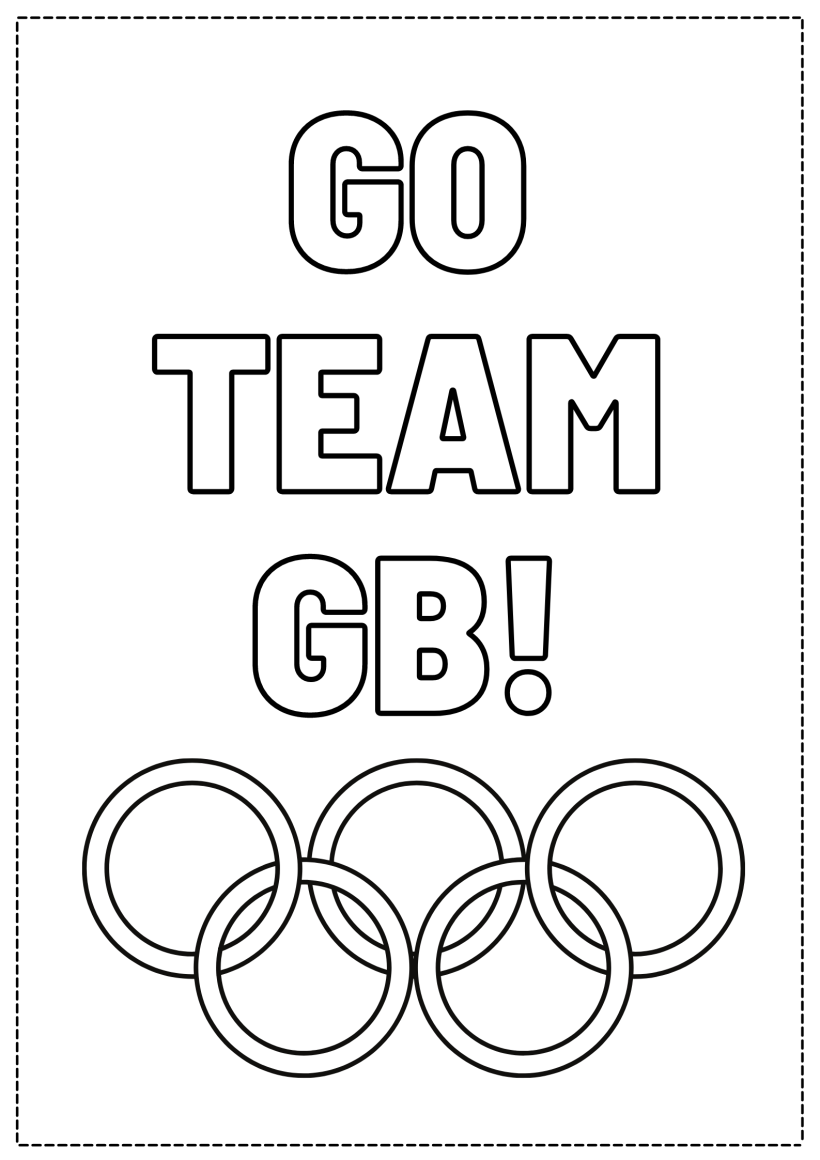
Download our printable, grab your favourite pens or paints, then start colouring! This printable is perfect for crafters young and old, and you can go as simple or as extravagant…

To download our templates, simply click ‘Download Now!’ and it will open in your browser. Why not send us a picture of your project once you’re done? For your chance to be…
Home decor Home decorations Papercraft Papercrafter Party makes Templates

There’s nothing quite so relaxing, or quite so fun, as settling down with a good colouring page. It’s even better if that colouring page happens to include Wallace & Gromit. This duo…


