


Birthday crafting Card making Die cutting Home decor Home decorations How to Papercraft Papercrafter Party makes Stamping Techniques Digi Stamps
Expect plenty of cute characters in your bonus printable pack
Please login to download. Sign in here
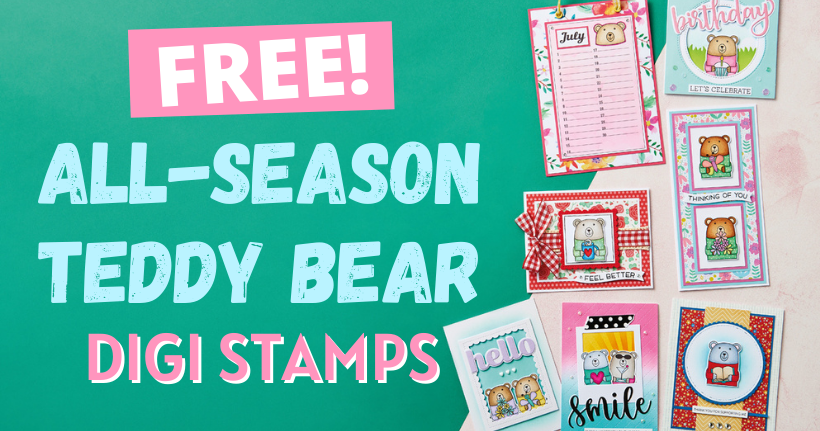
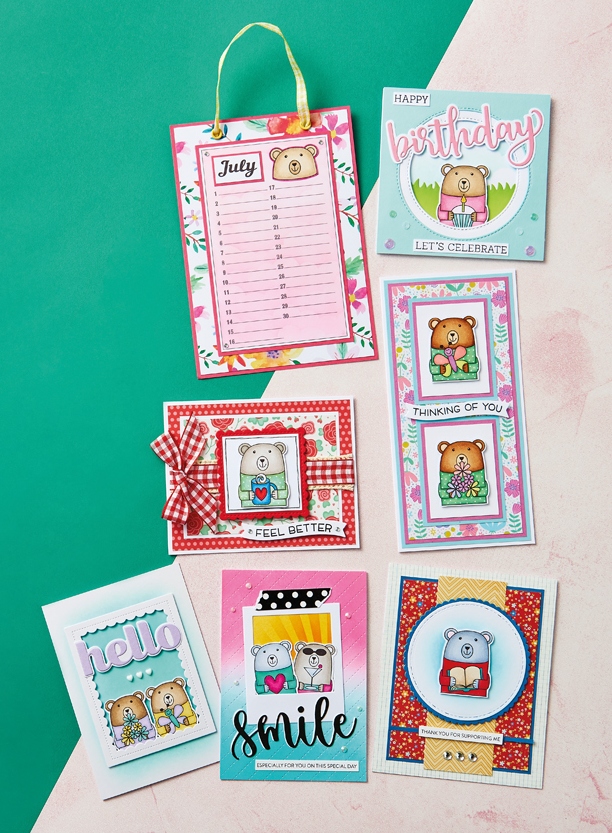
These digi stamps are nothing but adorable. There’s a bear for every occasion, plus monthly calendar elements so you can really tailor your makes. Simply download them and print as many times as you like. From there it’s just a case of colouring them in as Kitty Day demonstrates below. Pick an occasion and the bear to match for a bespoke greeting, or why not have a go at a monthly calendar plaque?
Download and print them
1 Press ‘Click here to download now’ then log in – or register if you don’t currently have an account with us.
2 Click ‘Download now’ and you’ll see the download processing at the bottom of your screen.
3 Open the folder, then right-click on the file and select ‘Print’.
Make It A Date
In this issue’s digi stamp pack, you’ll find the months of the year and three calendars which Kitty has used to make a planner plaque. Why not go all out and create a full yearly calendar? Just be sure to match the month to the correct number of days. For example, use the 28-day calendar for February. For March, use the 31-day calendar and so on. If you’re focussing on cards, why not make them bespoke by adding your recipient’s birth month?
Bear Hugs
Whether you’re crafting for Easter, a birthday, wedding or for someone who’s feeling a little under the weather, there’s a bear for every occasion and event. You’ll notice that each character is cuddling a different motif, so pick and choose to suit the theme of your make. From hearts and books to cakes and flowers, there’s even a bear holding a hat which could come in handy for a Halloween design or birthday party invitation depending on your colour palette.
Frame Game
Take a look at all of Kitty’s cards opposite and you’ll notice that each one features a frame around the bears. Not only does this give your design shape, but your recipient’s eye will be drawn to the main motif. Choose from a polaroid, circle, scallop-edged rectangle or circles. We love the tunnel effect Kitty has achieved on her ‘Happy birthday’ card. By using two nesting circles, she has managed to give her design even more depth and dimension.
YOU WILL NEED:
All-season Teddy Bear Digi Stamps
Dies: stitched circles, scallop-edged circles, scallop-edged square, polaroid frame, sentiments, background
Stamps, sentiments
Stencils: cloud, sun ray
Ink pads, Ranger Distress Oxides
Punch, hole
Alcohol markers
Fineliner, black
Patterned papers
Cardstock, various colours
Embellishments: ribbon, lace, gems, hearts, eyelets
Ink blending tool
Adhesives: glue, 3D foam pads
Die-cutting machine
Smile
Blend mint and pink distress oxide inks onto white card. Die cut the panel using a background die. Print and colour in two teddy bears, then cut out. Stencil a sun ray onto a small square of white card using orange and yellow distress oxide inks. Attach the stencilled panel behind a die-cut polaroid frame and add the two bears. Fix to the card and add a strip of washi tape along the top. Die cut a sentiment from black and white card, layer together, then glue below the polaroid frame. Secure a smaller stamped sentiment along the bottom of the card, then finish with gems.
Feel better
Matt red polka paper onto a white blank, then layer a smaller panel of rose paper onto white card. Fix to the blank. Add lace and ribbon across the middle. Tie ribbon into a bow and secure to the left-hand side. Print, colour and cut out a teddy bear. Mount a square panel of white card onto a red scallop-edged square, then add a border with a black fineliner, followed by the bear. Finish with a sentiment and gems.
Thank you
Cover a white blank with grid paper. Layer a smaller panel of red floral paper onto blue card, fix to the card, then add a thin strip of blue card horizontally towards the bottom. Run a strip of yellow patterned paper down the card vertically. Secure a stamped sentiment on top with 3D foam pads. Blend blue distress oxide ink onto a white stitched circle, then mount onto blue card. Print and colour in a teddy bear, then fix to the centre of the circle. Adhere to the card with 3D foam pads. Complete with three gems.
Hello
Blend turquoise distress oxide ink onto a white blank. Add a white die-cut scallop-edged frame onto the card with 3D foam pads. Die cut a sentiment from lilac and white card, layer together, then fix to the card. Print and colour in two teddy bears, cut out and secure inside the frame. Finish with three hearts.
Happy birthday
Die cut a stitched circle from mint card, then use a smaller stitched circle to die cut white card. Create a small cloud background using a stencil and blue distress oxide ink. Add a green grass strip on top of the cloud background. Fix the two frame pieces on top with 3D foam pads to create a window. Print, colour and cut out the teddy bear and add inside the circular frames. Finish with sentiments and sequins.
Thinking of you
Matt floral paper onto pink and blue card, then layer onto a white blank. Trim two rectangles from white card, layer each one onto pink and blue card, then fix to the card. Print and colour in two teddy bears. Cut out and glue one to each rectangular panel with 3D foam pads. Complete with a sentiment.
Monthly calendar
Print out the monthly calendar sheet and apply pink distress oxide ink with a blending tool. Add a cloud effect over the top using a stencil and more pink distress oxide ink. Print and colour in a teddy bear face, cut out and glue to the top of the calendar. Print the month and matt onto pink card. Fix to the top next to the bear. Layer the panel onto pink card, followed by a larger panel of floral paper and pink card. Punch two holes in the top and set two eyelets. Thread ribbon through the holes and add gems to finish.
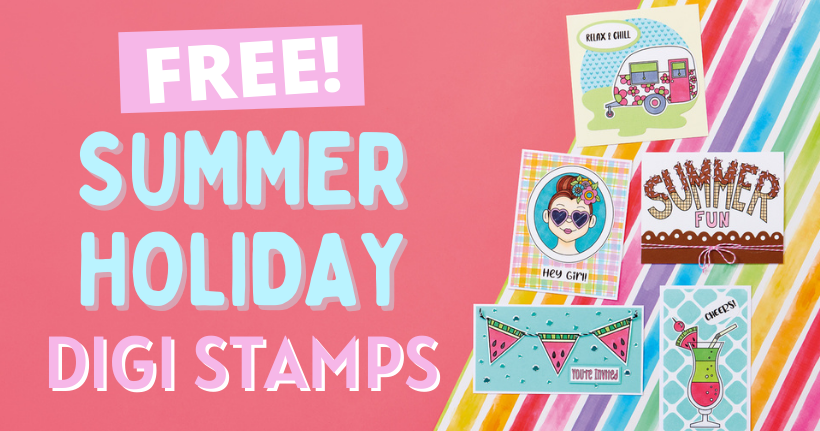
Download our free digi stamps and get your summer crafting off to a sizzling start. Colette Smith has drawn up 12 exclusive designs just for you – expect classic summer holiday…
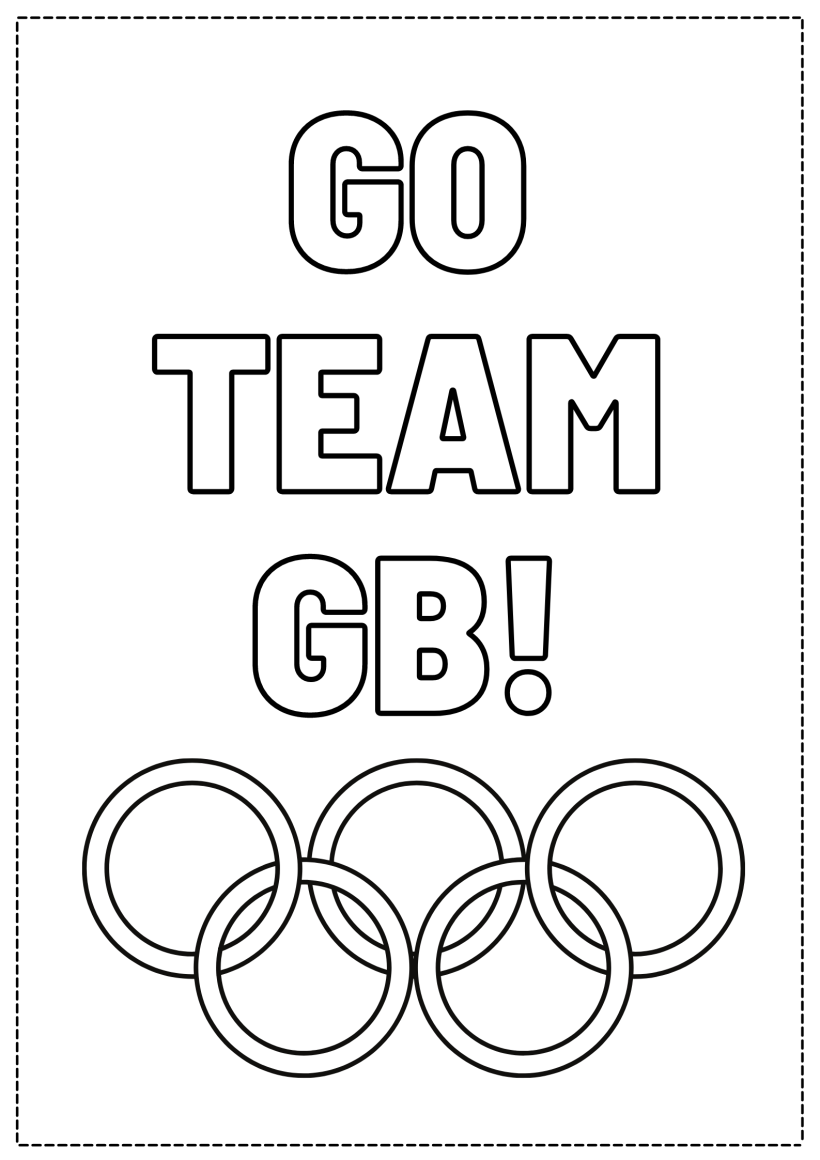
Download our printable, grab your favourite pens or paints, then start colouring! This printable is perfect for crafters young and old, and you can go as simple or as extravagant…

To download our templates, simply click ‘Download Now!’ and it will open in your browser. Why not send us a picture of your project once you’re done? For your chance to be…
Home decor Home decorations Papercraft Papercrafter Party makes Templates

There’s nothing quite so relaxing, or quite so fun, as settling down with a good colouring page. It’s even better if that colouring page happens to include Wallace & Gromit. This duo…


