


Christmas cards Christmas crafts Papers
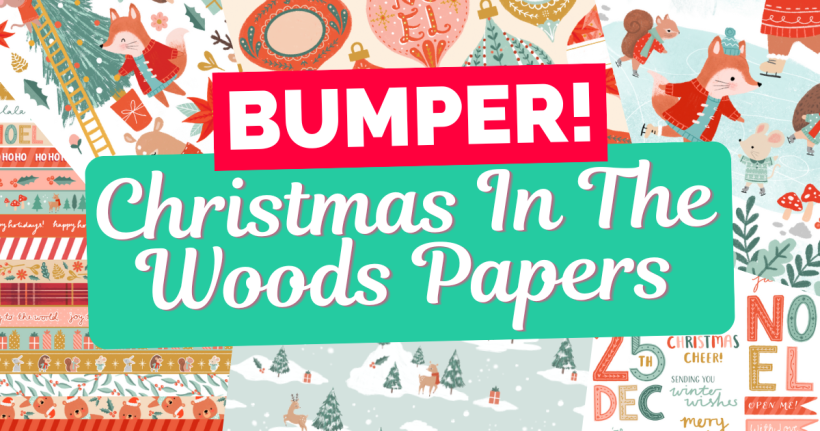
A 76-piece pack... woah, it’s our biggest ever Christmas paper collection!
Please login to download. Sign in here
A woodland Christmas sure looks fun. Frolicking on the ice, decorating the tree, wrapping up in stylish winter woollies… where’s our invite? This bumper collection by Millicent Venton really is something else. Not only do you get your usual A4 prints (the baubles are stunning!) but there are 17 sentiments, 32 toppers and 20 borders raring to go, providing you with plenty of creative starting points. Shall we begin?
Use your exclusive freebies to make four beautiful cards and a Christmas countdown sign with Sarah Jackman Read. The latter is just genius, while the greetings offer up lots of techniques for you to try – master the bridge fold, play with a different card front height, suspend a topper through an aperture, and truly utilise those borders with an easel card.

Christmas Bauble Aperture Card
1. Make a 12cm x 16cm top-folding white blank and cover the front with green card. Matt poinsettia paper, 11cm x 15cm, on top. Die cut a 7.5cm x 10cm oval through the front, towards the top, then adhere two borders below. Fix snowflake paper, 11.5cm x 15.5cm, inside.
2. Attach a bauble to white card, cut out, then punch a hole through the top. Thread with baker’s twine, then suspend within the aperture. Cut out a small poinsettia and attach to the centre of the bauble with 3D foam pads.
3. Cut out a sentiment, layer onto green card and attach to the centre of the borders with 3D foam pads. Snip mistletoe and a sentiment pennant, then stick to the top with a baker’s twine bow.

Woodland Christmas Bridge Card
1. Trim white card to 15cm x 25cm, then score down from the long edge at 4cm, 8cm, 17cm and 21cm. Mountain fold the outside score lines and valley fold the inside ones. Cover the outside and central panels with green card.
2. Matt the outside panels with holly paper and the central panel with tartan. Cover the two remaining panels with contrasting paper. Cover white card, 4cm x 17cm, with green card. Trim poinsettia paper to 3cm x 16cm and adhere on top. Fix a sentiment border across the middle, then secure to the base of the outside panels.
3. Cut out a large Christmas tree with animals. Attach to the centre of the border with 3D foam pads. Trim our ‘Ho ho ho’ sentiment into three pieces, layer onto green card, then stick on the right-hand side with 3D foam pads so they’re staggered.
4. Die cut a 4cm x 6cm oval from tartan paper and a 5cm x 7cm oval in green card. Layer together and fix on the left-hand side with 3D foam pads. Trim a poinsettia and secure on top. Cut out a squirrel, attach below, then add a baker’s twine bow to the bottom of the tree.
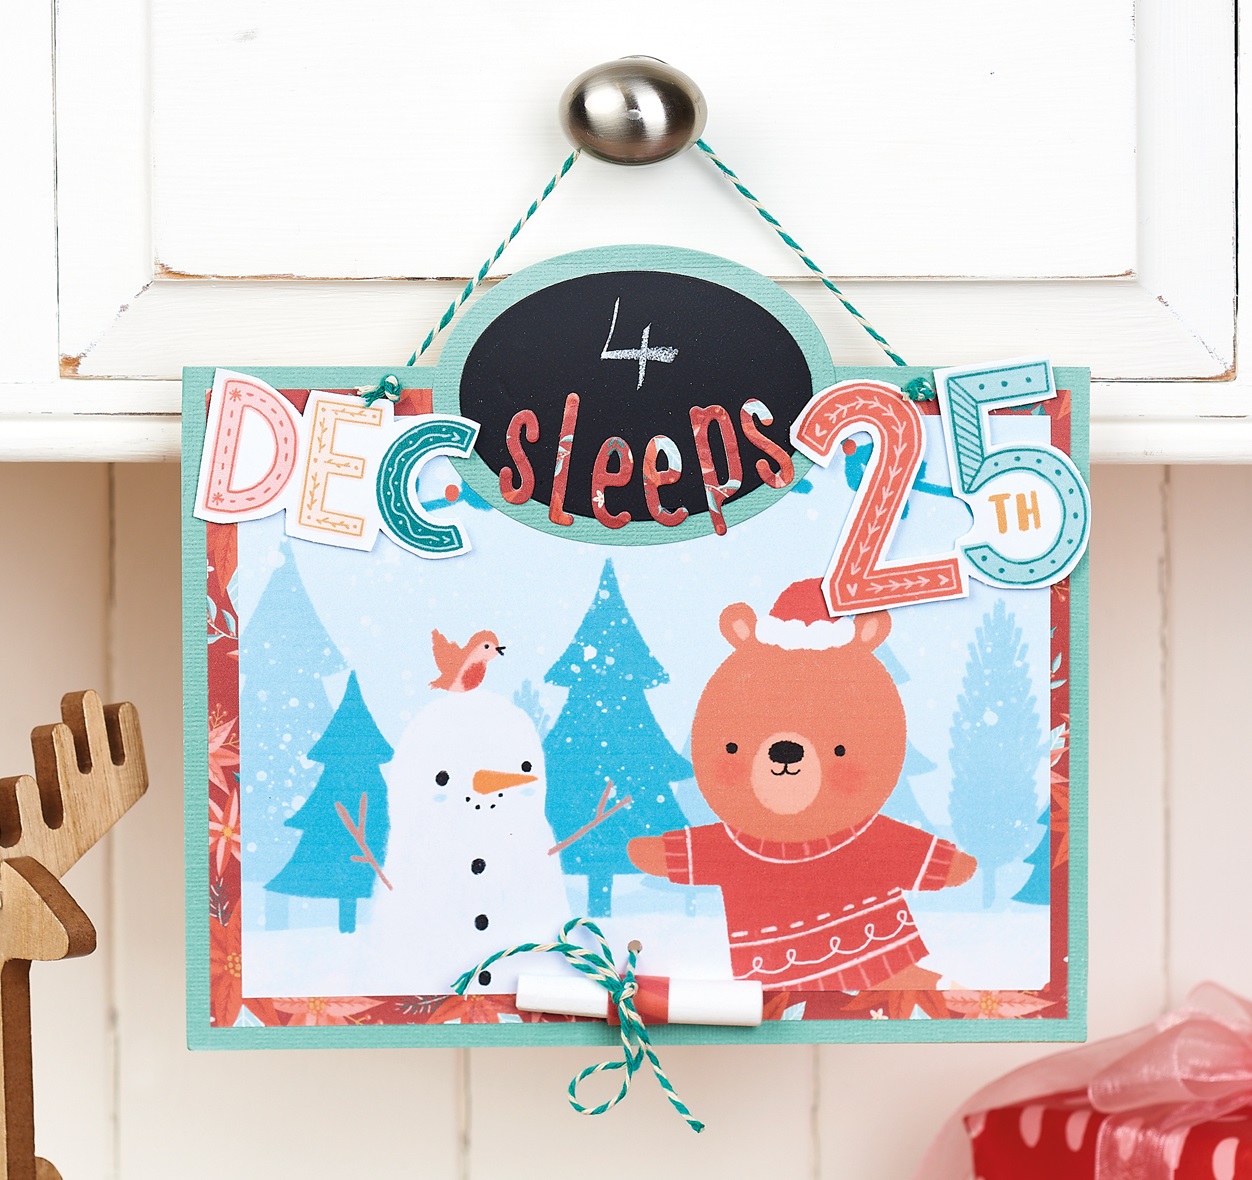
Christmas Countdown Hanging Sign
1. Trim cardboard to 15cm x 20cm, then adhere green card to the front. Matt character paper, 13cm x 18cm, onto poinsettia paper and fix on top. Die cut an adhesive chalkboard sheet into a 5.5cm x 7.5cm oval, then make a 6.5cm x 9cm oval from green card.
2. Layer the ovals together and secure to the top so half of it extends above. Die cut the letters to spell ‘Sleeps’ from our poinsettia paper. Adhere across the bottom of the ovals, following the curve. Cut out ‘Dec’ and ‘25th’ and attach either side with 3D foam pads.
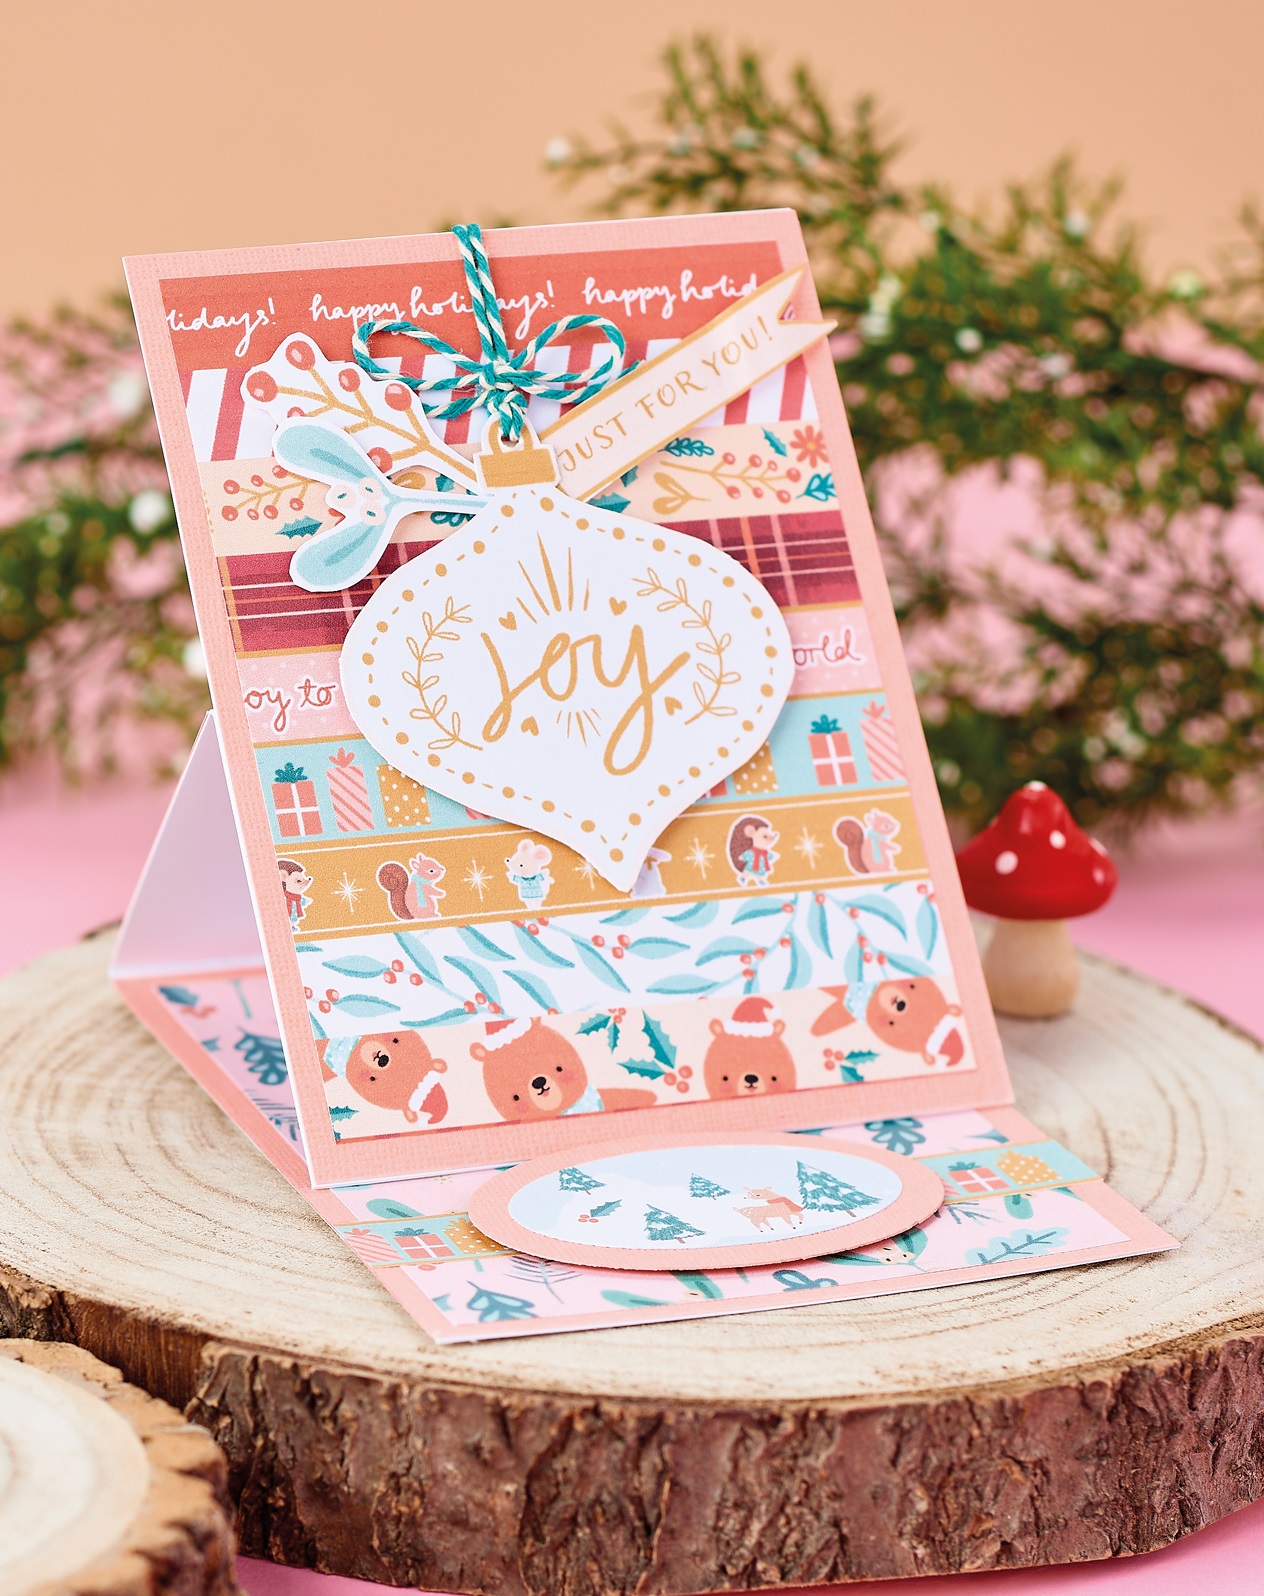
Woodland Christmas Easel Card
1. Create a 10.5cm x 14cm top-folding white blank. Score and fold the front in half. Cover the inside with peach card, then trim mistletoe paper to 9.5cm x 13cm and adhere on top. Cover white card, 10.5cm x 14cm, with peach card. Trim our border paper to 9.5cm x 13cm and fix on top.
2. Adhere a ‘Joy’ bauble to white card, cut out, then punch a hole through the top. Thread with baker’s twine and secure on top of the border paper with 3D foam pads. Wrap the baker’s twine over the top and adhere in place. Cut out mistletoe, berries and a sentiment pennant. Tuck behind the top of the bauble and attach, before adding a baker’s twine bow on top.
3. Add this panel to the card front, under the fold, to create an easel greeting. Fix a decorative border across the inside, towards the bottom. Die cut a 3.5cm x 5.5cm oval from reindeer paper and a 4.5cm x 6.5cm oval from peach card. Layer together. Attach on top of the border with 3D foam pads to create an anchor.
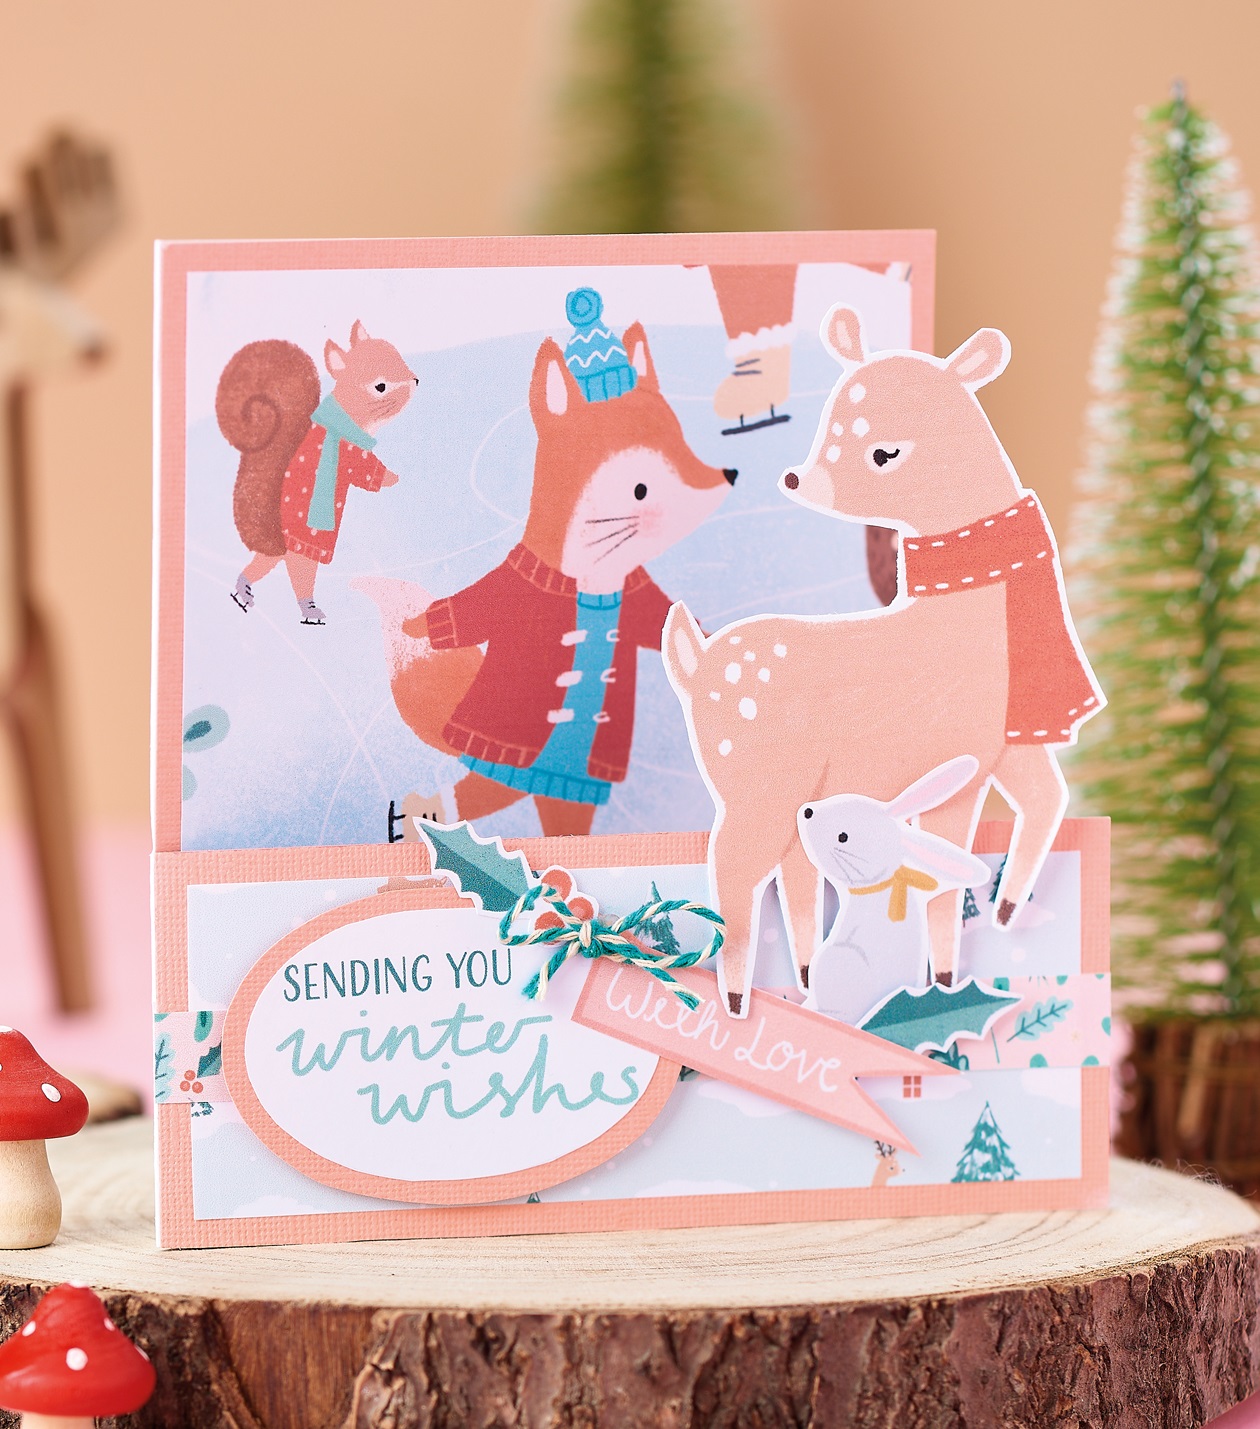
Woodland Christmas Half-Front Card
1. Create a 15cm square white blank and trim the front to 6cm high. Cover the front and inside panels with peach card. Fix ice skating paper, 14cm square, inside. Trim reindeer paper to 6cm x 14cm, then attach to the front and add a decorative border across the centre.
2. Adhere a large reindeer to white card. Trim carefully and secure top-right on the front panel with 3D foam pads. Cut out a rabbit in front with 3D foam pads.
3. Die cut our ‘Winter wishes’ sentiment into a 4cm x 6cm oval, then create a 5cm x 7cm oval from peach card. Layer together and fix on the left-hand side with 3D foam pads. Trim holly and a sentiment pennant, then fix on the right. Finish with a baker’s twine bow.
Loving our paper collections? We’ve got lots more for you to enjoy.

To download our templates, simply click ‘Download Now!’ and it will open in your browser. Why not send us a picture of your project once you’re done? For your chance to be…
Home decor Home decorations Papercraft Papercrafter Party makes Templates

There’s nothing quite so relaxing, or quite so fun, as settling down with a good colouring page. It’s even better if that colouring page happens to include Wallace & Gromit. This duo…
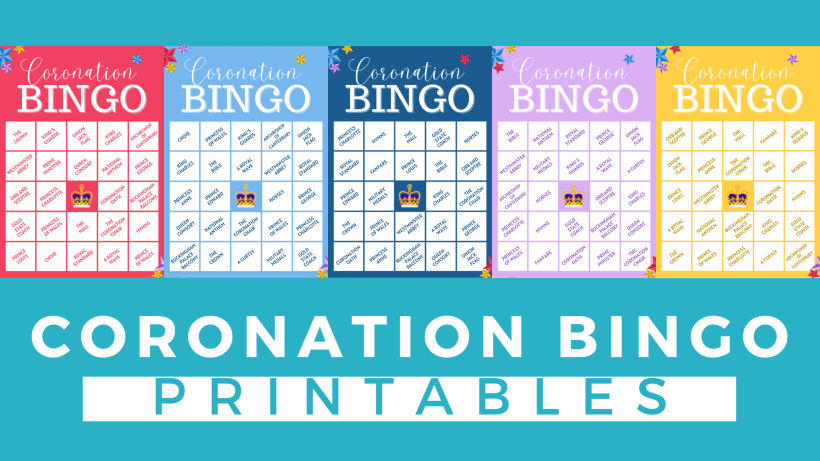
Gather your friends, get the TV on, bring a pen, and play Coronation Bingo! Extra points for prizes.
HOW TO PLAY
1. Each player will need one scorecard and a pile of…
.png)
Featuring motifs full of whimsy and joy, this Clearly Besotted digi stamp set is perfectly suited to wish someone a happy day. Use your nine-piece printable pack as many…


