


Card making Home decorations Papercrafter Techniques
“I was thrilled and delighted but also a little apprehensive of the prospect of being a Designer for the Day in issue 77 of PaperCrafter”
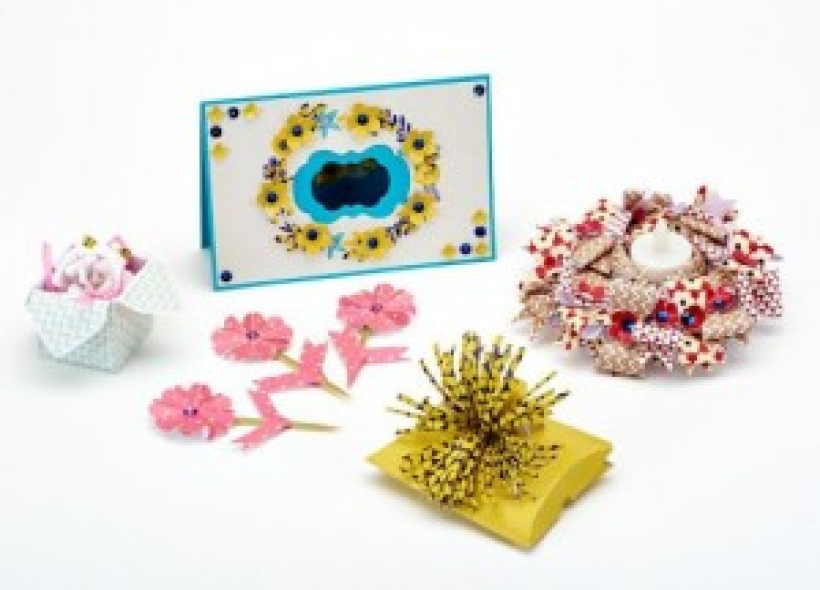
Polystyrene wreath, Toning papers, three patterns, Sequins, Nylon string, Flower punches, LED candle, Low melt glue gun, Large ball tool
 “I really enjoyed starting with a blank canvas and coming up with an array of ideas”
You can see Shelagh’s other lovely card make our issue 77 designer for the day, shelagh-metselaar-dinky-box , floral card , floral cake picks , fringed-pillow-box a>. Apply to be our next Designer for the Day by sending an email with your name and address to samantha.lewis@aceville.co.uk
• Make 18 bows to cover the wreath using the following method: select three A4 toning sheets in different patterns. Cut six 3cm x 10cm rectangles and six 1.5cm x 6cm rectangles. Fold each 3cm x 10cm strip in half lengthways then fold this in half again widthways, ensuring the right side of the paper is on the inside.
• Use a pencil to draw a bow-shaped arc on the folded strip, cut around and unfold. Cut notches from the end of each 1.5cm x 6cm rectangle. To form each bow, take the cut strip shape and bring the end of each one to the centre. Attach each shape to a snipped rectangle to create the finished bow.
• Cut a 20cm length of nylon string and tie the ends together to make a loop. Thread around the polystyrene wreath and secure with glue. Starting from the bottom glue a bow to the wreath horizontally and repeat at the top. Add the remaining bows to the wreath, alternating the designs
• For added interest, punch 2cm flowers from red paper and press each centre with a large ball tool to form a 3D cup shape. Glue one to the centre of every bow and add a blue sequin. Fill any polystyrene on show with flowers as well as the inner circle.
• Make a simple holder to fit your LED candle and place in the centre of the wreath so it sits snugly.
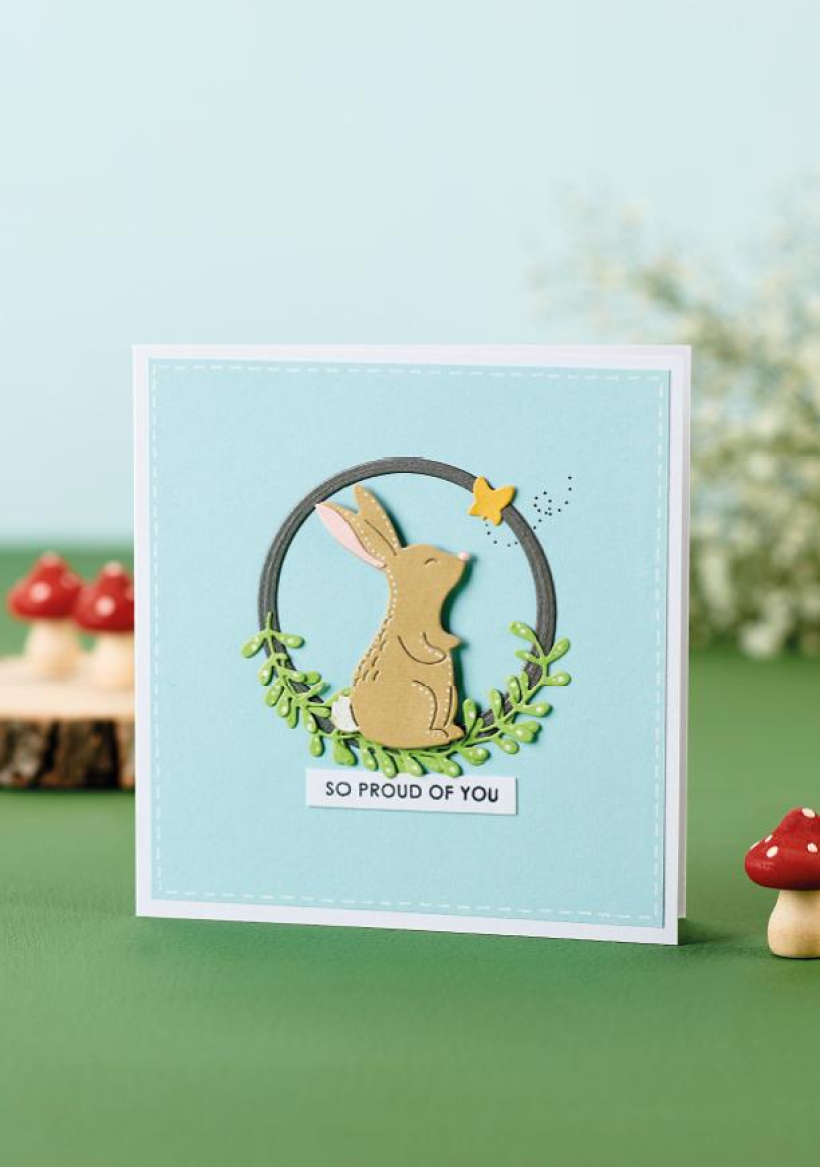
Using the new Nature Friends dies from Sizzix, Keren Baker proves how easy it is to transform adorable woodland motifs into knockout card designs… and a real variety of them at…
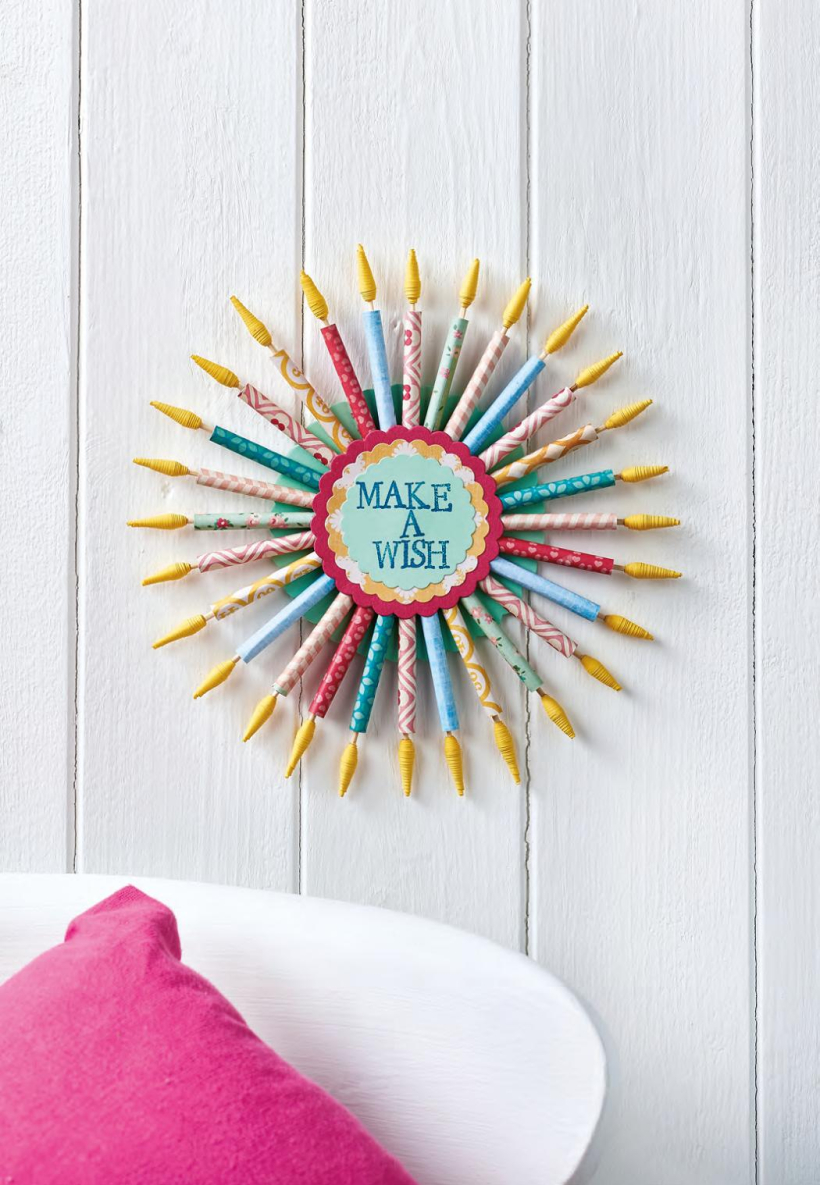
1. Cut several 3cm x 5cm pieces of patterned paper and wrap around a 5-6mm knitting needle to make lots of 5cm long tubes. Cut yellow paper into 2cm strips,…
Birthday crafting How to Papercraft Papercrafter Techniques Projects
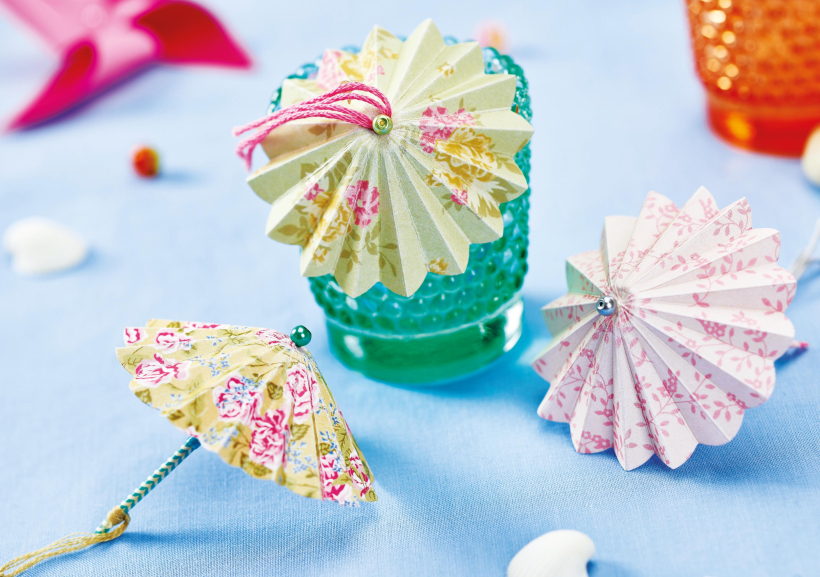
British summertime is a very unique time of year – the day might start bright and sunny, but just a few hours later it could be pouring with rain! Fortunately for…
When it comes to revamping interiors, it doesn’t need to cost a fortune. There are lots of cheap, crafty things you can do that will take an item from everyday to…
Decoupage Home decor Home decorations How to Papercraft Papercrafter Revamping Techniques Decoupage Projects


