


Decoupage Home decor Home decorations How to Papercraft Papercrafter Revamping Techniques Decoupage Projects
Decoupage your way to unique home style
Please login to download. Sign in here
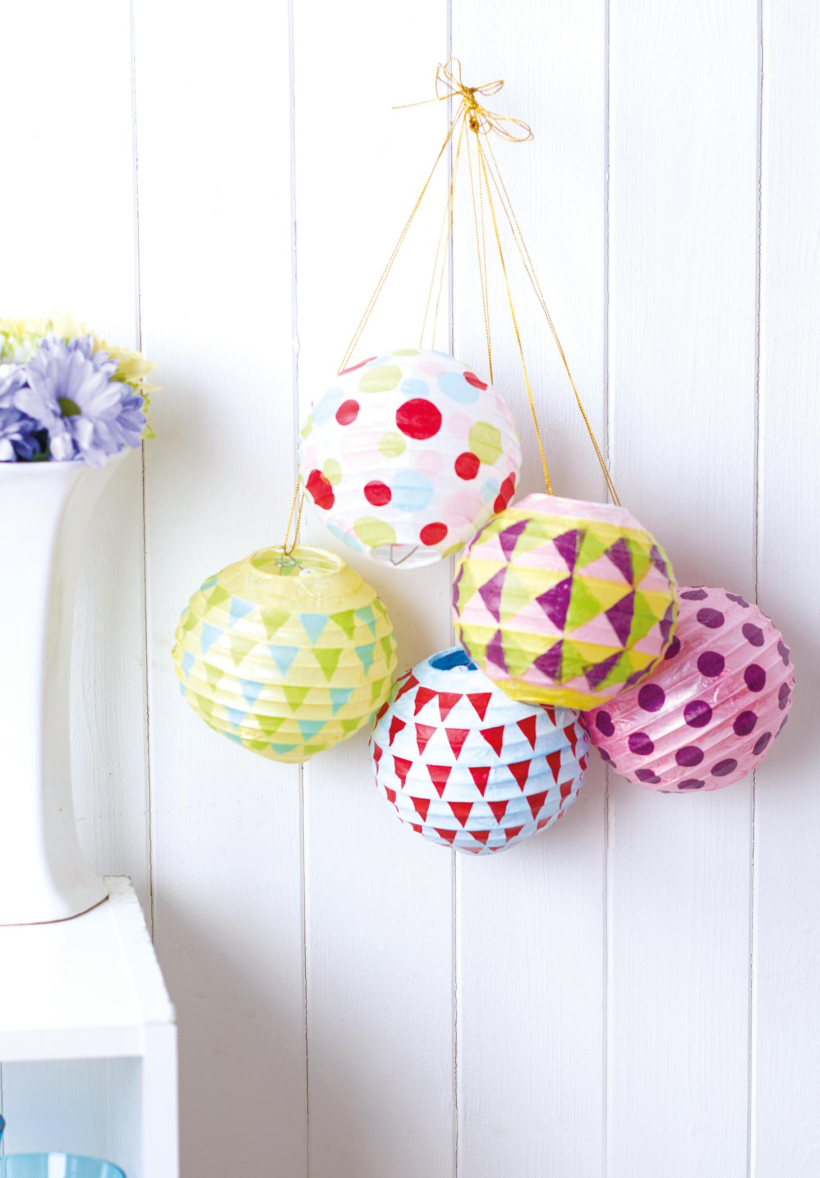
When it comes to revamping interiors, it doesn’t need to cost a fortune. There are lots of cheap, crafty things you can do that will take an item from everyday to one-of-a-kind. Decoupage is a great way to give a new lease of life to old or boring household objects. Here, Corinne Bradd has taken some plain paper lanterns and added colour and pattern to them to create beautiful decorations. You’ll find everything you need at Baker Ross, which specialises in fun crafts for both adults and children.
Craft essentials
Paper lanterns
Coloured tissue paper
Acrylic paint
1. Carefully assemble several lanterns by opening out the paper balls and placing the wire stretchers inside. The rings at the top and bottom of the lantern should rest on the notches of the stretcher.
2. Tie a length of cord to the top of each stretcher. Paint the lanterns with a coat of light-coloured acrylic paint, and hang up to dry.
3. Cut coloured tissue paper into triangles or circles, using three or four colours per lantern. Decide on a pattern such as polka dots, then paste the lantern with a little PVA glue and lay a tissue shape on top.
4. Paste over the tissue to flatten it, but do not over-brush as the colour may start to bleed from the tissue. Continue adding papers to the surface of the lantern until it is covered. Leave the PVA to dry completely before adding a second thin coat all over the ball to seal.

You will need:
Templates or SVG files
Stencil, Inkylicious Sunbeam 6”
Ink pad, Ranger Distress Oxide Salvaged Patina
Cardstock, various colours
Gems, clear
Faber Castell Polychromos coloured pencils
Pens: shimmer pen, black fineliner, white gel pen
Hampton Art Action…
Card making How to Papercraft Papercrafter Techniques Projects

YOU WILL NEED:
Craft essentials
FREE PaperCrafter patterned papers
Dies: circle, scalloped circle
METHOD
1 Create a 13cm x 17cm white blank then cover the front with orange card. Cut tennis racket paper, 12cm…
Card making Decoupage Die cutting How to Papercraft Papercrafter Card Making

You will need:
Templates
Coloured paper or thin cardstock, various colours
Wooden skewers or thin garden canes
Tools: scoring board, scoring tool, clips, small hole punch
Glue
Concertina Fold & Bind Method
1. Take a sheet of landscape…
Home decor Home decorations How to Papercraft Papercrafter Techniques Video tutorial Projects Make it Today

Stencils: Altenew Doily Frame, Watercolor Bouquet; My Favorite Things Basic Shapes Triangles
Stamps: Avery Elle Simple Sentiments, Simply Said Hugs
Die, Altenew Mega You
Ink pads: Ranger Distress…
Card making Die cutting How to Papercraft Papercrafter Techniques Card Making Die cutting Projects


