


Birthday crafting Home decor Home decorations Origami Papercraft
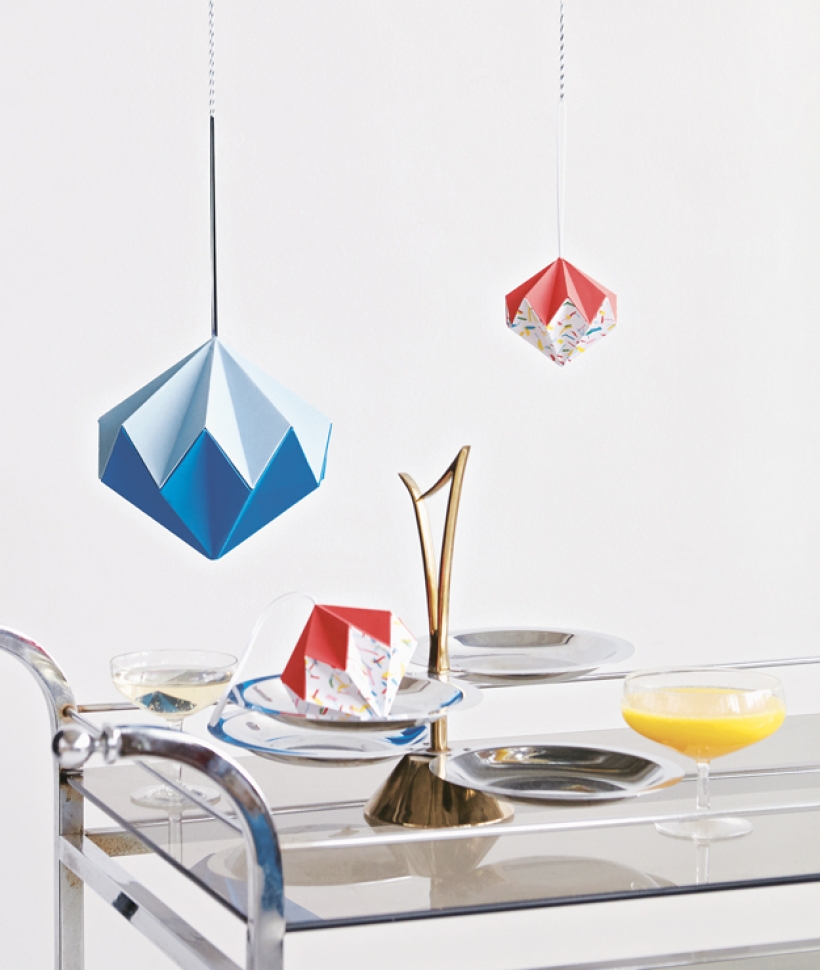
Has our Paper Planet feature in issue 108 inspired you? Put your scraps to use and craft a stunning piece of origami homeware.
Taken from Paper Home by Esther Thorpe (£16.99, Pavilion Books). Photography by Kristy Noble
YOU WILL NEED
Craft essentials
Paper, 15cm squares
Scissors
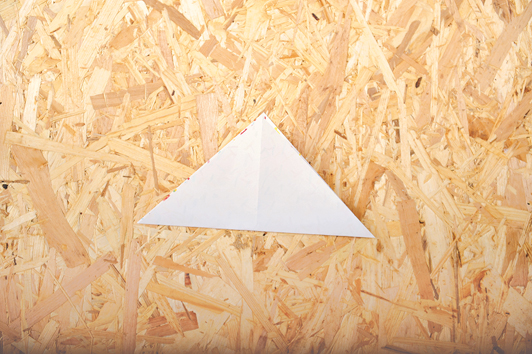
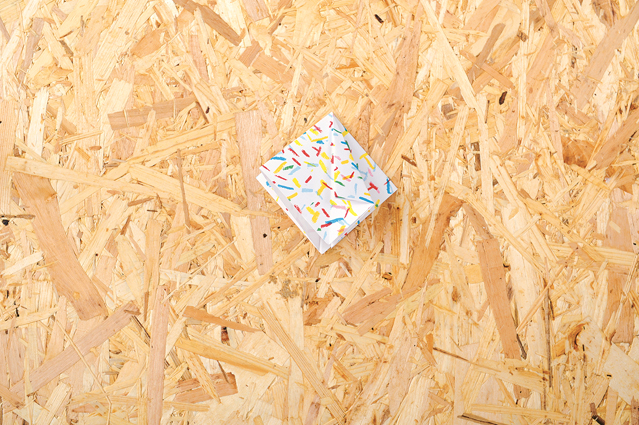
1 Cut a 15cm square from patterned paper and place decorate side up. Fold it in half diagonally, unfold, then rotate the paper 90° and fold again in the opposite diagonal direction.
2 Unfold and turn the paper over so the white side faces up, then fold in half horizontally and unfold. Rotate the paper 90° and fold in half horizontally. Unfold and turn the paper over so the patterned side faces up.
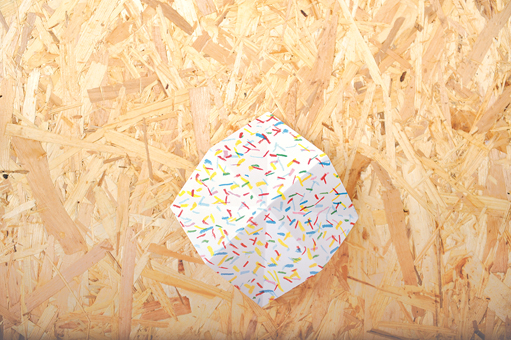
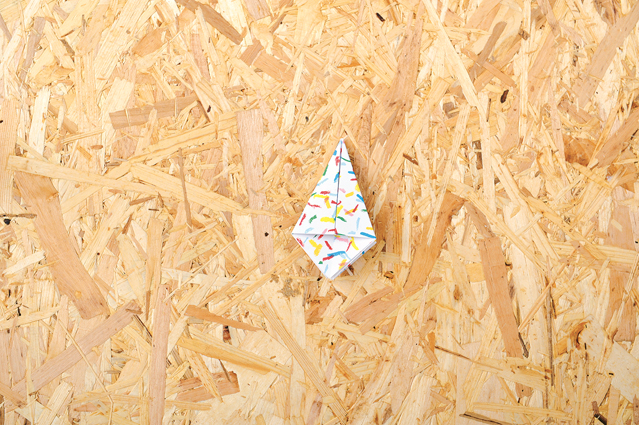
3 Using the creases, fold the paper into a flat diamond shape, ensuring the two opposing diagonal folds are inverted.
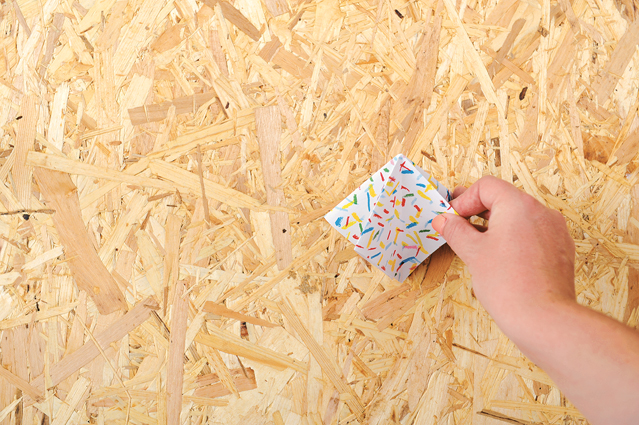
4 With the open edges at the bottom, fold the top right-hand edge to align with the centre fold. Repeat this step on the left-hand side.
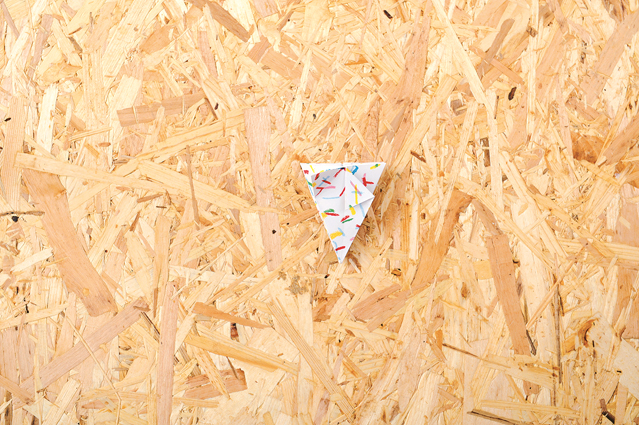
5 Turn the model over and repeat the last step. Remove the triangle at the tip of your model by cutting straight across it using scissors.

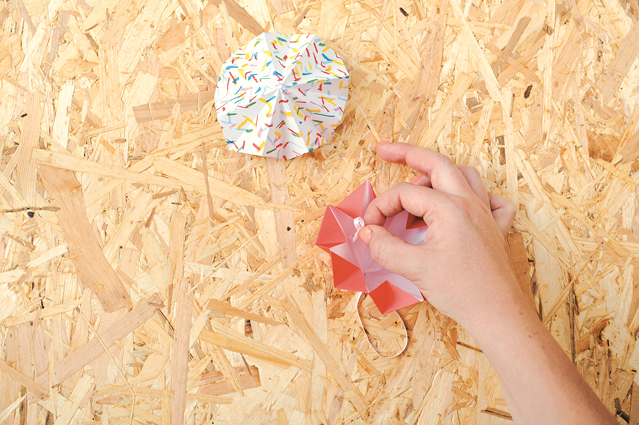
6 Unfold the front right-hand fold. Slide your thumb in between the fold to invert it, so that the outside fold is in the centre. Repeat this step 13 more times around the model, this should concertina the paper in a circle.
7 Rotate the model 180°, so the cut edge is at the top. Fold the top right-hand corner down to align with the centre fold. Repeat this step on the top left-hand corner.

8 Repeat the above step around the model, six more times. Unfold the folds created in steps 7-8. Use the creases to invert these folds, there should be eight in total.
9 Take the second paper square and repeat steps 7-8 to make the second half of your model. Choose which half you’d like the diamond to be hung from and cut a small slit at the tip of it.
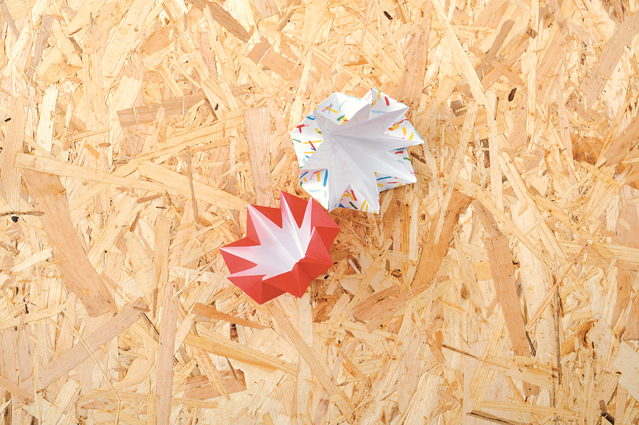
10 Fold the ribbon in half and thread the cut ends through the slit; tie a knot to secure it in place to create a hanging loop. Gently pull on it to position the knot at the tip of the model half.
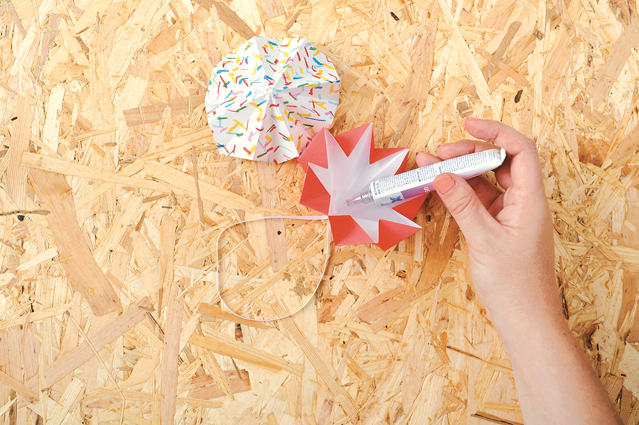
11 Stick the ribbon in place to complete the loop. Spread a thin line of glue onto the inverted triangles at the top edges of this half of your model. Fix the two halves together: hold one half in each hand and gently rotate to ensure the edges meet neatly.

YOU WILL NEED:
Old books
Die, circle
Wooden skewer
Binder clips
Alcohol marker, orange
Adhesives: PVA glue, glue stick
Die-cutting machine

METHOD:
1. Use a circle die to cut lots of discs from book pages. Fold each circle in…
Halloween crafts Home decor Home decorations How to Papercraft Papercrafter Revamping Techniques Projects

Whilst this may look like a paper cutting that took hours to create, it really couldn’t be any easier. Our talented designer Corinne Bradd has created 15 templates for you to…
Die cutting Home decor Home decorations How to Papercraft Papercrafter Projects

You Will Need:
Templates or SVG files
Brother ScanNCut SDX1200 (optional)
Strong card
Cardstock, various colours
Jute yarn
PVA glue
Autumnal Display
1. Draw a 25cm wide circle on strong card, then draw a concentric 17cm wide circle…
Home decor Home decorations Papercraft Papercrafter Techniques

Shadow box cards, otherwise known as tunnel greetings or diorama cards, are designed to transport the recipient to picture-perfect backdrops in an instant. In this case, PaperCrafter designer Francesca Vignoli…
Birthday crafting Card making Die cutting How to Stamping Techniques Card Making


