


Halloween cards Halloween crafts Home decor Home decorations How to Papercraft Papercrafter Party makes Revamping Techniques Paper Flowers
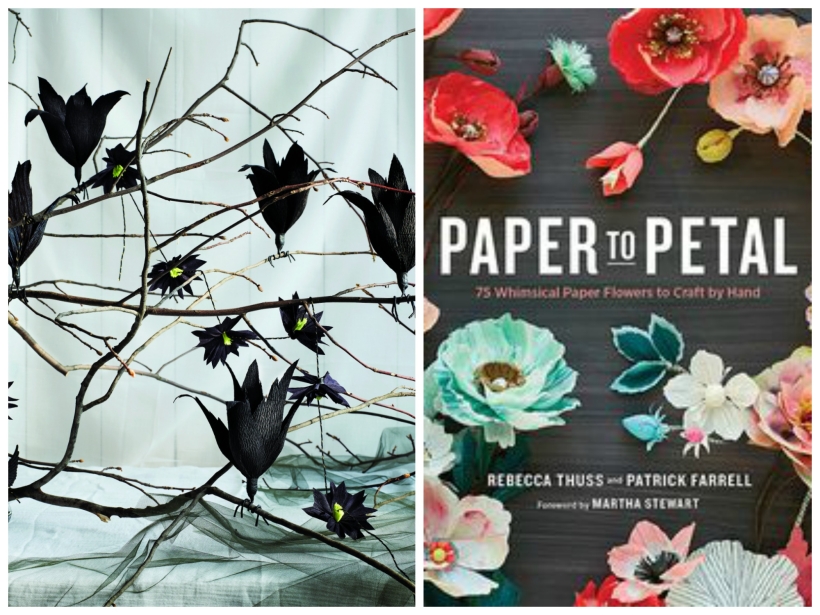
If you’ve picked up the latest PaperCrafter, then you’ll know that we have plenty of bonus projects for you to enjoy. The amazing Paper to Petal by Rebecca Thuss and Patrick Farrell features in our Happy Halloween feature – so if you want to get started on the Spooky Ravens and Cats project, you’ve come to the right place!
For this project you’ll need our free templates
YOU WILL NEED:
• Single-ply black crêpe paper
• Florist crêpe: black, green
• White acrylic paint
• 45.5cm 20-gauge clothwrapped wire
• Black floral tape
• Bakers twine
• Fringing scissors
• Striping brush
• Large sewing needle
NOTE: all dimensions are given as height × width
METHOD:
1. Cut a 40.5cm piece of black florist crêpe and use a striping brush to add acrylic white paint. Leave to dry.
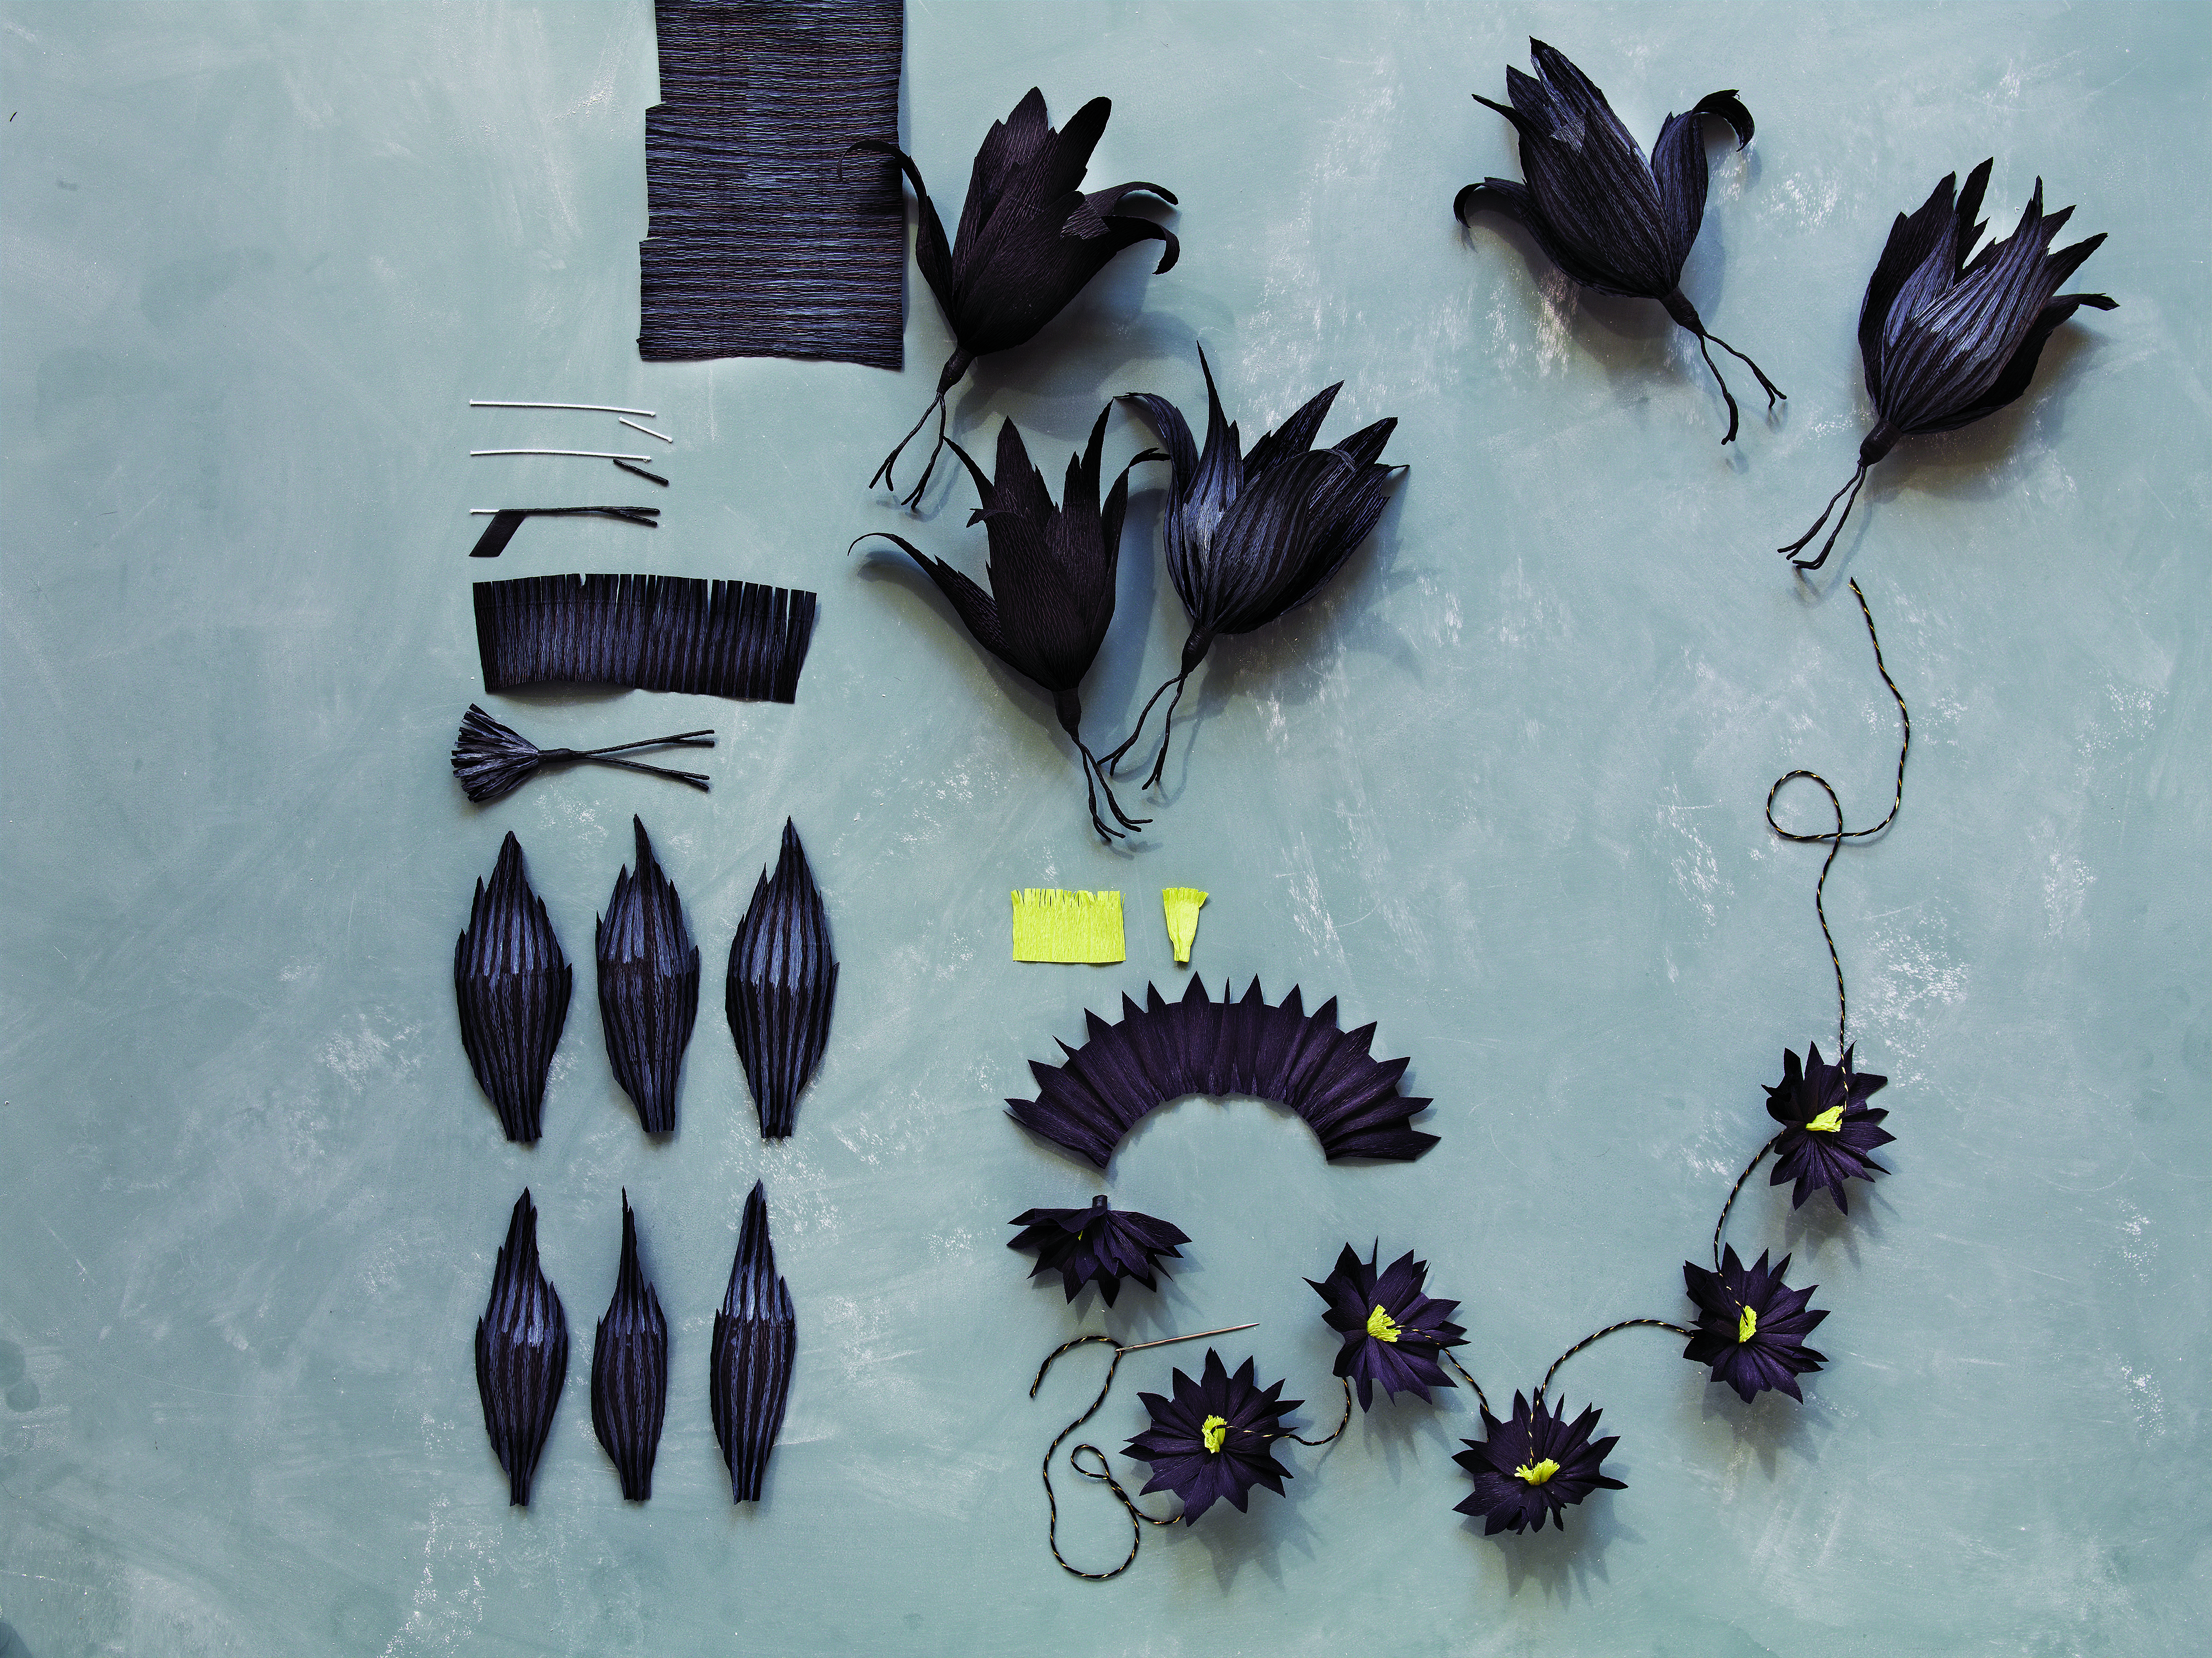
2. Cut two 9cm lengths of wire and two 2.5cm lengths of wire per how many ravens you’d like to create. Cut a 5.5cm × 16.5cm strip from the painted crêpe and fringe it with the grain three quarters of the way down.
3. For petals 150 and 151: cut three each from the painted crêpe to the short line on the template. Cut a 4cm × 5.5cm piece from the lime-green florist crêpe and fringe it with the grain one-quarter of the way down.
4. Petal 152: Cut a 6.5cm × 34.5cm piece from the black single-ply crêpe, accordion fold it to fit the template and cut a continuous petal.
TIME TO BUILD:
Secure all layers with floral tape.
1. Fully wrap 2.5cm wires with tape.
2. Start covering a 9cm piece of wire with tape and join stems. Attach a 2.5cm piece of wire 2.5cm from the end of the longer wire. Tape in 6mm of the short wire to join it to the longer wire, and finish stem. Repeat with remaining two wires.
3. Gather and wrap the fringed strip around the tops of both footed wires.
4. Cup petal 150 with stripes facing out. Scrunch-pleat each petal and secure evenly around the base with stripes facing out.
5. Repeat step 4 with Petal 151, attaching at points in between Petals 150.
6. Using a pencil, curl a few petal tips away from centre.
7. Fold green fringe into thirds width-wise, scrunch-pleat base. Flatten the fringed side into a cat-eye shape and secure the base with tape.
8. Scrunch-pleat black crêpe evenly around green fringe and secure tightly with tape. Fan out continuous petal.
9. Snip off extra tape, leaving 6mm of tape as a base.
10. To make the garland, use a thick needle strung with bakers twine and pass it carefully through the green fringe centres.
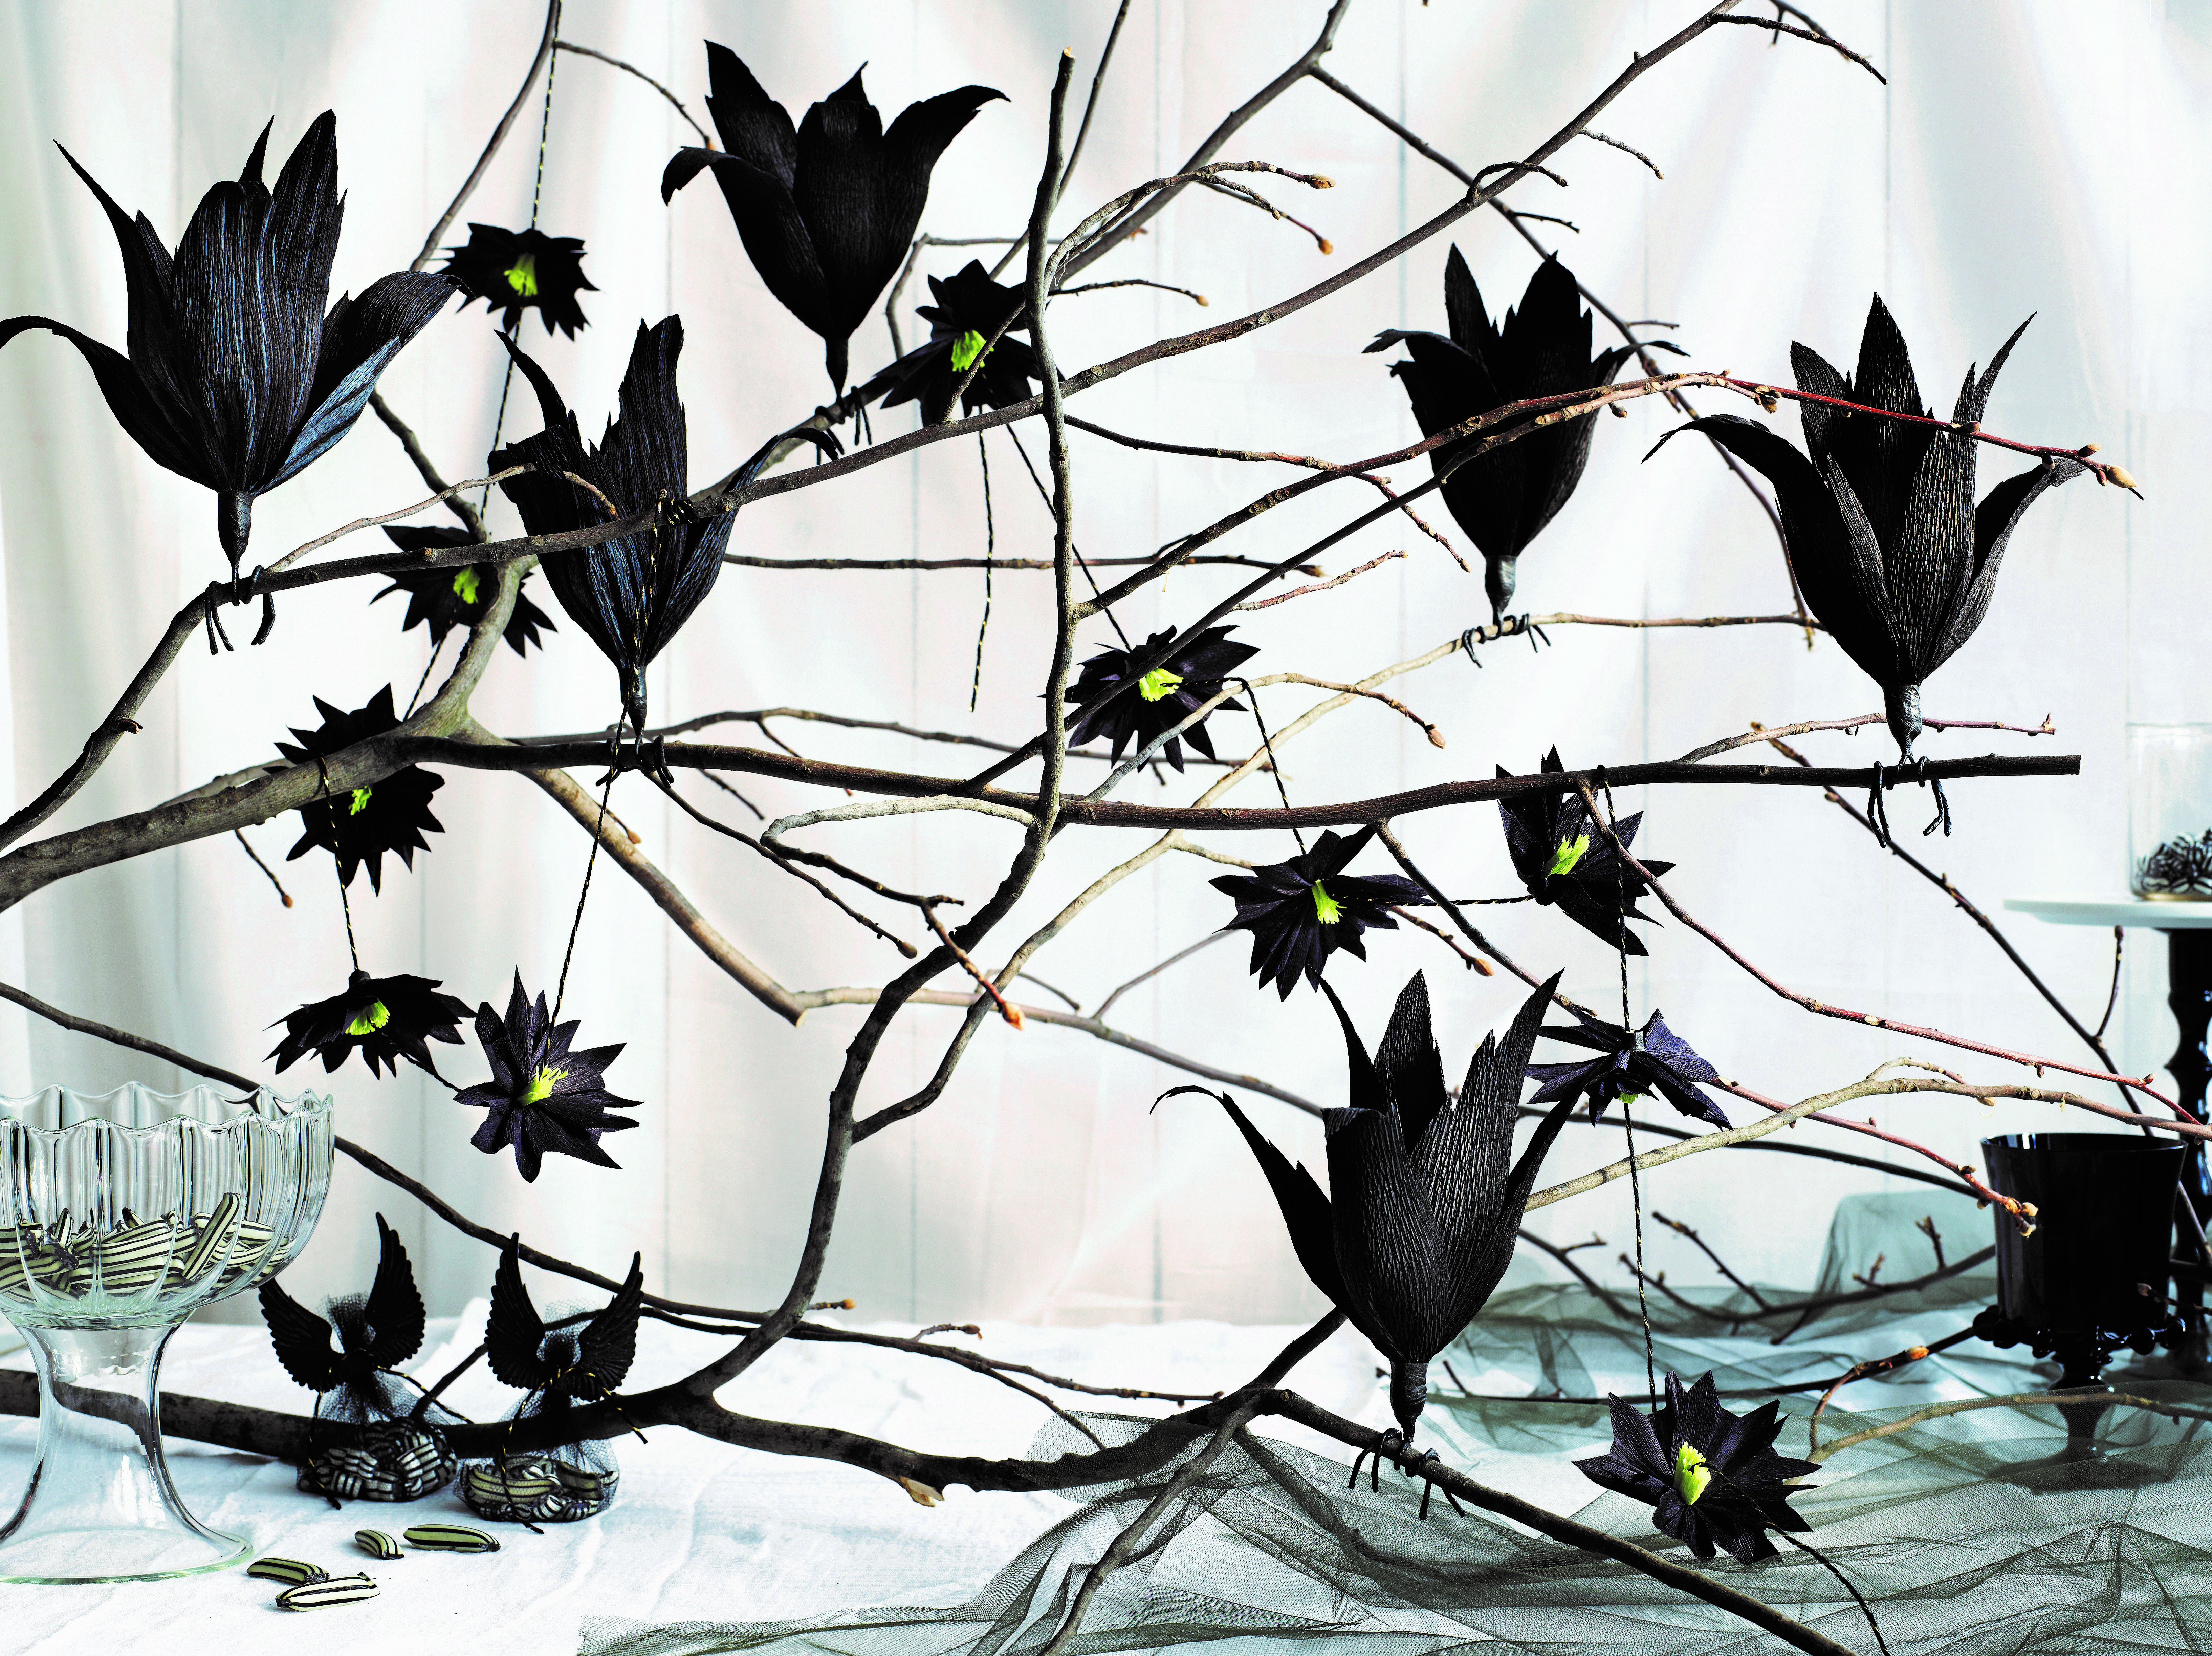
QUICK TIP: Make a few ravens from solid black crêpe and mix them in with the striped variety. To secure them to a branch, straddle legs over the branch, and wrap each leg in the opposite direction, up and around the branch. Gently open up and bend the small wires to look like claws.
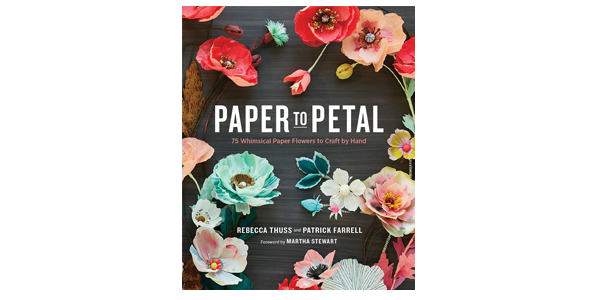
This project was extracted from Paper to Petal by Rebecca Thuss and Patrick Farrell (£16.99, Potter Craft), nhmshop.co.uk. Get your copy here

YOU WILL NEED:
Old books
Die, circle
Wooden skewer
Binder clips
Alcohol marker, orange
Adhesives: PVA glue, glue stick
Die-cutting machine

METHOD:
1. Use a circle die to cut lots of discs from book pages. Fold each circle in…
Halloween crafts Home decor Home decorations How to Papercraft Papercrafter Revamping Techniques Projects

Whilst this may look like a paper cutting that took hours to create, it really couldn’t be any easier. Our talented designer Corinne Bradd has created 15 templates for you to…
Die cutting Home decor Home decorations How to Papercraft Papercrafter Projects

You Will Need:
Templates or SVG files
Brother ScanNCut SDX1200 (optional)
Strong card
Cardstock, various colours
Jute yarn
PVA glue
Autumnal Display
1. Draw a 25cm wide circle on strong card, then draw a concentric 17cm wide circle…
Home decor Home decorations Papercraft Papercrafter Techniques

Shadow box cards, otherwise known as tunnel greetings or diorama cards, are designed to transport the recipient to picture-perfect backdrops in an instant. In this case, PaperCrafter designer Francesca Vignoli…
Birthday crafting Card making Die cutting How to Stamping Techniques Card Making


