


Birthday crafting Card making How to Techniques Card Making
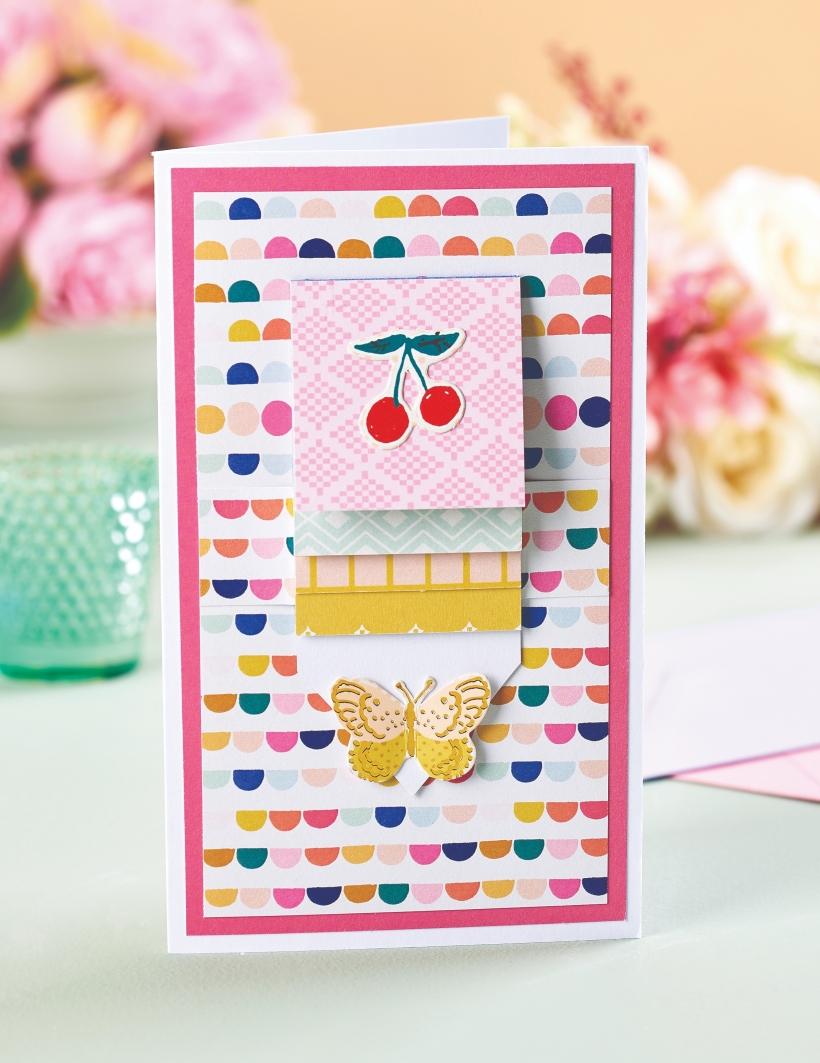
Give your cards a twist this summer with Keren Baker’s clever waterfall card technique
YOU WILL NEED:
Maggie Holmes Sweet Story 12” x 12” Collection Kit
Cardstock: white, pink
Glue
METHOD:
1. Layer pink card onto an 11cm x 18cm white blank. Trim a smaller layer of patterned paper and set aside. Take white cardstock, 5cm x 25cm, score a line 4cm in from one of the smaller ends, four more lines at 5cm, 6cm, 7cm and 8cm from the right-hand side so you have five score lines.
2. Fold each score line in one direction, flip the panel over and fold in the opposite direction so the folds are easy to move. Trim four 5cm square pieces from patterned cardstock.
3. Where the first strip is between the 4cm and 5cm lines, add glue to the 1cm section and glue the patterned paper down. Continue to add the pieces onto each subsequent strip, adding glue to the top 1cm only.
4. Fold the sections so they are at the top of the piece and the rest of the strip is behind them. Add a piece of cardstock, 2cm x 11cm, underneath the bottom folded piece and around the back of the longer strip.
5. Glue the part of the strip that is under the patterned paper onto the piece of card, then only the edge of the pieces that overlap around the back so the squares can move up and down when the bottom is pushed up.
6. Shape the bottom piece, then secure the back section of the strip that you’ve folded around the back onto the card front. Cut another strip of cardstock to the same width as the patterned cardstock but about 1.5cm deep.
7. Glue to the back and adhere under the bottom flap of the waterfall onto the base. Add toppers to each waterfall panel and a butterfly to the bottom to finish.

YOU WILL NEED:
Old books
Die, circle
Wooden skewer
Binder clips
Alcohol marker, orange
Adhesives: PVA glue, glue stick
Die-cutting machine

METHOD:
1. Use a circle die to cut lots of discs from book pages. Fold each circle in…
Halloween crafts Home decor Home decorations How to Papercraft Papercrafter Revamping Techniques Projects

Whilst this may look like a paper cutting that took hours to create, it really couldn’t be any easier. Our talented designer Corinne Bradd has created 15 templates for you to…
Die cutting Home decor Home decorations How to Papercraft Papercrafter Projects

You Will Need:
Templates or SVG files
Brother ScanNCut SDX1200 (optional)
Strong card
Cardstock, various colours
Jute yarn
PVA glue
Autumnal Display
1. Draw a 25cm wide circle on strong card, then draw a concentric 17cm wide circle…
Home decor Home decorations Papercraft Papercrafter Techniques

Shadow box cards, otherwise known as tunnel greetings or diorama cards, are designed to transport the recipient to picture-perfect backdrops in an instant. In this case, PaperCrafter designer Francesca Vignoli…
Birthday crafting Card making Die cutting How to Stamping Techniques Card Making


