


Decoupage Home decor How to Papercraft Papercrafter Party makes Techniques Decoupage
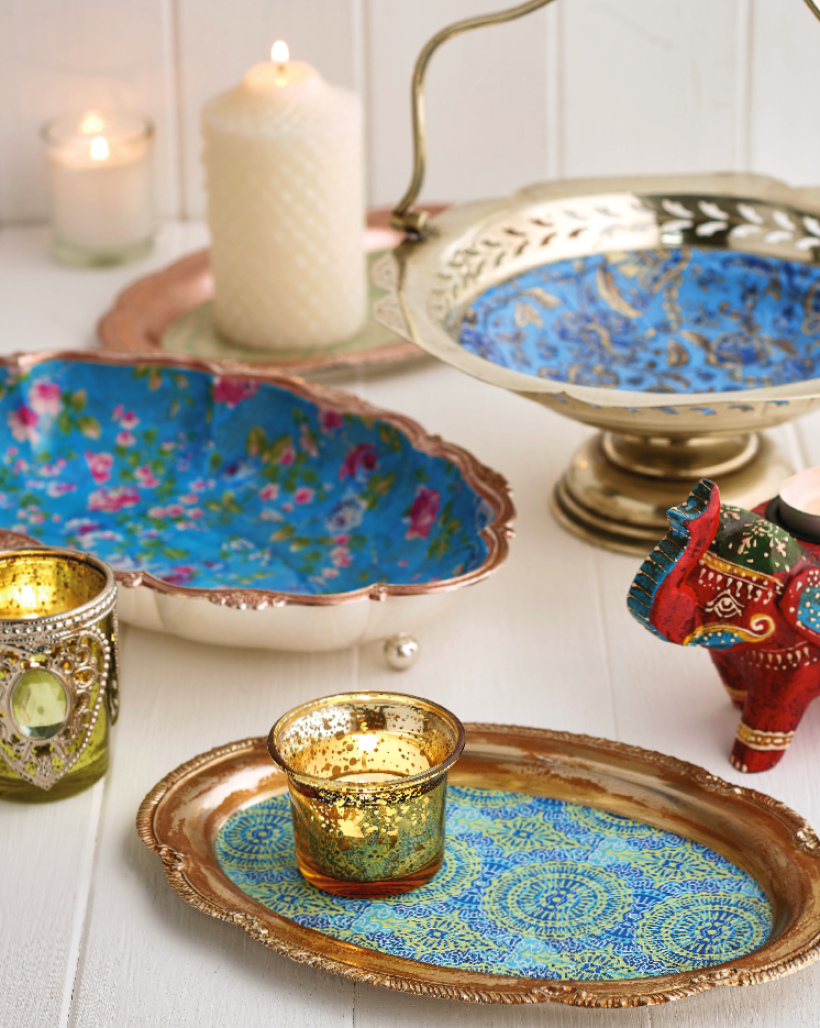
Give your home an instant update with these stunning trays.You’ll be amazed at how simple it is to transform your trash into treasure! Inspired by this season’s boho trend, we’re loving the vibrant colours and paisely prints that have been incorporated into this project. Serve up some summery treats at your next garden party and be sure to give your tablewear a stylish twist!
YOU WILL NEED: Craft essentials, Decoupage paper, Mod Podge adhesive, Metal trays, Gilding wax (optional), Metallic spray paint (optional)
1. Wash a tray in warm, soapy water to remove any grease. If necessary, polish with a suitable silver cleaner and buff to a bright shine. For a more distressed look on modern chromed objects, spray lightly with metallic spray paint and leave to dry completely before applying a little gilding wax with a fingertip and wiping away the excess with a soft cloth. Avoid applying wax to the centre.
2. Lay a sheet of plain bond paper in the centre of a tray. Use a thumbnail to trace around the middle, making a crease in the paper as you do so. Remove it and cut around the crease line to create a template. Lay it over the wrong side of printed decoupage paper and draw around it. Cut out and check it fits.
3. Paste the centre of the tray with adhesive, working it right up to the edges. While the glue is wet, lay the decoupage paper lightly on top and slide to fit. Begin smoothing the paper down from the centre out in all directions. Leave to dry completely; this will allow any wrinkles to smooth out. When flat, seal with two thin coats of adhesive.

YOU WILL NEED:
Old books
Die, circle
Wooden skewer
Binder clips
Alcohol marker, orange
Adhesives: PVA glue, glue stick
Die-cutting machine

METHOD:
1. Use a circle die to cut lots of discs from book pages. Fold each circle in…
Halloween crafts Home decor Home decorations How to Papercraft Papercrafter Revamping Techniques Projects

Whilst this may look like a paper cutting that took hours to create, it really couldn’t be any easier. Our talented designer Corinne Bradd has created 15 templates for you to…
Die cutting Home decor Home decorations How to Papercraft Papercrafter Projects

You Will Need:
Templates or SVG files
Brother ScanNCut SDX1200 (optional)
Strong card
Cardstock, various colours
Jute yarn
PVA glue
Autumnal Display
1. Draw a 25cm wide circle on strong card, then draw a concentric 17cm wide circle…
Home decor Home decorations Papercraft Papercrafter Techniques

Shadow box cards, otherwise known as tunnel greetings or diorama cards, are designed to transport the recipient to picture-perfect backdrops in an instant. In this case, PaperCrafter designer Francesca Vignoli…
Birthday crafting Card making Die cutting How to Stamping Techniques Card Making


