


Papercrafter Revamping Techniques Book Art
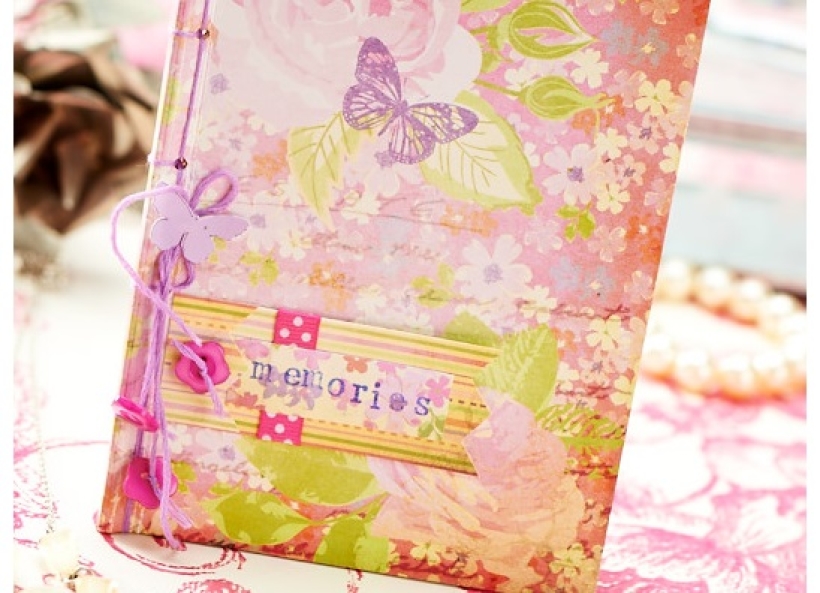
Issue 67 of PaperCrafter features a stunning journalling kit that allows you to make two books. The mag’s four-page special will talk you through a number of book-making techniques, one of which is stab-binding. Here we give you some further advice with this handy step by step to making a stab-bound journal.
PaperCrafter Journalling kit or Card stock and papers, Book-binding needle, Thread, Awl or hole punch
• Make a template by drawing a line, 1cm in, from the top to the bottom of rough paper. Mark off an even number of points spaced evenly.
• Clip the cover under the template. Punch a hole at each marked point using an awl or paper punch.
• Clip half the book papers under the template and punch the marked holes, repeat with the other half.
• Stack all the pages, including front and back cover together. Thread through the top hole of your book, leaving some thread loose.
• Make a running stitch along the holes of the book, pulling the thread tightly each time through each hole while keeping the top thread loose.
• Loop the thread at the bottom of the book's spine and go through the bottom hole. Now place the book on its side and loop around the top of the spine.
• Sew a running stitch into the next hole, loop into the around the top of the spine into the following hold. Repeat until you get to the top of the book.
• Make a a loop at the top of the book and go through the top hole. Slip the needle under two of the top bindings coming out of the starting hole.
• Finish binding by tying a tight knot with the original loose thread.

YOU WILL NEED:
Old books
Die, circle
Wooden skewer
Binder clips
Alcohol marker, orange
Adhesives: PVA glue, glue stick
Die-cutting machine

METHOD:
1. Use a circle die to cut lots of discs from book pages. Fold each circle in…
Halloween crafts Home decor Home decorations How to Papercraft Papercrafter Revamping Techniques Projects

Whilst this may look like a paper cutting that took hours to create, it really couldn’t be any easier. Our talented designer Corinne Bradd has created 15 templates for you to…
Die cutting Home decor Home decorations How to Papercraft Papercrafter Projects

You Will Need:
Templates or SVG files
Brother ScanNCut SDX1200 (optional)
Strong card
Cardstock, various colours
Jute yarn
PVA glue
Autumnal Display
1. Draw a 25cm wide circle on strong card, then draw a concentric 17cm wide circle…
Home decor Home decorations Papercraft Papercrafter Techniques

Shadow box cards, otherwise known as tunnel greetings or diorama cards, are designed to transport the recipient to picture-perfect backdrops in an instant. In this case, PaperCrafter designer Francesca Vignoli…
Birthday crafting Card making Die cutting How to Stamping Techniques Card Making


