

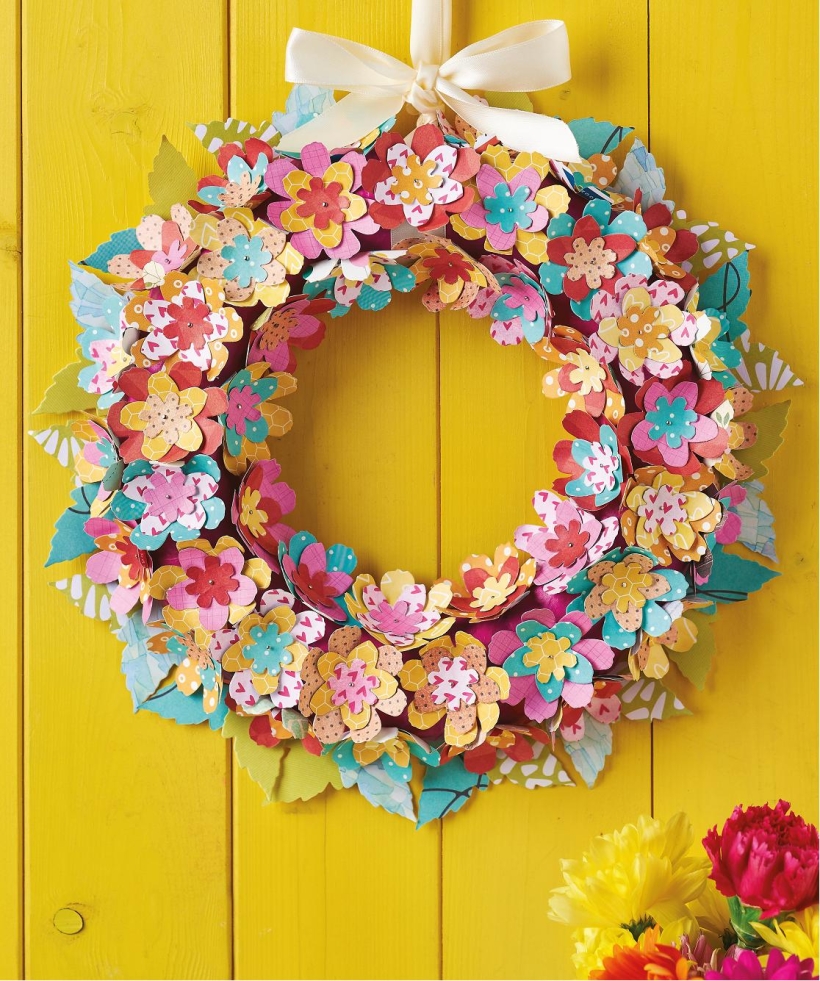


Create a beautiful paper wreath from die cut flowers
Craft Essentials, Dies: leaf, one size; flower, three sizes, Polystyrene ring: 25cm, Tissue paper, Pins
This lovely wall hanging is just the thing your home needs this season. A perfect first project for a novice die cutter or a speedy make for a pro, this wreath looks the part but involves none of the faff. Create intricate petals and suggest depth with classic dies from your stash, and voilà, you’ll have a special home accessory just waiting to be proudly displayed.
• Take a selection of green and blue patterned papers and use to die cut leaf shapes

• Cover a polystyrene ring with tissue paper. Glue pairs of leaves together and adhere to the back of the wreath

• Select eight more patterned papers. Use three flower dies to cut an equal amount of flowers in each size

• Gently curve the petals inwards by pinching the end between your thumb and index finger

• Glue a medium flower to the centre of a larger one, then fix the smallest bloom on top

• Repeat until you have approximately 50 finished flowers

• Tie ribbon around the top of the ring to hang. Carefully pierce the centre of each triple-layered flower with a small pin

• Arrange the flowers on the wreath in three concentric rings, allowing them to overlap a little. Begin to pin them in place

• Finish decorating your wreath. Any gaps will be disguised by the coloured tissue paper


Busy lives often involve a lot of memos and reminders, and it can sometimes be hard to keep track. Luckily, we’ve got a sophisticated solution to keep your desk tidy and…

If you’re having a quiet Valentine’s with your beloved at home this year, make the place look a little more special with a speedy-to-make hearts frieze. Papercrafting doesn’t get much easier than…
Home decor Home decorations How to Papercraft Papercrafter Techniques Projects

1. Using a 3.5cm circle die, cut eight discs from chipboard and sixteen circles from patterned paper. Glue the patterned circles to either side of the discs and punch a…

Craft essentials
1. Cut a 5cm x 15cm strip of double-sided patterned paper and fold in half lengthways. Draw parallel pencil lines at 1.5cm and 2cm from the…


