


Card making Papercrafter Card Making
The circus looks set to be a hot trend in the craft world throughout 2013 and this issue’s free kit will get you well and truly prepared for plenty of party cards, invitations, decorations and other celebratory creations.
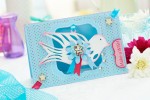
Every month we pick one reader at random and send them the next issue’s kit so that they may experience what it’s like to be a PaperCrafter designer for the day. This issue, the lucky winner of this fantastic opportunity was avid PaperCrafter fan Sarah Jackman Read. In addition to the pretty bird card design that was professionally photographed and printed in the magazine, Sarah also sent us a project that really shows off the kit’s circus-themed stamps and motifs. You can find the instructions for this great circus card making idea below.
Find the instructions for Sarah’s bird card design on page 8 of PaperCrafter issue 62 (on sale now!)
For your chance to become a PaperCrafter Designer For The Day, fill in the form on page 8 of the magazine and send it to Your Paper Project, PaperCrafter, 1 Phoenix Court, Hawkins Road, Colchester, Essex, CO2 8JY. Alternatively, email your name, address, email and telephone number to gabriella.blake@aceville.co.uk. See page 8 of the magazine for terms and conditions. Please note the winner is drawn at random and there is no need to submit project samples.
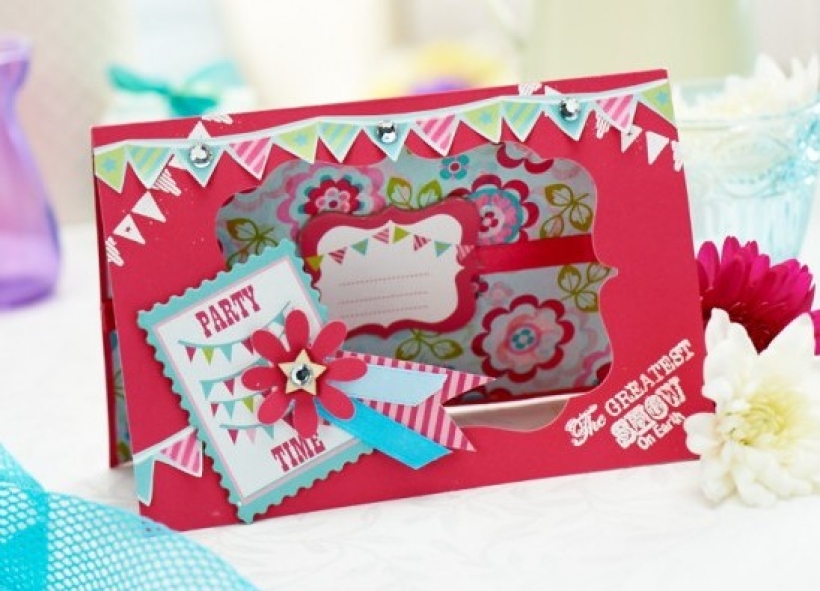
• Die cut a frame-shaped aperture from the front of a pink card blank. Set the cut-out card aside for now. Stick two layers of floral tissue paper, a length of ribbon and a chipboard element to the inside of the card as shown.
• Using the stamp set included in your kit, stamp and emboss bunting images and the phrase ‘The Greatest Show On Earth’. Glue the ‘Party Time’ sentiment at an angle in the bottom left corner of the aperture.
• Snip the image of stripy ribbon from the kit’s packaging and adhere this on top of the ‘Party Time’ sentiment. Add lengths of blue ribbon and a die=-cut flower made from the pink card you set aside earlier.
• Cut around the bunting from the kit’s flocked paper and attach it to the top and left-hand side of the card, curling it slightly. Add a wooden star and gems as shown. Finish the card by drawing outlines along the bunting in white gel pen.

YOU WILL NEED:
Old books
Die, circle
Wooden skewer
Binder clips
Alcohol marker, orange
Adhesives: PVA glue, glue stick
Die-cutting machine

METHOD:
1. Use a circle die to cut lots of discs from book pages. Fold each circle in…
Halloween crafts Home decor Home decorations How to Papercraft Papercrafter Revamping Techniques Projects

Whilst this may look like a paper cutting that took hours to create, it really couldn’t be any easier. Our talented designer Corinne Bradd has created 15 templates for you to…
Die cutting Home decor Home decorations How to Papercraft Papercrafter Projects

You Will Need:
Templates or SVG files
Brother ScanNCut SDX1200 (optional)
Strong card
Cardstock, various colours
Jute yarn
PVA glue
Autumnal Display
1. Draw a 25cm wide circle on strong card, then draw a concentric 17cm wide circle…
Home decor Home decorations Papercraft Papercrafter Techniques

Shadow box cards, otherwise known as tunnel greetings or diorama cards, are designed to transport the recipient to picture-perfect backdrops in an instant. In this case, PaperCrafter designer Francesca Vignoli…
Birthday crafting Card making Die cutting How to Stamping Techniques Card Making


