

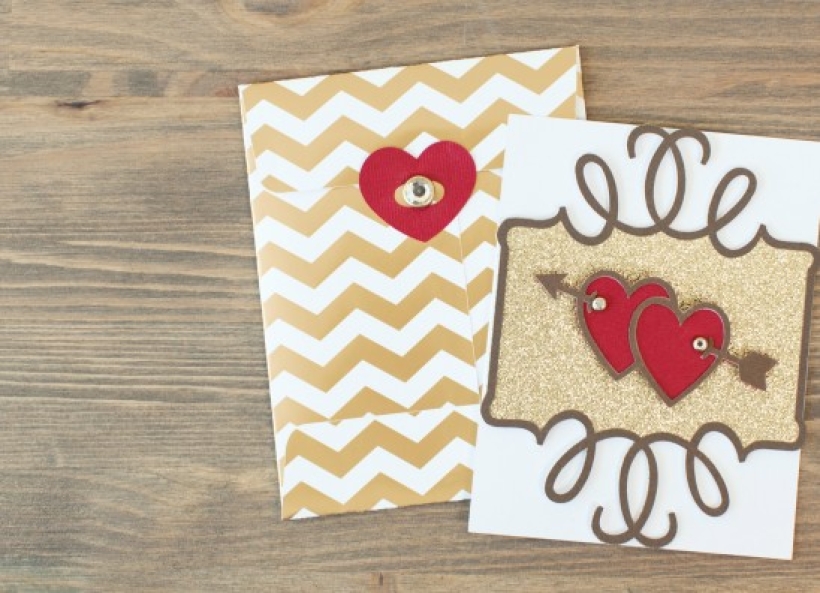


Make a beautiful card for someone special this Valentine’s Day and let them know how much they’re loved. Using the Cricut Explore and Design Space software, you can add a name or message to the design to make it truly personal. To find out more about the tools used in this project, visit the Cricut website.
Craft Essentials, Cricut Explore, Cricut Design Space software, Cricut Scoring Stylus, Cricut tool set, Rhinestone brads
• Connect the Cricut Explore to the computer and log on to your Design Space account. Select ‘Cards’ from the categories menu and locate the ‘Gold Valentine Card & Envelope’ project.
• The project makes a card measuring 4¼” x 5½” (approx 11cm x 14cm). To create the project as designed, click ‘Make it Now’. To resize the project or add any other details, click ‘Customise’.
• Resize the images as required by first highlighting the image and then dragging the corner point. The size appears in a black text box as the image is altered. Remember to resize all the images!
TOP TIP: ‘Group’ all the images by dragging a box over them and clicking ‘group’ either on the tool bar or in the layer menu. All the images can then be resized together
• Cut each of the images from the required resource material: we used brown, gold, red and white cardstock for the card and gold patterned paper for the envelope. Insert the scoring stylus when prompted during the cutting of the base card and envelope.
TOP TIP: Use the scraper tool to apply cardstock to the cutting mat to ensure good contact. Use the spatula to carefully lift die-cut images from the mat
• Fold the card along the scored line, using the scraper tool as a bone folder. Carefully glue all the mount and frame layers together. Add rhinestone brads or adhesive gems to the hearts and then secure into place using sticky foam pads.
• Use the scraper tool to carefully fold the envelope, glueing the two side and bottom panels together. Stick the heart charm to the top panel.
TOP TIP: Use another rhinestone brad to act as an anchor for the panel and secure the envelope closed.
Voila! A beautiful Valentine's card complete with matching envelope. Happy Valentine's Day!
YOU WILL NEED:
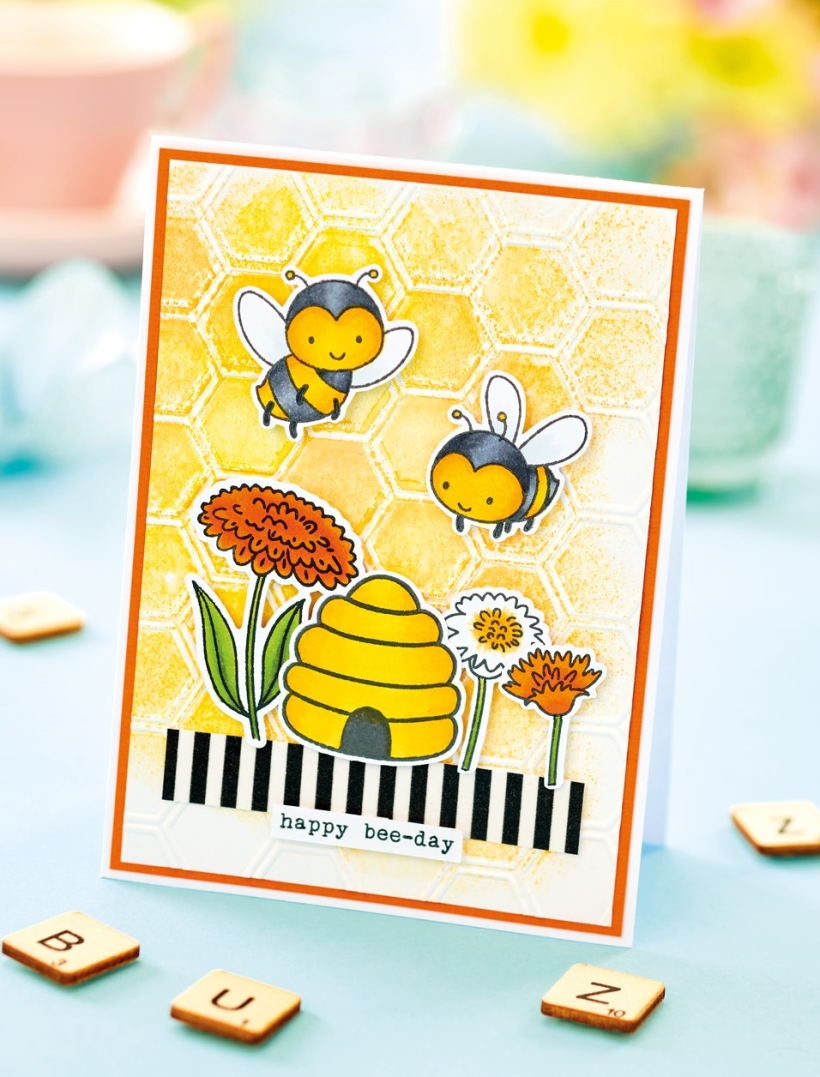
Embossing folder, Darice Honeycomb
Stamps, Hello Bluebird Bee Happy
Ink, Ranger Distress Mustard Seed
Marker pens, Copic
Die-cutting machine
METHOD:
1. Trim watercolour card to 9.5cm x 13.5cm. Apply yellow and orange…
Birthday crafting Card making Embossing How to Papercraft Papercrafter Techniques Embossing
If you haven’t watched Bridgerton, where have you been? Enjoyed by 82 million households, the first season was the most watched series on Netflix and season three is out in May…
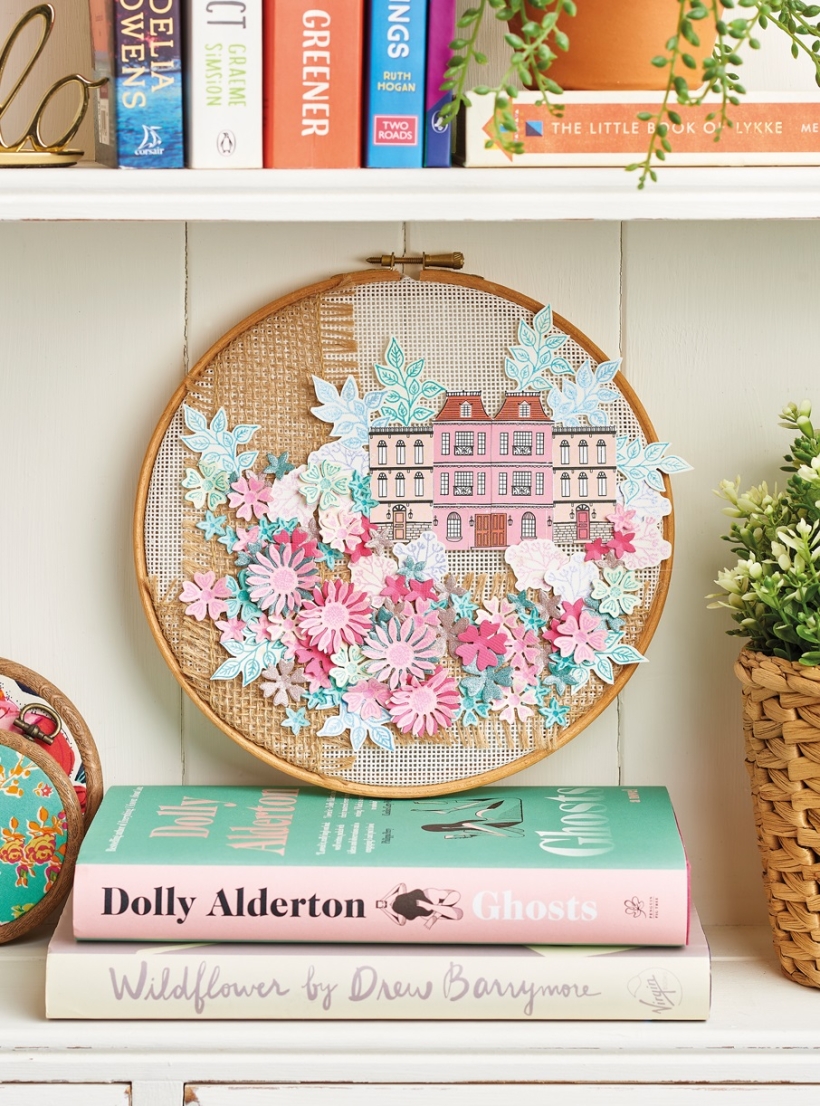
Die cutting Home decor Home decorations How to Papercraft Papercrafter Stamping Techniques
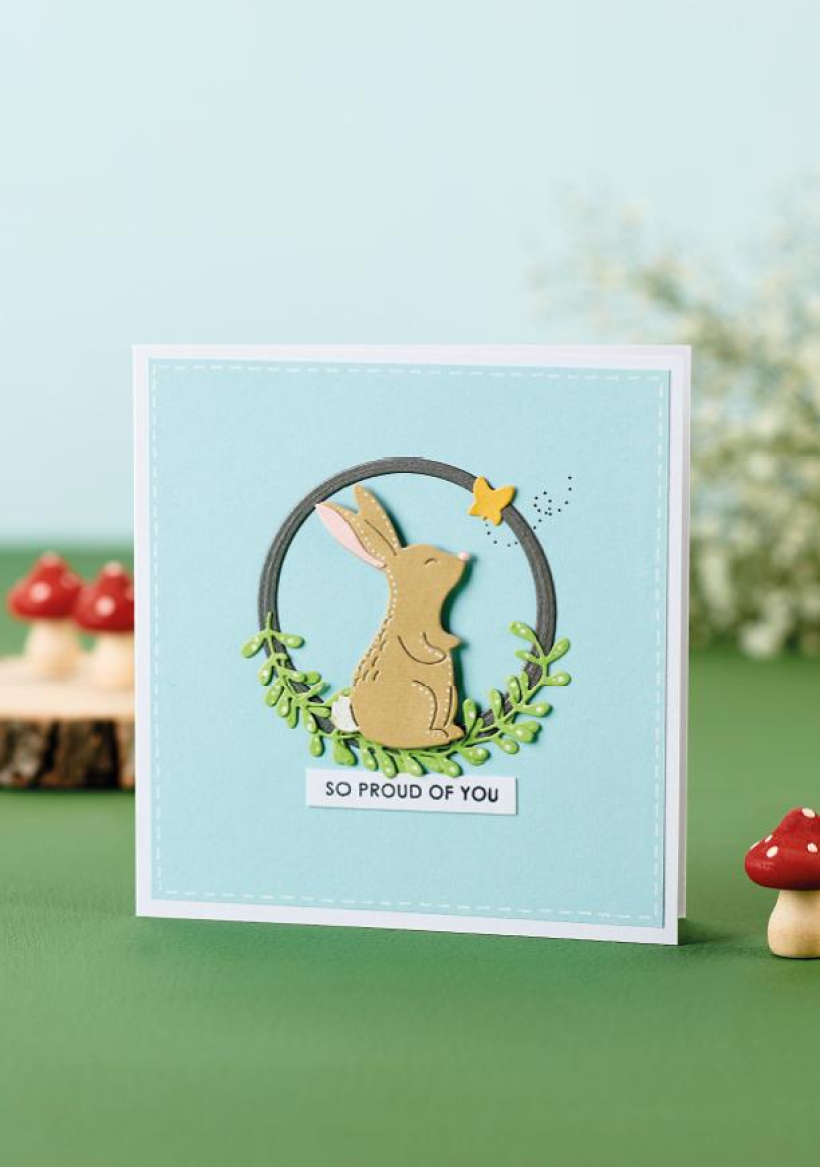
Using the new Nature Friends dies from Sizzix, Keren Baker proves how easy it is to transform adorable woodland motifs into knockout card designs… and a real variety of them at…
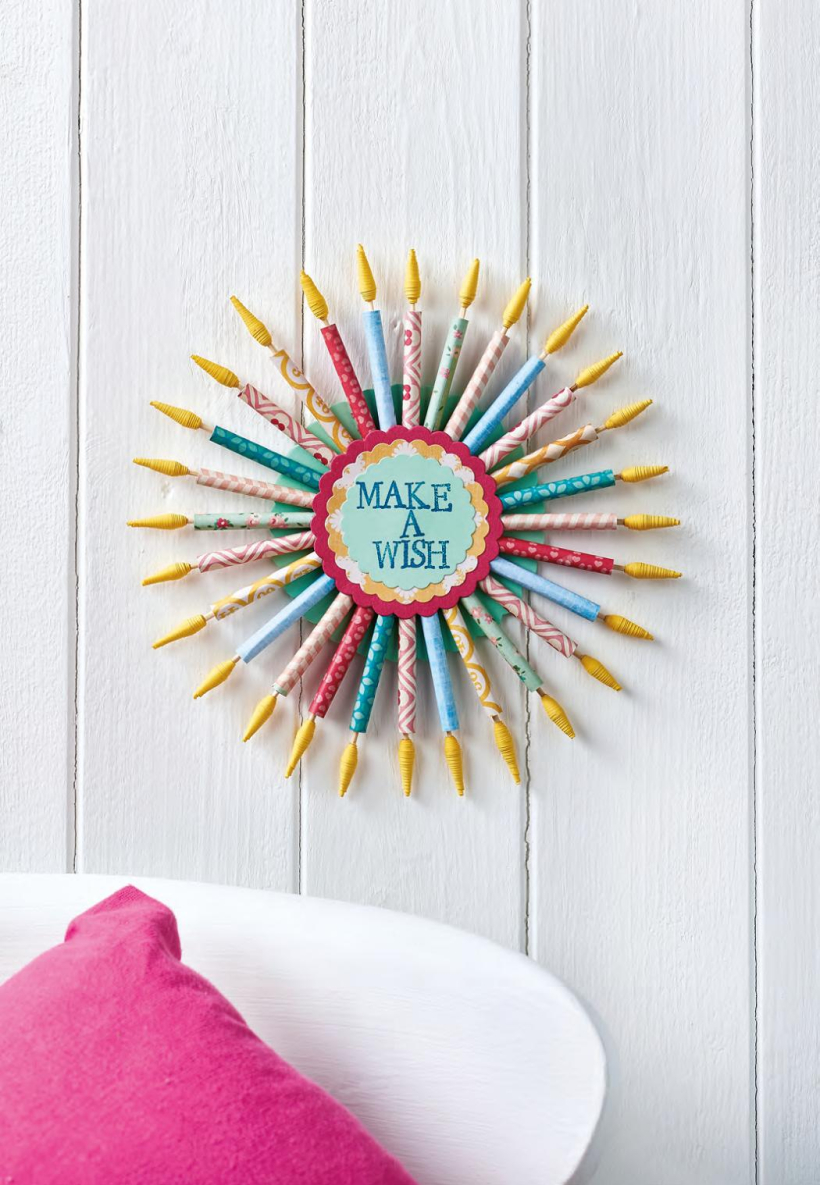
1. Cut several 3cm x 5cm pieces of patterned paper and wrap around a 5-6mm knitting needle to make lots of 5cm long tubes. Cut yellow paper into 2cm strips,…
Birthday crafting How to Papercraft Papercrafter Techniques Projects


