


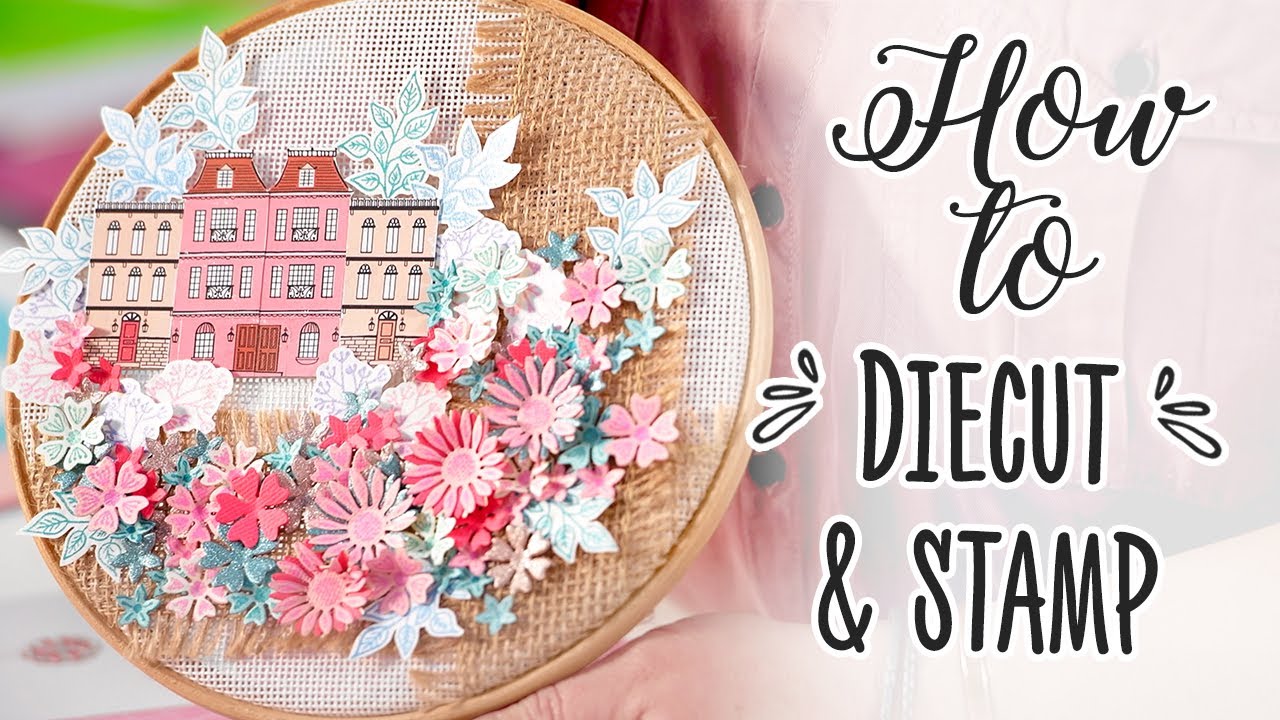
Die cutting Home decor Home decorations How to Papercraft Papercrafter Stamping Techniques
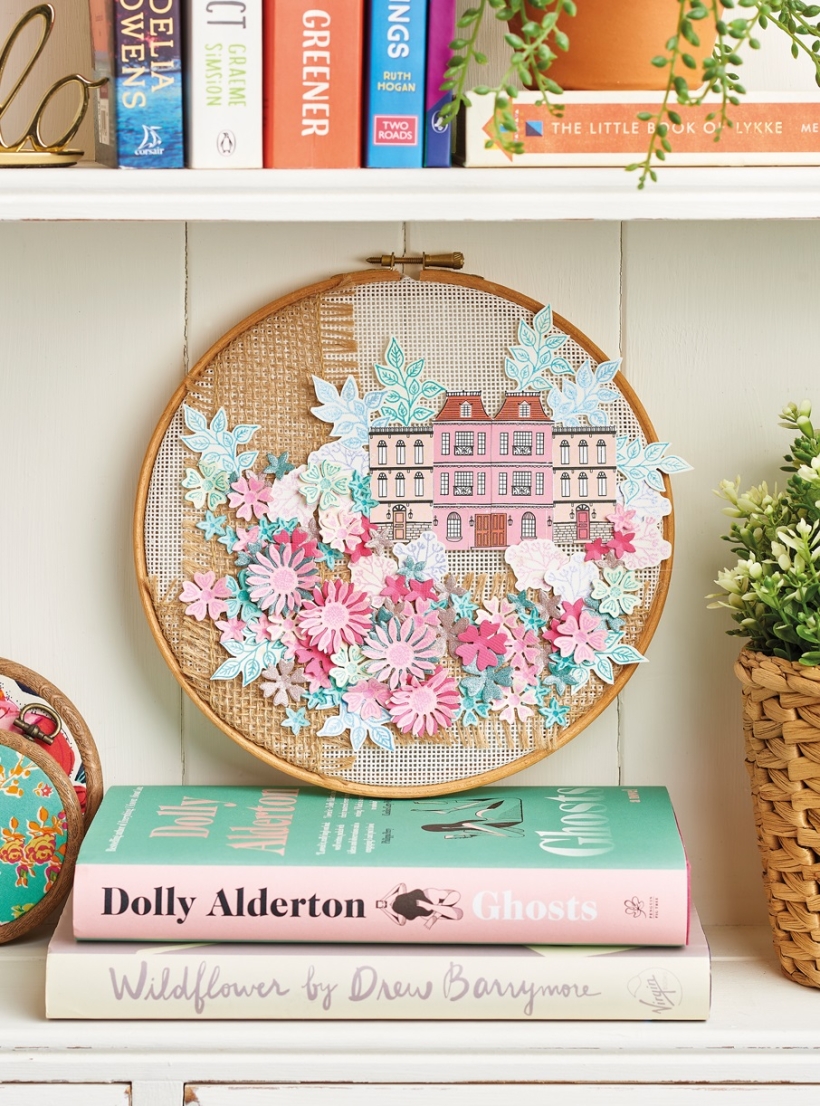
Lady Whistledown is sure to alert the ton of this jaw-dropping papercrafted masterpiece
If you haven’t watched Bridgerton, where have you been? Enjoyed by 82 million households, the first season was the most watched series on Netflix and season three is out in May and June 2024 – yippee! We’re obsessed at PaperCrafter HQ, hence this beautiful concoction from Corinne Bradd. Use flower stamps and dies, plus the ultimate haberdashery heroes, and you’ll be on your way to making our Regency-inspired embroidery hoop.
YOU WILL NEED:
Wooden embroidery hoop, 22cm
Cream tapestry canvas, 25cm square
Hessian ribbon, 50cm wide
Stamps and dies, Chloes Creative Cards Daisy Elements
Cardstock: plain, glittered
Pigment ink pads, coordinating colours
House topper
Pins
Tools: ball-ended, acrylic block
Adhesives: 3D foam pads, PVA glue
METHOD:
1. Pin the hessian ribbon to the canvas square, avoiding the edges. Substantially loosen the outer hoop of the embroidery frame, lay the canvas over the inner ring, and gently press the outer ring over the top so the fabric is bent without shifting the ribbon. Tighten the ring and remove the pins.
2. Adhere a house topper in the top-right of the canvas with 3D foam pads. Stamp multiple foliage images onto aged cream paper using inks in soft shades of blue, green, lilac and pink. Once dry, cut around the designs, then fix behind the house and around the outer edges of the canvas.
3. Die cut multiple flowers from coloured and glittered card, varying the size and shapes of the blooms. Trim several from lighter coloured card for later use. Place a flower in the centre of your palm and use a ball-ended tool to push down the centre, lifting the petals. Glue each flower to the canvas with thick PVA, grouping similar blooms for a more realistic ‘growing’ layout.
4. Take the lighter coloured flowers and place their corresponding stamps on an acrylic block, face up. Ink up the stamp and carefully lay the die-cut bloom on top, starting from one petal, lining up the shape accurately, then pressing down gently with your thumb to transfer the ink without smudging. This method is easier than trying to line it up perfectly while looking through the acrylic block.
5. Press the centres of the flowers once the ink is dry and layer together if desired. Arrange these blooms between the background flowers using 3D foam pads to raise them slightly. Lean up in your home or hang with decorative ribbon.
Prefer learning visually? Watch Corinne Bradd’s video on The Crafts Channel.

You will need:
Templates or SVG files
Stencil, Inkylicious Sunbeam 6”
Ink pad, Ranger Distress Oxide Salvaged Patina
Cardstock, various colours
Gems, clear
Faber Castell Polychromos coloured pencils
Pens: shimmer pen, black fineliner, white gel pen
Hampton Art Action…
Card making How to Papercraft Papercrafter Techniques Projects

YOU WILL NEED:
Craft essentials
FREE PaperCrafter patterned papers
Dies: circle, scalloped circle
METHOD
1 Create a 13cm x 17cm white blank then cover the front with orange card. Cut tennis racket paper, 12cm…
Card making Decoupage Die cutting How to Papercraft Papercrafter Card Making

You will need:
Templates
Coloured paper or thin cardstock, various colours
Wooden skewers or thin garden canes
Tools: scoring board, scoring tool, clips, small hole punch
Glue
Concertina Fold & Bind Method
1. Take a sheet of landscape…
Home decor Home decorations How to Papercraft Papercrafter Techniques Video tutorial Projects Make it Today

Stencils: Altenew Doily Frame, Watercolor Bouquet; My Favorite Things Basic Shapes Triangles
Stamps: Avery Elle Simple Sentiments, Simply Said Hugs
Die, Altenew Mega You
Ink pads: Ranger Distress…
Card making Die cutting How to Papercraft Papercrafter Techniques Card Making Die cutting Projects


