


Papercrafter Revamping Techniques
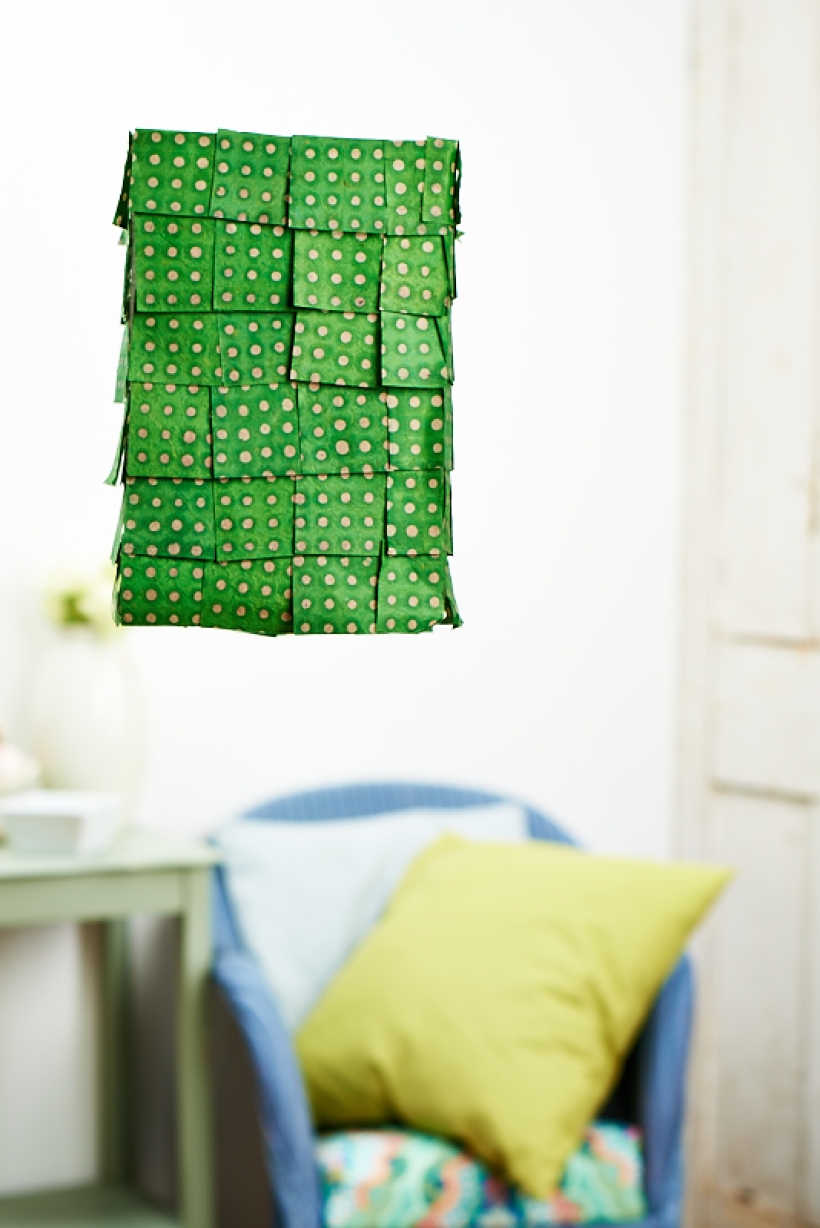
When we saw Paperchase’s new range of luxury papers we couldn’t wait to get making. Editor Ella has already used the purple peacock and geometric design to create a luxury coptic bound notebook - click here to see. And we also thought it would be fun to use the rustic green and buff spotty paper to update a white square lantern from hanginglanterns.co.uk. So, take a look at our super simple revamping project…
White Square Lantern, £5.99, hanginglanterns.co.uk, A sheet of Paperchase green on buff spotty paper wrap, Double sided tape, Scissors
Take a look at our other paper shade makes that we created in issue 62
Customised lampshade using PaperCrafter 62 Studio Selection Papers
Lampshade using craft papers
Customised lampshade with book papers
If you’re looking for more shady up-dates, look out for issue 64, out 16 August, where we’re be revamping some paper lanterns with our exclusive stencil that comes free with the mag.
See how we updated these lanterns in issue 64 of PaperCrafter
• Assemble the shade by pulling up and placing the wire frame in the centre. Now take the paper and cut into rough squares using the spots as your guide - you should have four dots down, four across. You don't have to be super precise as you want it to look rustic. Affix a line of double-sided-tape to the under-side of the top of each square.
• Starting from the bottom front side of the shade, adhere four squares (or however many cover the side) alongside each other so they cover the bottom edge of the shade. Repeat on all sides.
• Layer a line of squares so they overlap the first line. Repeat this row upon row until the shade is covered.

You will need:
Templates or SVG files
Stencil, Inkylicious Sunbeam 6”
Ink pad, Ranger Distress Oxide Salvaged Patina
Cardstock, various colours
Gems, clear
Faber Castell Polychromos coloured pencils
Pens: shimmer pen, black fineliner, white gel pen
Hampton Art Action…
Card making How to Papercraft Papercrafter Techniques Projects

YOU WILL NEED:
Craft essentials
FREE PaperCrafter patterned papers
Dies: circle, scalloped circle
METHOD
1 Create a 13cm x 17cm white blank then cover the front with orange card. Cut tennis racket paper, 12cm…
Card making Decoupage Die cutting How to Papercraft Papercrafter Card Making

You will need:
Templates
Coloured paper or thin cardstock, various colours
Wooden skewers or thin garden canes
Tools: scoring board, scoring tool, clips, small hole punch
Glue
Concertina Fold & Bind Method
1. Take a sheet of landscape…
Home decor Home decorations How to Papercraft Papercrafter Techniques Video tutorial Projects Make it Today

Stencils: Altenew Doily Frame, Watercolor Bouquet; My Favorite Things Basic Shapes Triangles
Stamps: Avery Elle Simple Sentiments, Simply Said Hugs
Die, Altenew Mega You
Ink pads: Ranger Distress…
Card making Die cutting How to Papercraft Papercrafter Techniques Card Making Die cutting Projects


