


Card making Papercraft Papercrafter
This issue of PaperCrafter comes with a gorgeous 32-page paper book featuring lovely designs from Alice Potter.
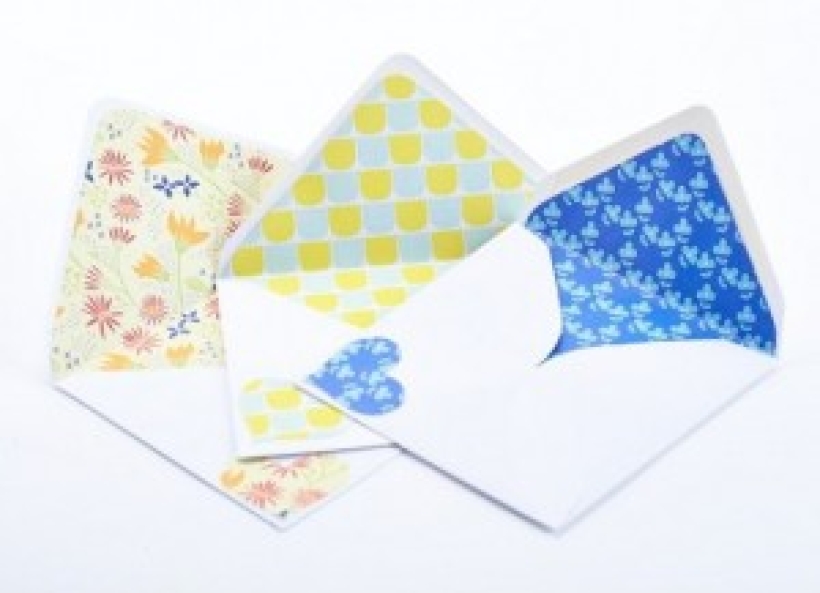
The wonderful thing about papercrafting is that no matter how refined your skills are, there is a project out there for you. So, as well as the wealth of great paper makes featured this issue, we thought it would be a great idea to use some of your papers to make pretty envelope liners.
Quick and simple, you can make these envelope liners today to give a lift to your letters and add a glamorous edge your greetings. Just follow our how-to guide…
• Make your template. Trace the envelope, including flap, onto the piece of cardstock.
• Measure the width of the adhesive portion of your envelope flap to determine how much to cut off your template, otherwise you'll overlap the adhesive on the envelope flap and won't be able to seal your envelopes once finished. From your traced envelope shape, measure that width inward on the flap and mark it with your pencil. Place your envelope on top of your cardstock at the marks that you just made and trace the envelope flap again. Measure 1mm in on the sides of the bottom of the envelope, mark off and trace the bottom.
• Cut this shape out and insert your newly made template into your envelope to see how it measures up and make any adjustments as needed. Now use your template to cut out your lining with pretty paper and slip your cut paper into your envelope. While the paper is in the envelope, bend the flap down and attach double-sided sticky tape to the top two edges to the triangular flap, peel the backing paper off and stick to the envelope.
• Et viola – you have a beautiful lined envelope!

You will need:
Templates or SVG files
Stencil, Inkylicious Sunbeam 6”
Ink pad, Ranger Distress Oxide Salvaged Patina
Cardstock, various colours
Gems, clear
Faber Castell Polychromos coloured pencils
Pens: shimmer pen, black fineliner, white gel pen
Hampton Art Action…
Card making How to Papercraft Papercrafter Techniques Projects

YOU WILL NEED:
Craft essentials
FREE PaperCrafter patterned papers
Dies: circle, scalloped circle
METHOD
1 Create a 13cm x 17cm white blank then cover the front with orange card. Cut tennis racket paper, 12cm…
Card making Decoupage Die cutting How to Papercraft Papercrafter Card Making

You will need:
Templates
Coloured paper or thin cardstock, various colours
Wooden skewers or thin garden canes
Tools: scoring board, scoring tool, clips, small hole punch
Glue
Concertina Fold & Bind Method
1. Take a sheet of landscape…
Home decor Home decorations How to Papercraft Papercrafter Techniques Video tutorial Projects Make it Today

Stencils: Altenew Doily Frame, Watercolor Bouquet; My Favorite Things Basic Shapes Triangles
Stamps: Avery Elle Simple Sentiments, Simply Said Hugs
Die, Altenew Mega You
Ink pads: Ranger Distress…
Card making Die cutting How to Papercraft Papercrafter Techniques Card Making Die cutting Projects


