


Home decor Home decorations How to Papercraft Papercrafter Techniques Projects
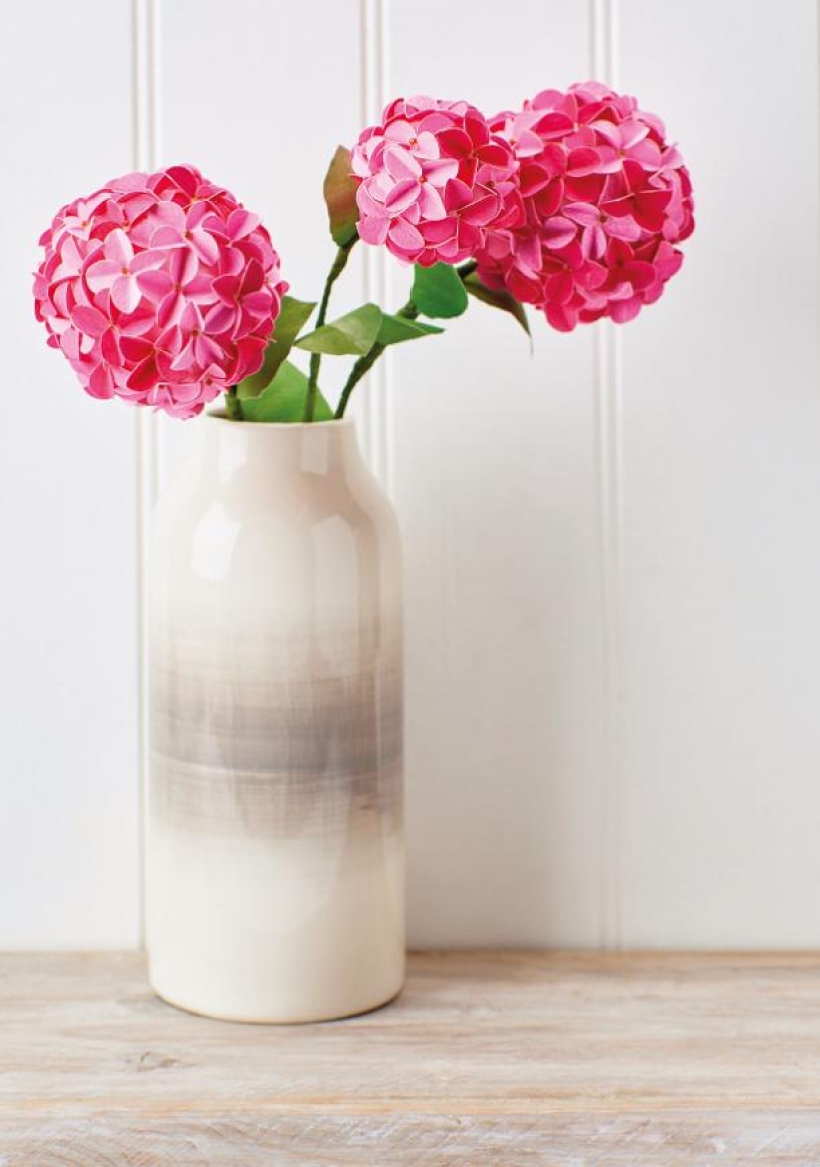
These watercolour blooms are easier than they look: that’s a PaperCrafter promise!
There’s nothing quite like pretty flowers to make us feel good, brighten the day and add a splash of colour to our surroundings. So if you’re looking for a cheerful project with sunny days in mind, then Jill Alblas’ idea is just the ticket. The technique is fun and easy, you just need a small circle punch to get started. We’ve also used watercolour paints, but inks and acrylics would be fine too… or you could just raid the kids’ poster paints. After all, we’re crafters. We improvise!
Please login to download. Sign in here
Card: white, mid pink, bright pink
Polystyrene balls: 50mm, 75mm diameter
Punch, 15mm circle
Glue gun, low temperature
Watercolour paint: cerise, green
Watercolour paper
Brush, large, soft
Seed beads, brown
Wire, aluminium
Florist’s tape
Everlasting hydrangeas
1. Prepare the paper sheets by diluting cerise paint in a saucer or dish. Use a wet brush to apply a pale wash to both sides of a sheet of paper. Add a little more paint to the saucer to deepen the shade, then apply a mid-pink wash to both sides of another sheet of paper. Create a third sheet in a deeper pink. Paint a green wash to both sides of another sheet.
2. To make the flower stem, trim 30cm of wire and push one end into a polystyrene ball. Push the wire right into the ball, but don’t allow it to protrude the other side. Use a glue gun to secure the wire. Wind the wire tightly with florist’s tape.
3. To make the individual flowers, punch four small circles from one of the pink papers. Fold each circle in half and firmly pinch one end of the fold. This will form the pointed end of the petal. Apply a spot of adhesive to a polystyrene ball.
4. With the pointed end of each one facing outwards, press four petals on the glue to make a flower. Vary the colours and repeat to cover the ball keeping the flowers closer together. Trim leaves from green paper. Bind the leaf stems in place using florist’s tape. Add a spot of craft glue to the centre of each flower and press a seed bead in place to finish.

You will need:
Templates or SVG files
Stencil, Inkylicious Sunbeam 6”
Ink pad, Ranger Distress Oxide Salvaged Patina
Cardstock, various colours
Gems, clear
Faber Castell Polychromos coloured pencils
Pens: shimmer pen, black fineliner, white gel pen
Hampton Art Action…
Card making How to Papercraft Papercrafter Techniques Projects

YOU WILL NEED:
Craft essentials
FREE PaperCrafter patterned papers
Dies: circle, scalloped circle
METHOD
1 Create a 13cm x 17cm white blank then cover the front with orange card. Cut tennis racket paper, 12cm…
Card making Decoupage Die cutting How to Papercraft Papercrafter Card Making

You will need:
Templates
Coloured paper or thin cardstock, various colours
Wooden skewers or thin garden canes
Tools: scoring board, scoring tool, clips, small hole punch
Glue
Concertina Fold & Bind Method
1. Take a sheet of landscape…
Home decor Home decorations How to Papercraft Papercrafter Techniques Video tutorial Projects Make it Today

Stencils: Altenew Doily Frame, Watercolor Bouquet; My Favorite Things Basic Shapes Triangles
Stamps: Avery Elle Simple Sentiments, Simply Said Hugs
Die, Altenew Mega You
Ink pads: Ranger Distress…
Card making Die cutting How to Papercraft Papercrafter Techniques Card Making Die cutting Projects


