


Use your free gift from issue 95 to create cards, gift boxes and a bookmark
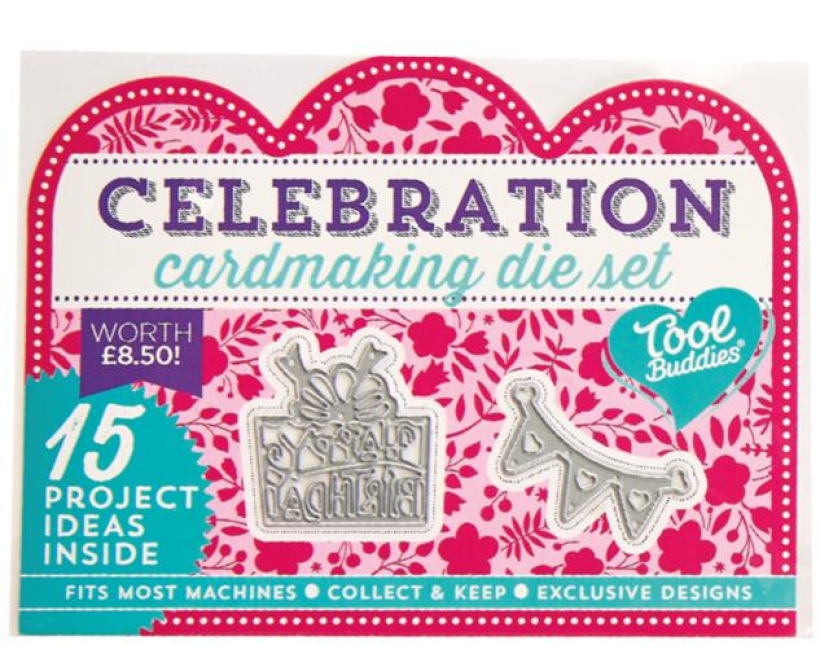
Craft Essentials, Tool Buddies embossing boards, Tool Buddies die set, PaperCrafter papers , Dies: scallop-edged circle, heart, circle, fancy label, Buttons: coral, aqua, Sanding block, Tassel: white, Rub-on lettering: black
Die cutting and embossing will take your card making to the next level and allow you to add a unique and personal touch to your creations. Colette Smith has created a beautiful, vibrant collection of cards, gift tags and gift boxes using bright neons and contrasting blacks to really make the colours pop.
• Use your Tool Buddies embossing board to create a chevron pattern on a 5cm x 9cm piece of aqua card. Matt it onto the bottom of a 9cm x 15cm white blank.

• Die cut two bunting shapes from pink, aqua and lime card. Use the little hearts to fill in the bunting, alternating the colours.
• Arrange and stick the bunting die-cuts across the top of the blank. Wrap and tie pink ribbon around the top of the aqua panel. Add a sentiment and a gem to each end of the bunting.
• Cover a 10cm square blank with a slightly smaller piece of aqua card. Die cut a 9cm circle from neon pink card and a 5.5cm disc from lime.

• Layer and stick the circles to the lower right corner of the blank so they overlap the edges slightly, then trim away any excess.
• Die cut a present in black, aqua, lime and neon pink card. Use the coloured die-cuts to fill the spaces. Stick to the lime circle and finish by adhering some black pearls to the aqua card.
• Emboss a piece of turquoise card with chevrons and use this to cover the lid of a small box. Add a length of ribbon and a bow across one corner, sticking down the ends inside the box lid.

• Die cut a present in white card and stick onto a piece of pink card. Trim the edges of the pink card and tuck it under the bow on the box. Stick it down and add a gem to the gift shape.
• Snip a fish tail from one end of a 4.5cm x 18cm piece of aqua card. Matt onto a slightly bigger piece of white card and snip out another fish tail.

• Die cut two bunting shapes from pink, lime and white card. Use the hearts to infill the bunting in different colours. Arrange the shapes down the length of the bookmark and stick in place.
• Punch a small hole in the top and tie a tassel through it. Add a small gem to the end of each bunting die-cut.
• Emboss a 7cm x 9cm piece of white card with a leaf pattern and die cut it into a fancy label shape. Matt it onto a larger label, stick to the left side of a 10cm x 12cm top-fold blank and trim away any excess.

• Take a small piece of green card and emboss it with a leaf pattern and cut out the shapes.
• Cut wavy strips in three shades of pink card and use a quill to roll and stick them into blooms. Add the rolled flowers and leaves to the label. Add a pale pink bow and a sentiment.
• Emboss a piece of 5cm x 10cm cream card with a leaf pattern and cut into a large leaf shape. Trim another the same size in orange card and a smaller in pale green card.
• Scrunch the coral and green leaf, layer them with the cream one in the middle and glue at the bottom to hold in place.
• Fray a length of parcel twine and tie in a large bow. Thread an orange button with green twine and tie in a knot. Glue the button to the bottom of the leaf with the parcel twine bow and finish with a gem on each leaf.
• Emboss butterflies onto a 9cm x 14cm piece of yellow card. Score the card at 6.5cm and 13cm and fold. Create a small wallet by sticking down the tab and glueing along the bottom. Punch a semicircle at the centre of the open end.

• Use scraps of orange, pale blue and green card to emboss butterflies. Cut out, score along the body, bend the wings up and attach to the wallet.
• Add a gem to each butterfly and create a sentiment by cutting a fishtail banner from white card. Tuck under one of the butterflies and stick to the front of the card.
• Emboss a chevron pattern on a 3cm wide strip of aqua card that is long enough to wrap around a small gift box. Matt onto 5cm wide white paper the same length. Wrap and secure around the gift box with glue.

• Wrap several lengths of striped twine around the band and tie in a large bow. Thread a blue button with white twine and tie in a knot.
• Glue the button to the front of the bow. Die cut a present shape from green card and fix to the box on top of the band.
• Emboss hearts onto a 10cm square piece of pink card and lightly sand the surface. Stick this piece to the inside of a white 10cm square blank. Trim away 3.5cm from the front panel.

• Die cut a 7.5cm heart and two smaller ones in different shades of pink card. Emboss and sand hearts on the smallest. 3 Layer the hearts and fix to the front of the card, overlapping the edge. Add a sentiment and some gems to finish.
• Die cut a 9cm scallop-edged circle in pink card and a 7.5cm shape in pale pink. Emboss the smaller circle with butterflies and stick onto the larger scallop.

• Emboss a butterfly on two small scraps of pink card and a scrap of white. Cut out, score along the body and bend the wings up. Attach to the tag.
• Punch a hole at the top of the tag and thread with pink twine. Add a large white bow and a gem to each butterfly.
• Matt a 7cm x 14.5cm piece of parade patterned paper to the top of a 10.5cm x 14.5cm white blank.

• Cut a piece of bunting patterned paper to 4cm x 14.5cm and stick to bottom part of card. Wrap red ribbon around the join and tie in a bow at the right.
• Add rub-on lettering between the rows of bunting to create a sentiment.
• Cut a piece of tea and cake-patterned paper to 4cm x 10cm and glue it to the bottom of a 12cm white square blank.

• Die cut nine bunting shapes in assorted papers and stick to the top of the blank.
• Add gems to the end of each bunting, wrap and tie twine around the top of the patterned paper and finish with a sentiment.

You will need:
Templates or SVG files
Stencil, Inkylicious Sunbeam 6”
Ink pad, Ranger Distress Oxide Salvaged Patina
Cardstock, various colours
Gems, clear
Faber Castell Polychromos coloured pencils
Pens: shimmer pen, black fineliner, white gel pen
Hampton Art Action…
Card making How to Papercraft Papercrafter Techniques Projects

YOU WILL NEED:
Craft essentials
FREE PaperCrafter patterned papers
Dies: circle, scalloped circle
METHOD
1 Create a 13cm x 17cm white blank then cover the front with orange card. Cut tennis racket paper, 12cm…
Card making Decoupage Die cutting How to Papercraft Papercrafter Card Making

You will need:
Templates
Coloured paper or thin cardstock, various colours
Wooden skewers or thin garden canes
Tools: scoring board, scoring tool, clips, small hole punch
Glue
Concertina Fold & Bind Method
1. Take a sheet of landscape…
Home decor Home decorations How to Papercraft Papercrafter Techniques Video tutorial Projects Make it Today

Stencils: Altenew Doily Frame, Watercolor Bouquet; My Favorite Things Basic Shapes Triangles
Stamps: Avery Elle Simple Sentiments, Simply Said Hugs
Die, Altenew Mega You
Ink pads: Ranger Distress…
Card making Die cutting How to Papercraft Papercrafter Techniques Card Making Die cutting Projects


