


Birthday crafting Card making Die cutting Embossing How to Papercraft Papercrafter Party makes Stamping Die cutting
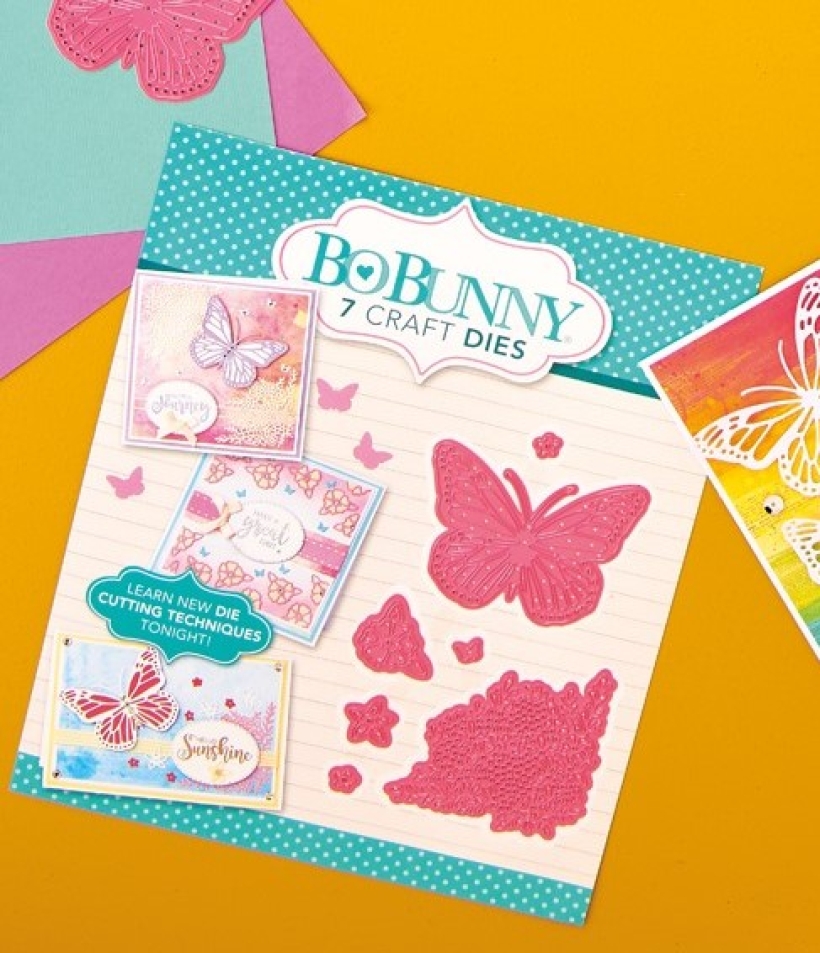
Supercharge your die-cutting stash with issue 146’s BoBunny die set! Not only are the shapes perfect for spring, the dies have been designed in PaperCrafter pink – pretty and practical! Whether you’re new to die cutting or a complete pro, there’s always new ways to experiment. Why not mix up your technique by opting for a shaker card, aperture elements or even negative die cutting? Get started with Colette Smith’s bonus trio below.
YOU WILL NEED:
PaperCrafter Issue 146 gift, BoBunny die set
Patterned papers, Craft Consortium Grunge Light Tones
Stamp, Crafter’s Companion Say It With Words
Dies, Stitched ovals
Embossing powder: silver, gold
Inks, Ranger Distress Oxide blue, pink
Die-cutting machine
3D foam pads
METHOD:
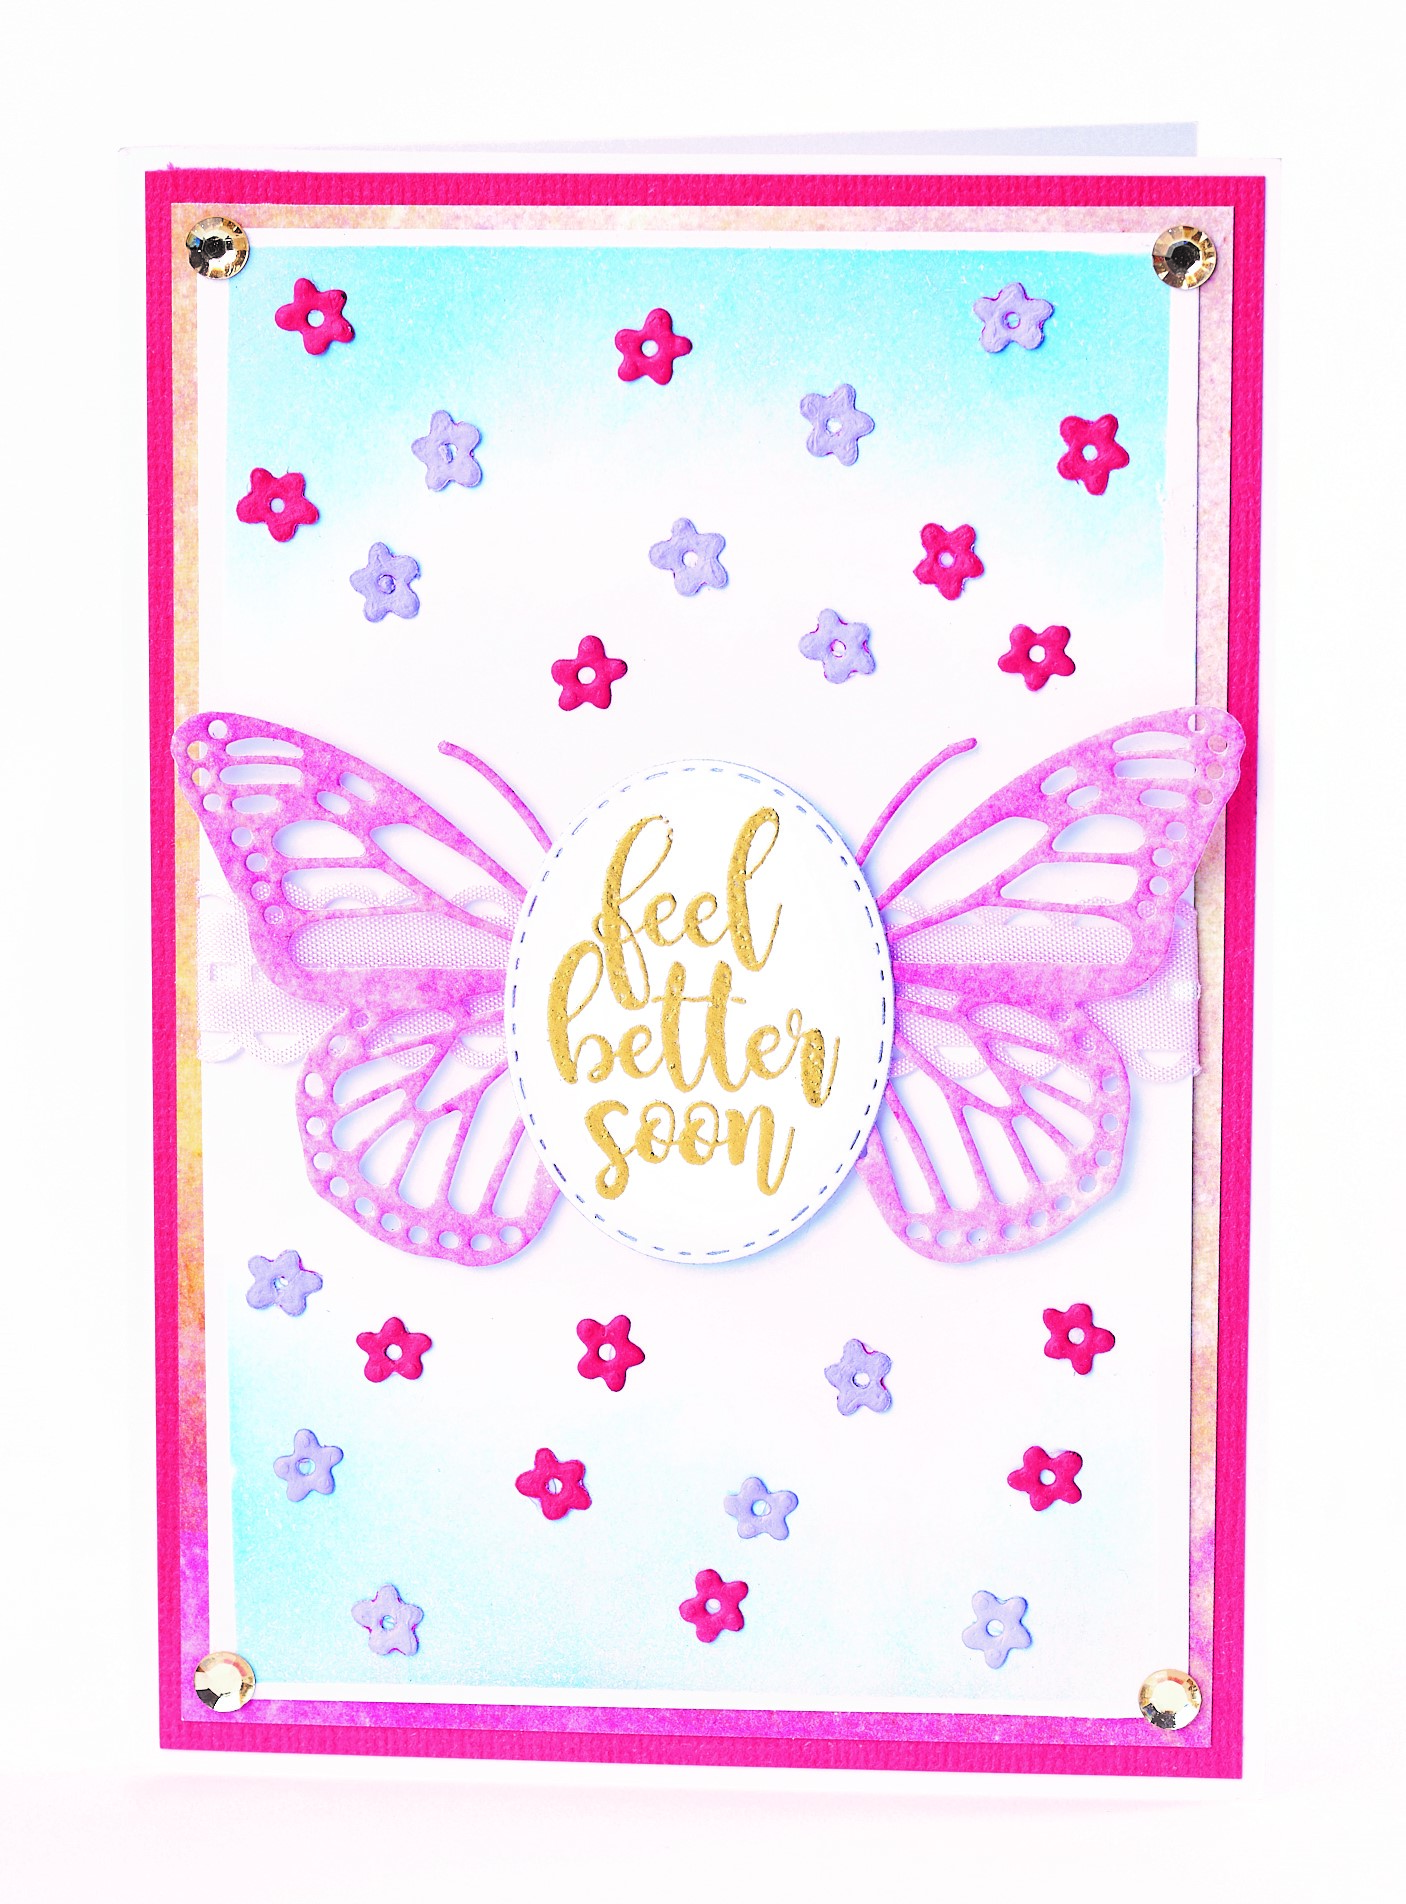
Feel Better Soon
1 Cover the front of a 10.5cm x 15cm white blank with dark pink card. Trim orange grunge paper to 9.5cm x 14cm, then adhere on top. Cut white card to 9cm x 13.5cm and rub blue ink along the top and bottom. Wrap ribbon across the centre, then adhere to the card front.
2 Stamp a sentiment onto white card, emboss with gold embossing powder, then die cut into a stitched oval. Take the large butterfly and die cut from pink grunge paper. Cut in half, then adhere each piece to the back of the sentiment. Attach to the card front with 3D foam pads. Finish with die-cut flowers and pink gems.
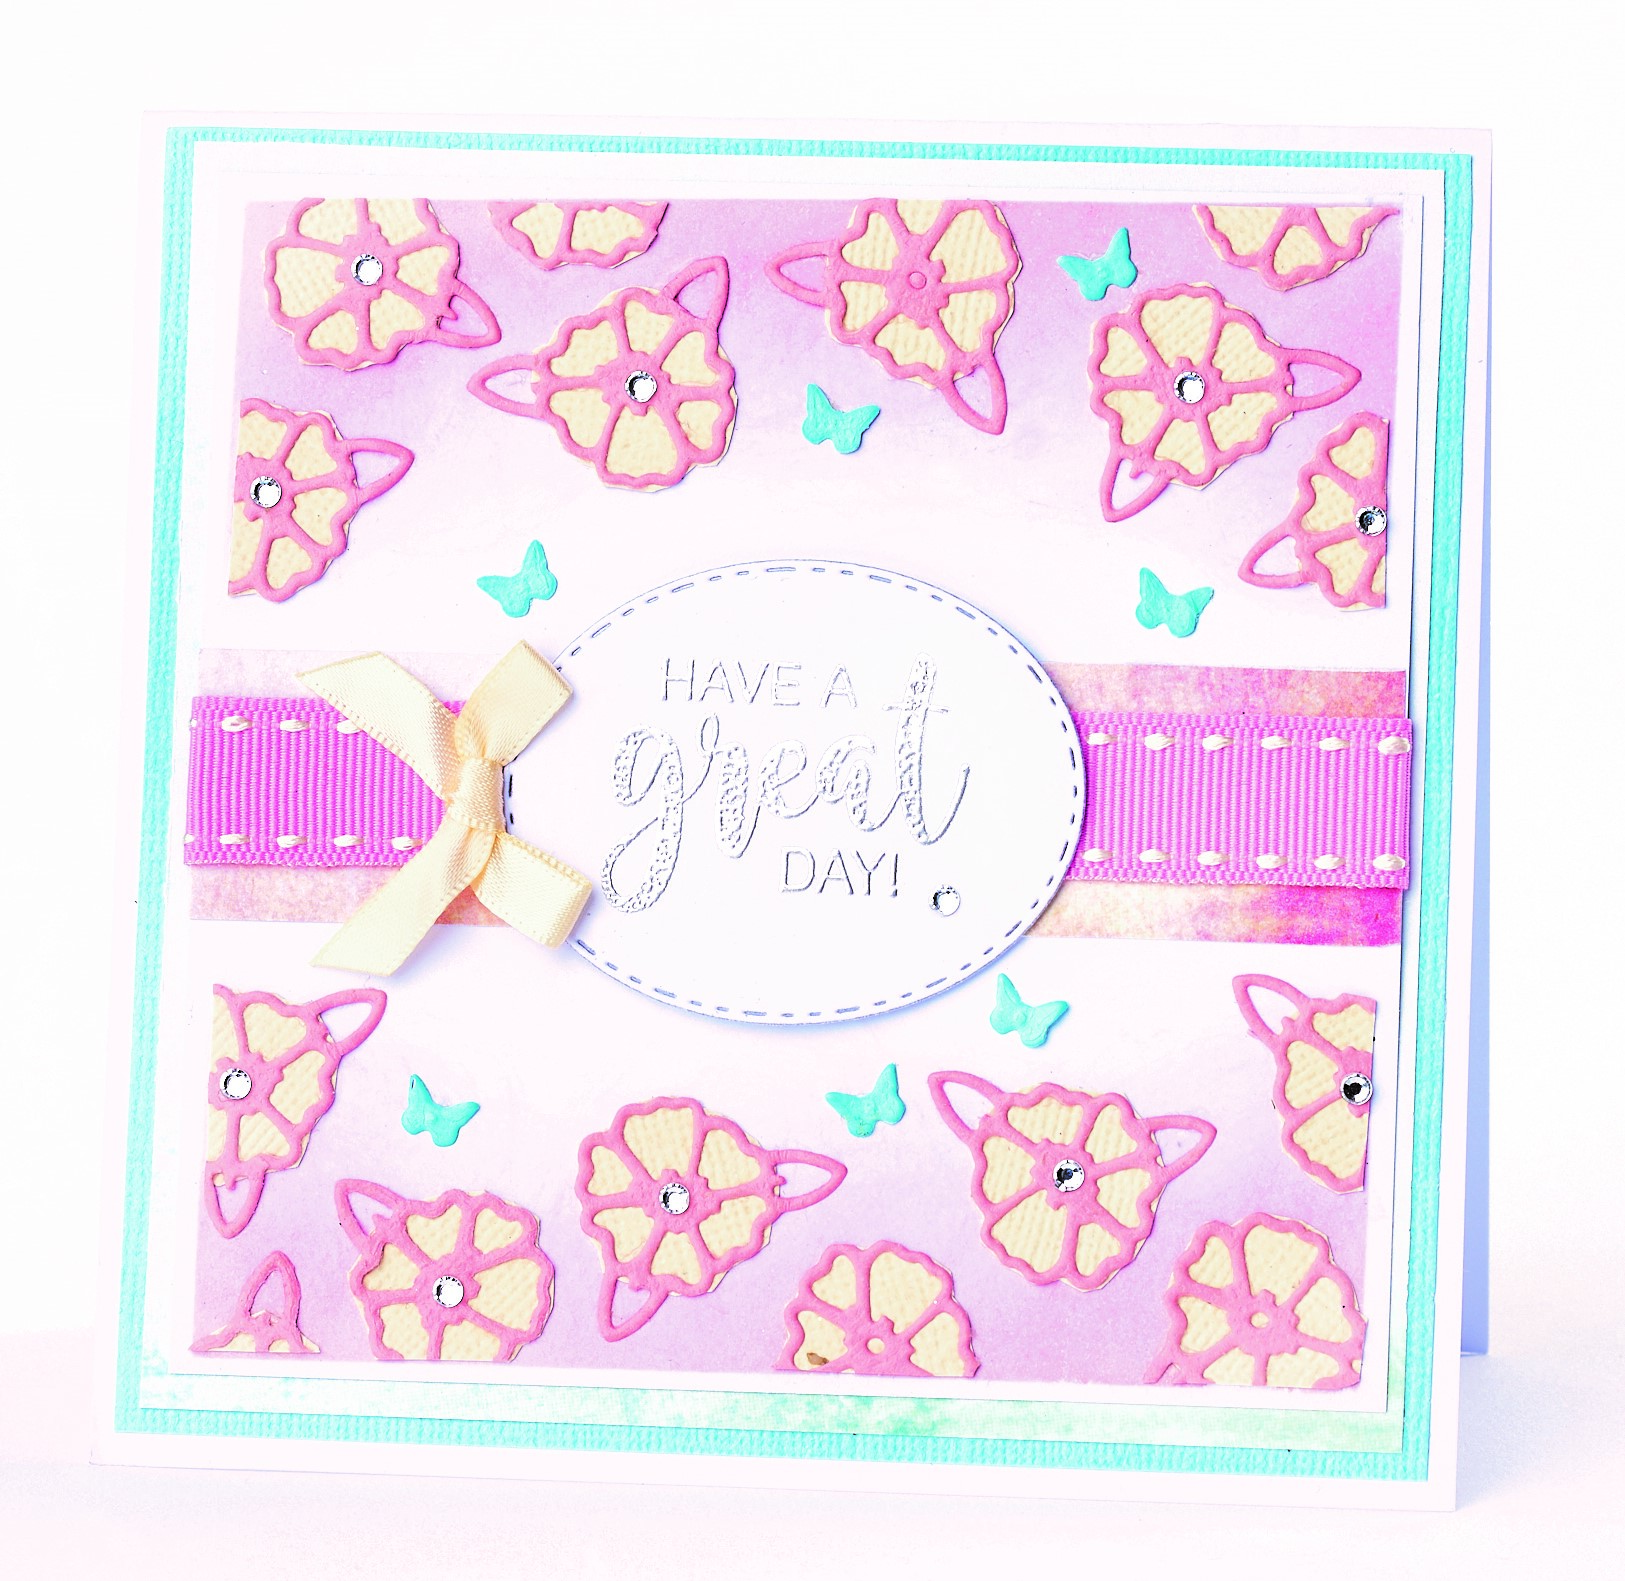
Have a great day
1 Create a 13cm square top-folding white blank, then cover the front with teal card. Trim green grunge paper to 12cm square and layer on top. Trim white card to 11cm square, then rub pink ink across the top and bottom. Cut pink grunge paper to 11cm x 2.5cm and glue to the centre. Wrap ribbon across the middle.
2 Die cut sixteen flowers in pink card, stick onto cream card, then cut out. Secure the flowers across the inked areas as shown, trimming to fit. Layer onto white card, then attach to the greeting.
3 Stamp a sentiment onto white, then die cut into a stitched oval. Attach in the centre with 3D foam pads and fix a mini bow on the left-hand side. Die cut seven mini butterflies in teal card, then adhere around the sentiment. Finish with silver gems.
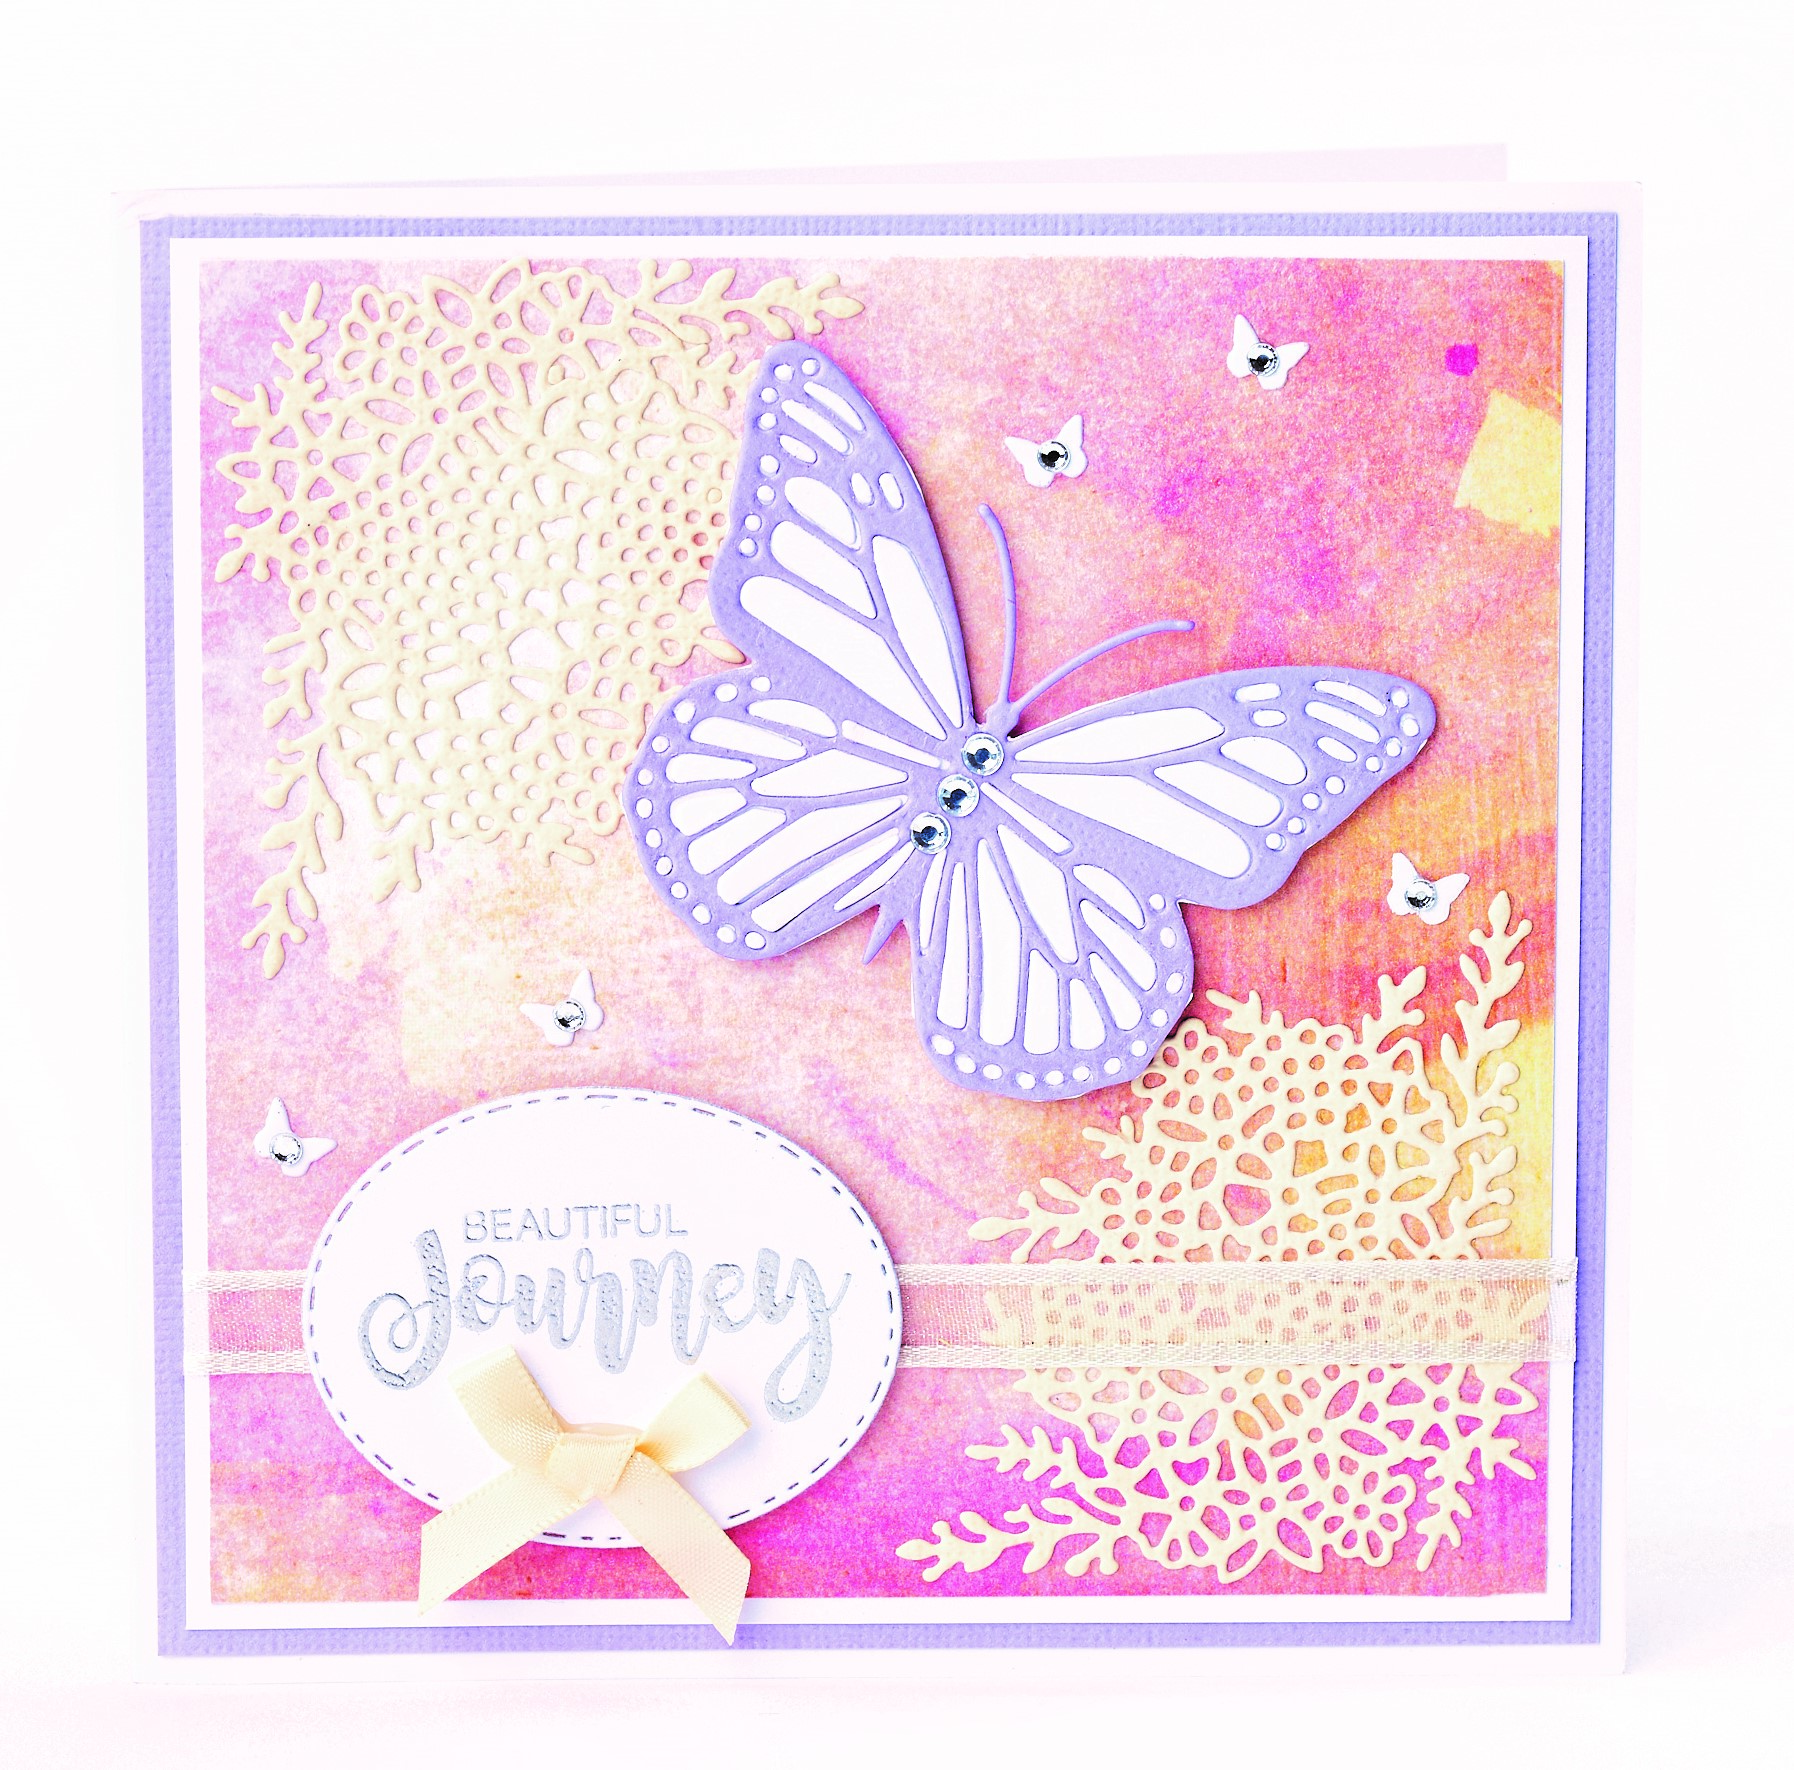
Beautiful journey
1 Cover the front of a 14cm square white blank with lilac card. Trim pink grunge paper to 12.5cm square. Die cut two floral clusters in yellow card, then adhere in the top-left and bottom-right corners. Wrap ribbon towards the bottom of the pink grunge paper, layer onto white and adhere to the card front.
2 Stamp a sentiment onto white card, emboss with silver embossing powder, then die cut into a stitched oval. Fix to the left-hand side of the ribbon with 3D foam pads. Die cut a large butterfly from lilac, adhere to white card, then cut out and attach as shown with 3D foam pads. Finish with five mini die-cut butterflies, silver gems and a bow.
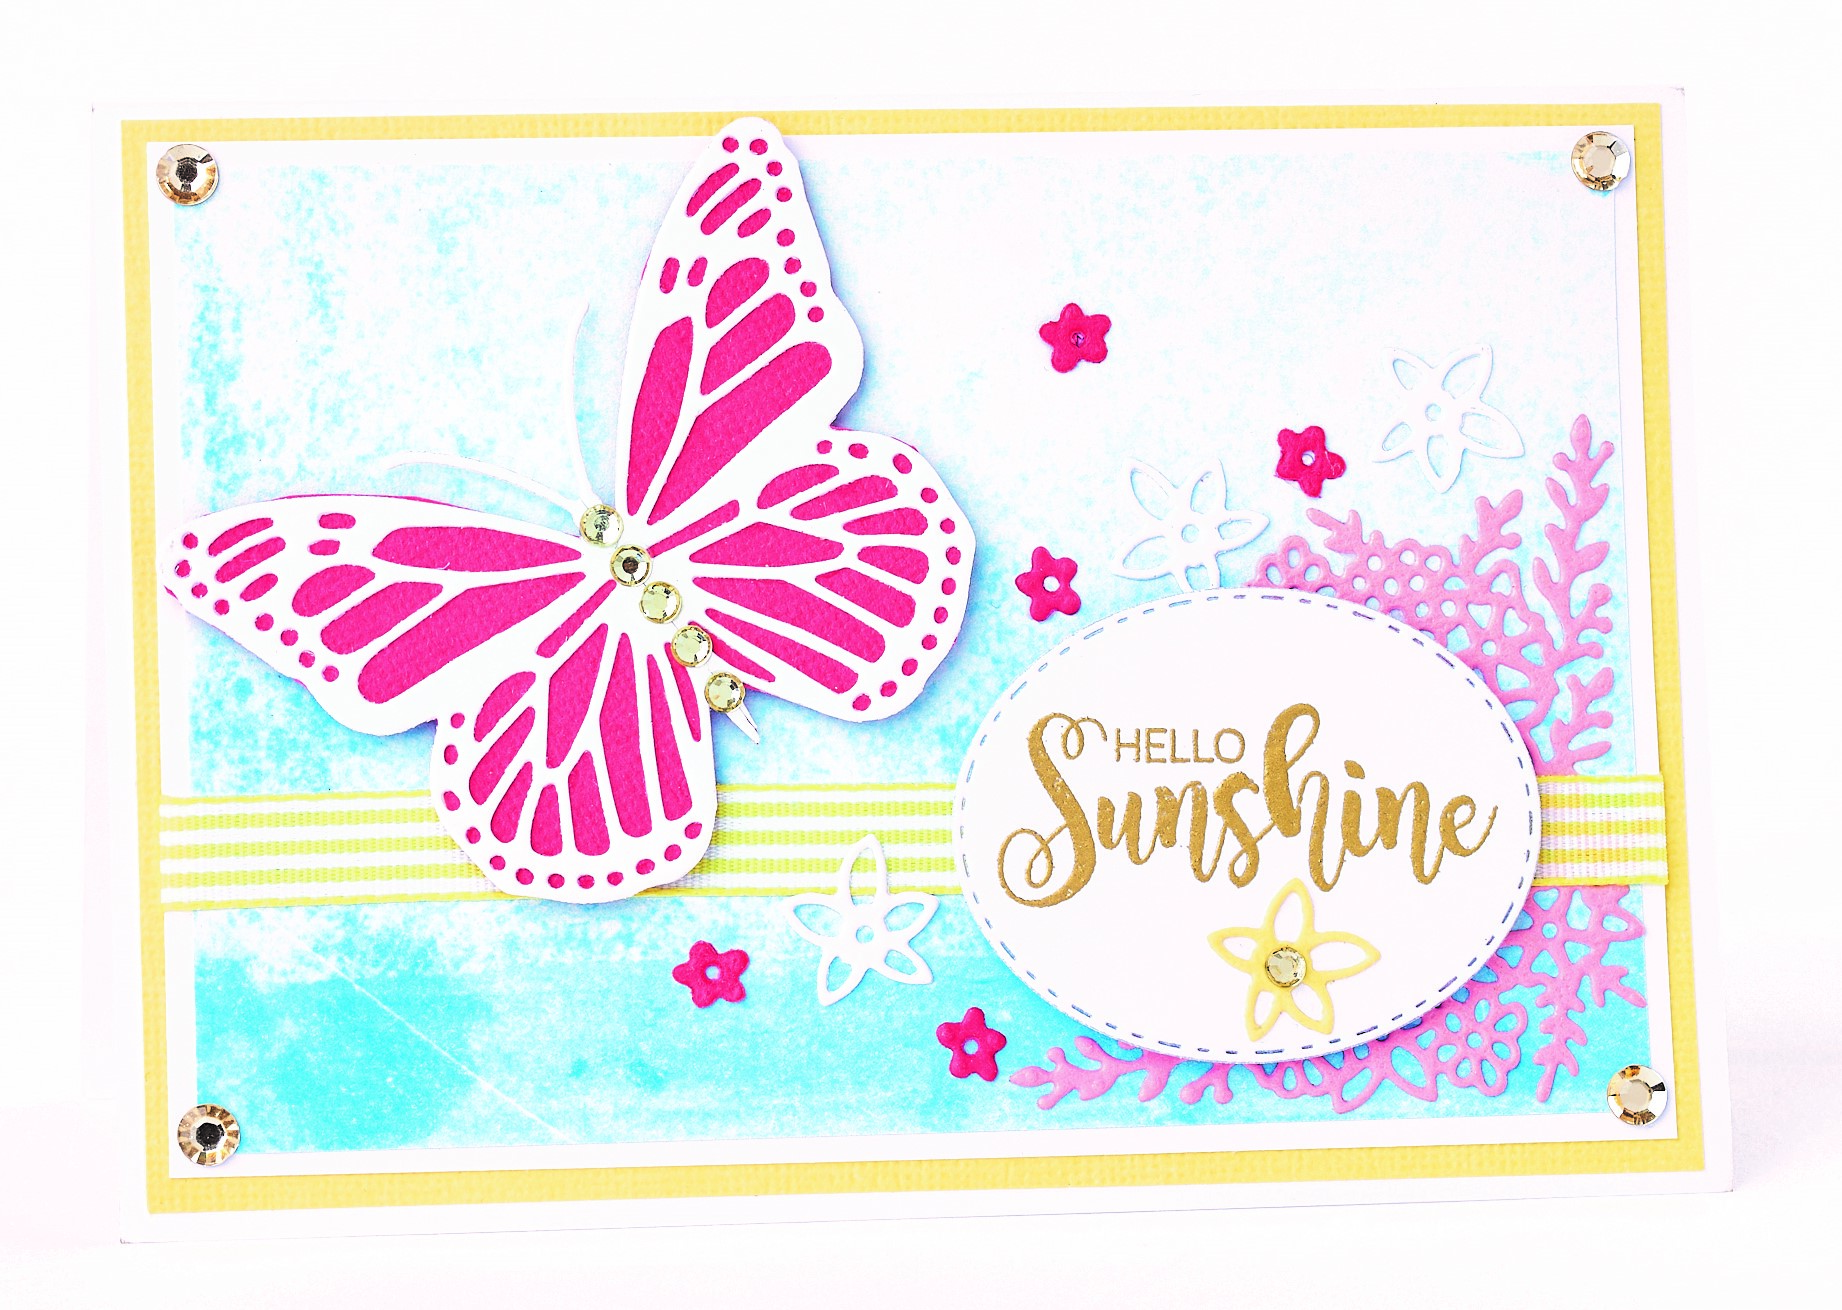
Hello sunshine
1 Cover the front of a 10.5cm x 15cm white blank with yellow card. Trim blue grunge paper to 9cm x 13.5cm. Die cut a floral cluster in pink card and glue to the bottom-right corner. Wrap ribbon across the paper, then attach to the card front.
2 Stamp a sentiment onto white, emboss with gold embossing powder, then die cut into a stitched oval. Attach to the right-hand side of the ribbon with 3D foam pads. Die cut a large butterfly from white and dark pink card. Mount the body of the white butterfly onto white paper, then inlay the pink pieces on top. Trim, then attach with 3D foam pads. Complete with die-cut flowers and gold gems.

You will need:
Templates or SVG files
Stencil, Inkylicious Sunbeam 6”
Ink pad, Ranger Distress Oxide Salvaged Patina
Cardstock, various colours
Gems, clear
Faber Castell Polychromos coloured pencils
Pens: shimmer pen, black fineliner, white gel pen
Hampton Art Action…
Card making How to Papercraft Papercrafter Techniques Projects

YOU WILL NEED:
Craft essentials
FREE PaperCrafter patterned papers
Dies: circle, scalloped circle
METHOD
1 Create a 13cm x 17cm white blank then cover the front with orange card. Cut tennis racket paper, 12cm…
Card making Decoupage Die cutting How to Papercraft Papercrafter Card Making

You will need:
Templates
Coloured paper or thin cardstock, various colours
Wooden skewers or thin garden canes
Tools: scoring board, scoring tool, clips, small hole punch
Glue
Concertina Fold & Bind Method
1. Take a sheet of landscape…
Home decor Home decorations How to Papercraft Papercrafter Techniques Video tutorial Projects Make it Today

Stencils: Altenew Doily Frame, Watercolor Bouquet; My Favorite Things Basic Shapes Triangles
Stamps: Avery Elle Simple Sentiments, Simply Said Hugs
Die, Altenew Mega You
Ink pads: Ranger Distress…
Card making Die cutting How to Papercraft Papercrafter Techniques Card Making Die cutting Projects


