


Card making Die cutting How to Papercraft Stamping Techniques Digi Stamps
Six bonus printables, multiple ways to use them – we show you how!
Please login to download. Sign in here
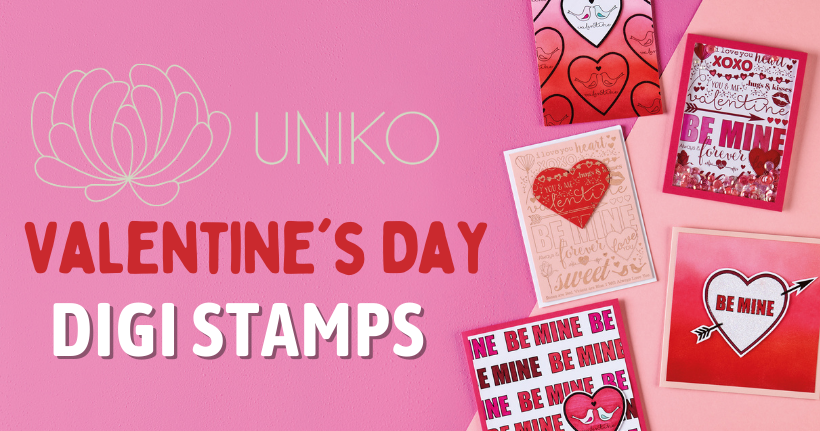
Courtesy of Uniko we’re treating you to a selection of digi stamps for Valentine’s Day, including sentiments, motifs and a block background print for when you need a card in a hurry – oops! Plus, designer Beverley Brown is on hand to show you how to get the most from your printables. Combine your digis with hot foiling, shaker elements, ink blending and much more.
Download and print them
1 Press ‘Click here to download now’ then log in – or register if you don’t currently have an account with us.
2 Click ‘Download now’ and you’ll see the download processing at the bottom of your screen.
3 Open the folder, then right-click on the file and select ‘Print’.
Hot foil hints
Beverley has foiled some of her digi stamps using a laser printer and the Heidi Swapp Minc Foil Applicator. Simply print your motif onto cardstock, then feed through the Heidi Swapp Minc machine with your chosen foil layered on top. This needs to be done with toner which comes in a laser; you can’t use an inkjet printer to achieve a successful transfer of foil. The foil will only stick to the areas where toner has been applied.
Make a shaker
A shaker card never fails to bring joy and Beverley proves that the block background digi stamp is the perfect match for this technique. Create a large frame with acetate and foam tape, add coloured sequins, then layer on top of the background panel for a full-card shaker. If you don’t have sequins, use glitter or polymer clay shapes instead. Just make sure you run the foam tape around the entire edge of the frame without any gaps
Ombré blends
Opt for multiple hues of the same colour for eye-catching ink blends. Whether you’re using ink pads or alcohol markers, you can apply the same method to create striking gradient effects. Beverley has seamlessly blended pink and red inks for statement backgrounds – using an ink blending tool or sponge will help you achieve this. For the ‘Be mine’ sentiment on her shaker card, she has coloured in each letter using Copics, going from light to dark
YOU WILL NEED:
Valentine’s Day digi stamps
Die, rectangle
Ink pads: Concord & 9th Ink Ballet Slipper, Honeysuckle, Poppy & Cranberry
Cardstock: white, pinks, reds
Heidi Swap Minc Foiling Machine
Heidi Swapp Minc Reactive Foil: Rose Gold, Hot Pink
Glitter, white
Acetate
Copic markers, various colours
Little Things From Lucy’s Cards sequins
Laser Printer
Ink blending tool
Adhesives: glue pen, 3D foam pads
Die-cutting machine
Gold Foil Spotlight
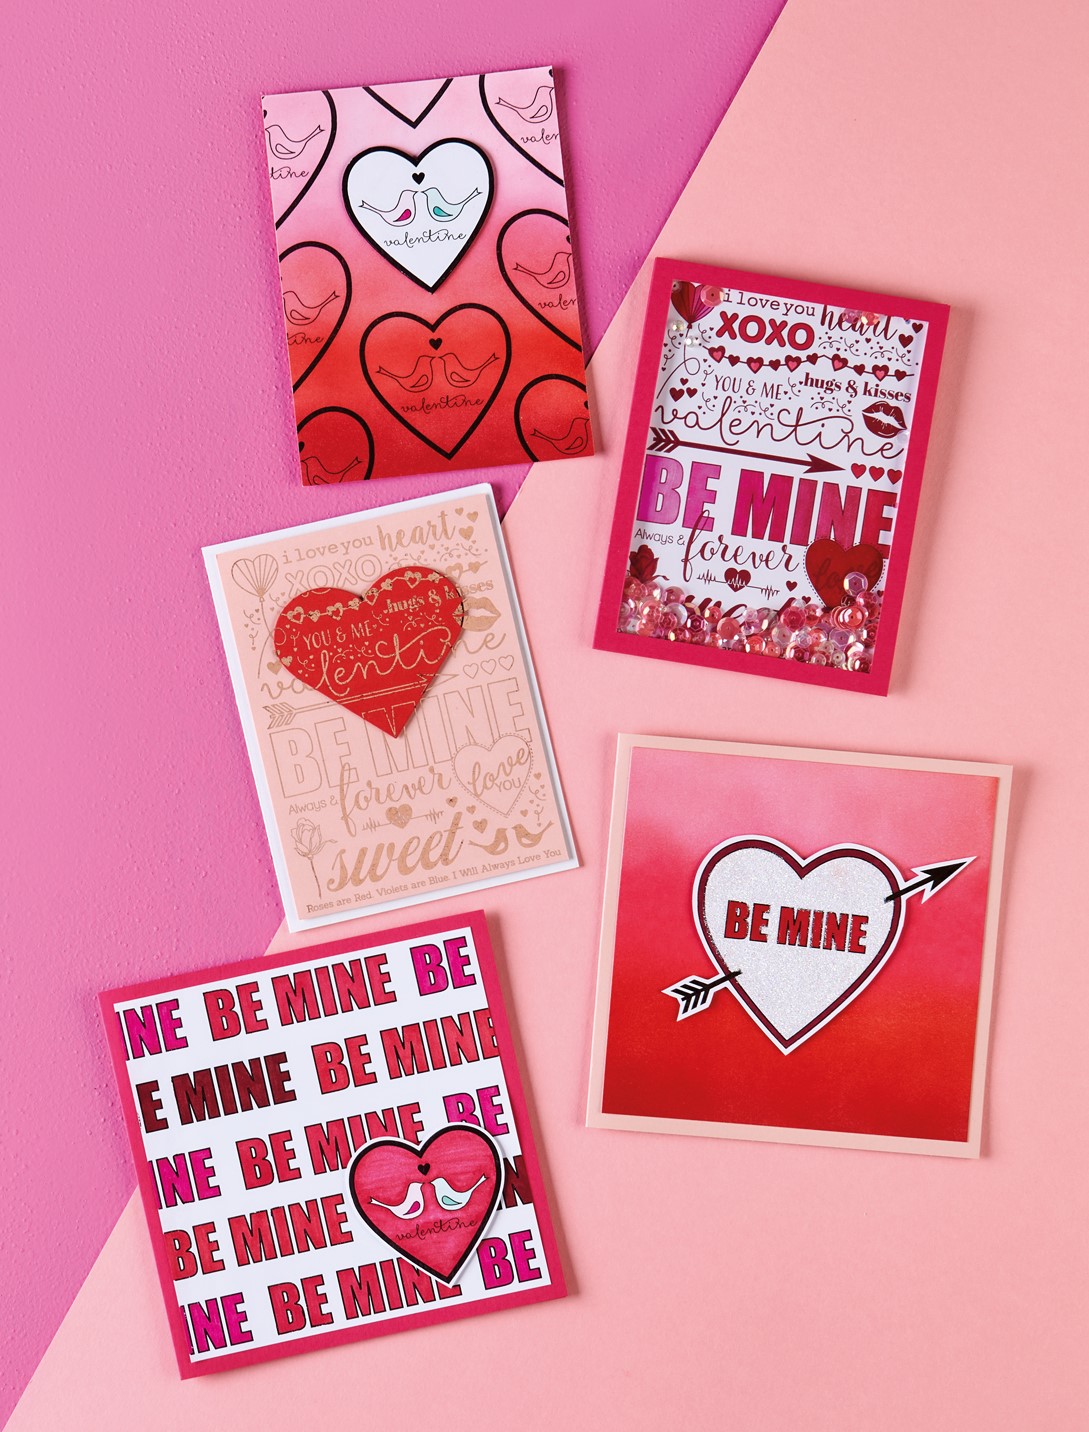
1. Size the block background motif to fit inside a 10cm x 13.5cm panel, then print onto light pink and red card using a laser printer. Foil the prints using the Heidi Swapp Minc Machine and rose gold foil.
2. Mount the light pink foiled panel onto a white blank with 3D foam pads, trimming to fit. Die cut a heart from the red foiled panel and adhere onto the card to create a spotlight effect using foam adhesive.
Sequin Shaker Card
1. Create a 10.5cm x 14cm blank from dark pink card. Trim another piece of dark pink card to 10.5cm x 14cm and create an aperture frame for your shaker card using a rectangle die. Add acetate to the reverse of the frame, then apply 3D foam pads around the edge.
2. Print the block background motif using a laser printer. Colour in the motifs and sentiments with Copic markers then foil with hot pink foil. Adhere to the blank and pour sequins on top. Adhere the shaker frame on top to finish.
Glitter Heart Card
1. Create a 14cm square blank from light pink card. Trim white card to 13.5cm square, then blend pink and red inks onto the background going from light to dark. Adhere the panel to the blank.
2. Print the arrow heart motif and a sentiment. Colour in, add white glitter using a glue pen and cut out. Fix to the card front with 3D foam pads.
Ombré Love Birds
1. Create a 10.5cm x 14cm blank from white card. On your computer, copy the love birds heart motif multiple times to fit a 10.5cm x 14cm panel. Print onto white card, then blend pink and red inks going from light to dark.
2. Adhere the inked panel to the blank. Print another love birds heart motif onto white, colour in the birds with Copic markers, then cut out. Fix to the card front with 3D foam pads.
Be Mine Card
Make a 14cm square blank from dark pink card. On your computer, copy the ‘Be Mine’ sentiment multiple times to create a background. Print and colour in with Copic markers. Trim and mount onto the blank. Print the love birds heart, colour in, then cut and fix to the card using 3D foam pads.

To download our templates, simply click ‘Download Now!’ and it will open in your browser. Why not send us a picture of your project once you’re done? For your chance to be…
Home decor Home decorations Papercraft Papercrafter Party makes Templates

There’s nothing quite so relaxing, or quite so fun, as settling down with a good colouring page. It’s even better if that colouring page happens to include Wallace & Gromit. This duo…
Gather your friends, get the TV on, bring a pen, and play Coronation Bingo! Extra points for prizes.
HOW TO PLAY
1. Each player will need one scorecard and a pile of…
.png)
Featuring motifs full of whimsy and joy, this Clearly Besotted digi stamp set is perfectly suited to wish someone a happy day. Use your nine-piece printable pack as many…
Birthday crafting Card making Papercraft Stamping Techniques


