


Birthday crafting Card making Home decor Home decorations How to Papercraft Papercrafter Papers
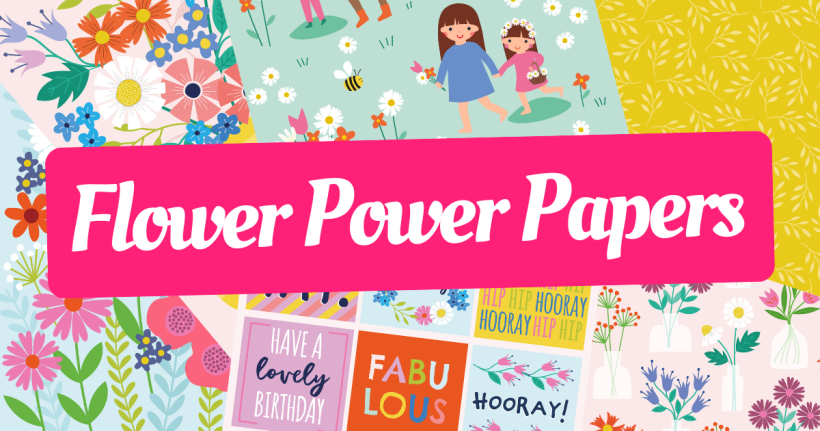
Download our flower paper collection for your cardmaking and papercrafts – because, quite frankly, floral is always a good idea
Please login to download. Sign in here
As well as being wonderfully charming, these bespoke prints by Jane Farnham are suitable for a range of occasions, from birthdays to condolences. In fact, for the first time ever, our papers come with a page of square toppers, offering up lots of sentiments and even more cardmaking potential. Alongside illustrations of daisy picking, beautifully-arranged vases and essential background repeats, this really is a collection for the ages.
We’re positive the majority of you have already downloaded your papers. Perhaps you’re not even reading this, so consumed by crafting! For those of you umming and ahh-ing a little, you’re in luck – Sarah Jackman Read has five projects to get you started. Learn to utilise the papers, borders, sentiments and toppers with her cards and decorations, followed by a spot of upcycling. Enjoy!
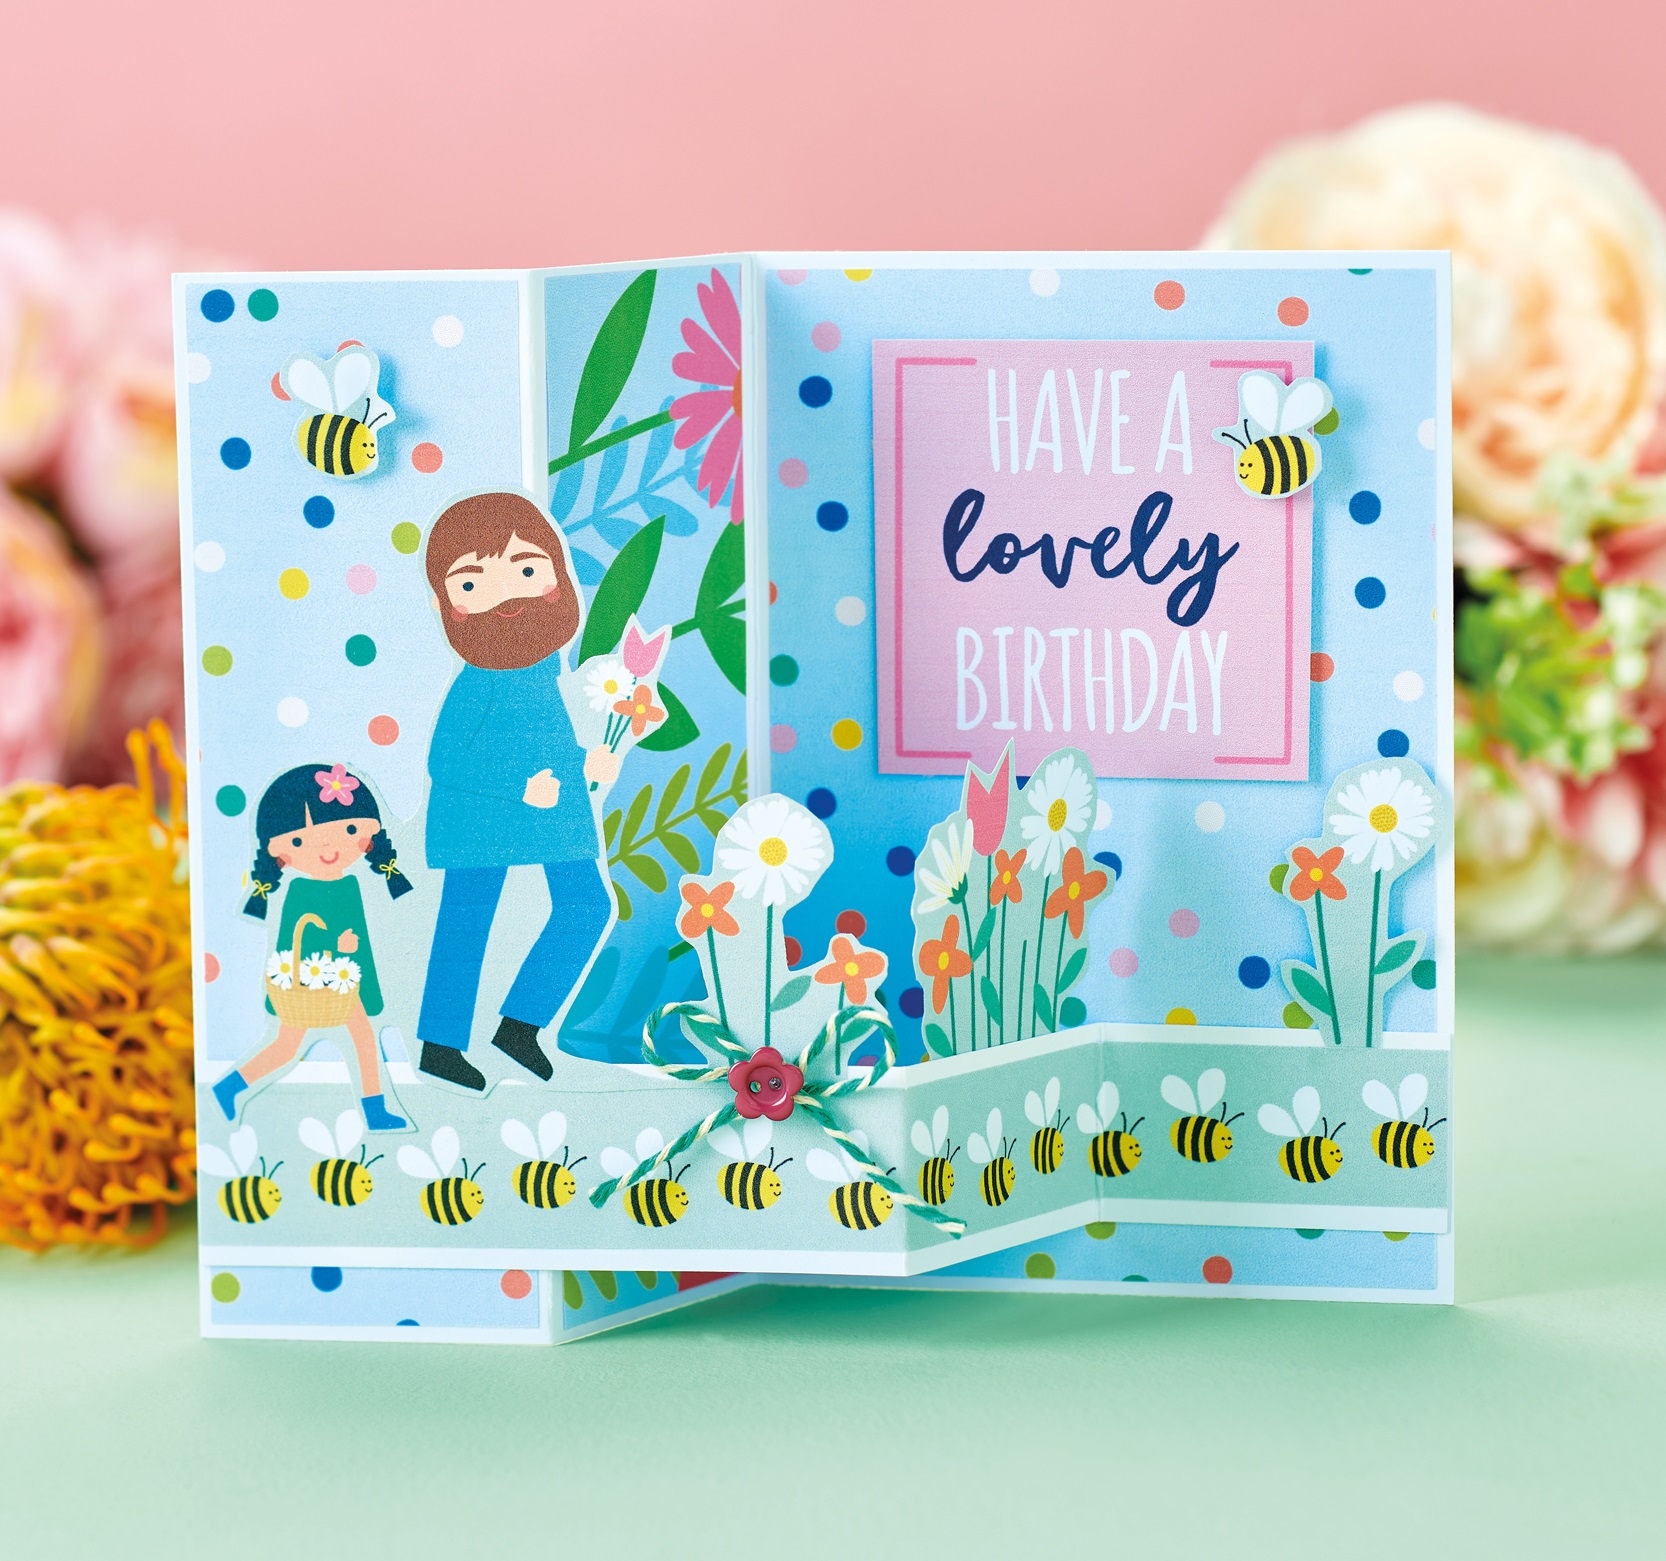
Floral Z-Fold Card
1. Trim white card to 15cm x 20cm and score down from the long edge at 5cm and 10cm. Mountain fold the first score line, then valley fold the second. Matt each panel with patterned paper.
2. Snip white card to 3cm x 20cm and score down at 10cm and 15cm. Mountain fold the first score line and valley fold the second, then matt with a bee border. Stick towards the bottom of the greeting, only applying adhesive to the ends of the strip.
3. Cut out characters and adhere on the left-hand side. Trim a square sentiment topper, then fix to the top of the back panel with 3D foam pads. Cut flowers and secure across the top of the border. Attach two bees with 3D foam pads. Add a baker’s twine bow and flower button centrally to finish.

Upcycled Photo Frame
1. Trim two strips of yellow foliage paper to fit down the sides of a photo frame and glue in place. Cut two more strips of the same paper to fit across the top and bottom of the frame, mitre the corners, then glue in place.
2. Take floral paper, 10cm x 15cm, and die cut an 8.5cm x 11cm oval through it. Print out the bonus toppers, then cut out the vase of flowers and adhere behind the aperture – alternatively, insert a photo. Place the paper inside the frame.
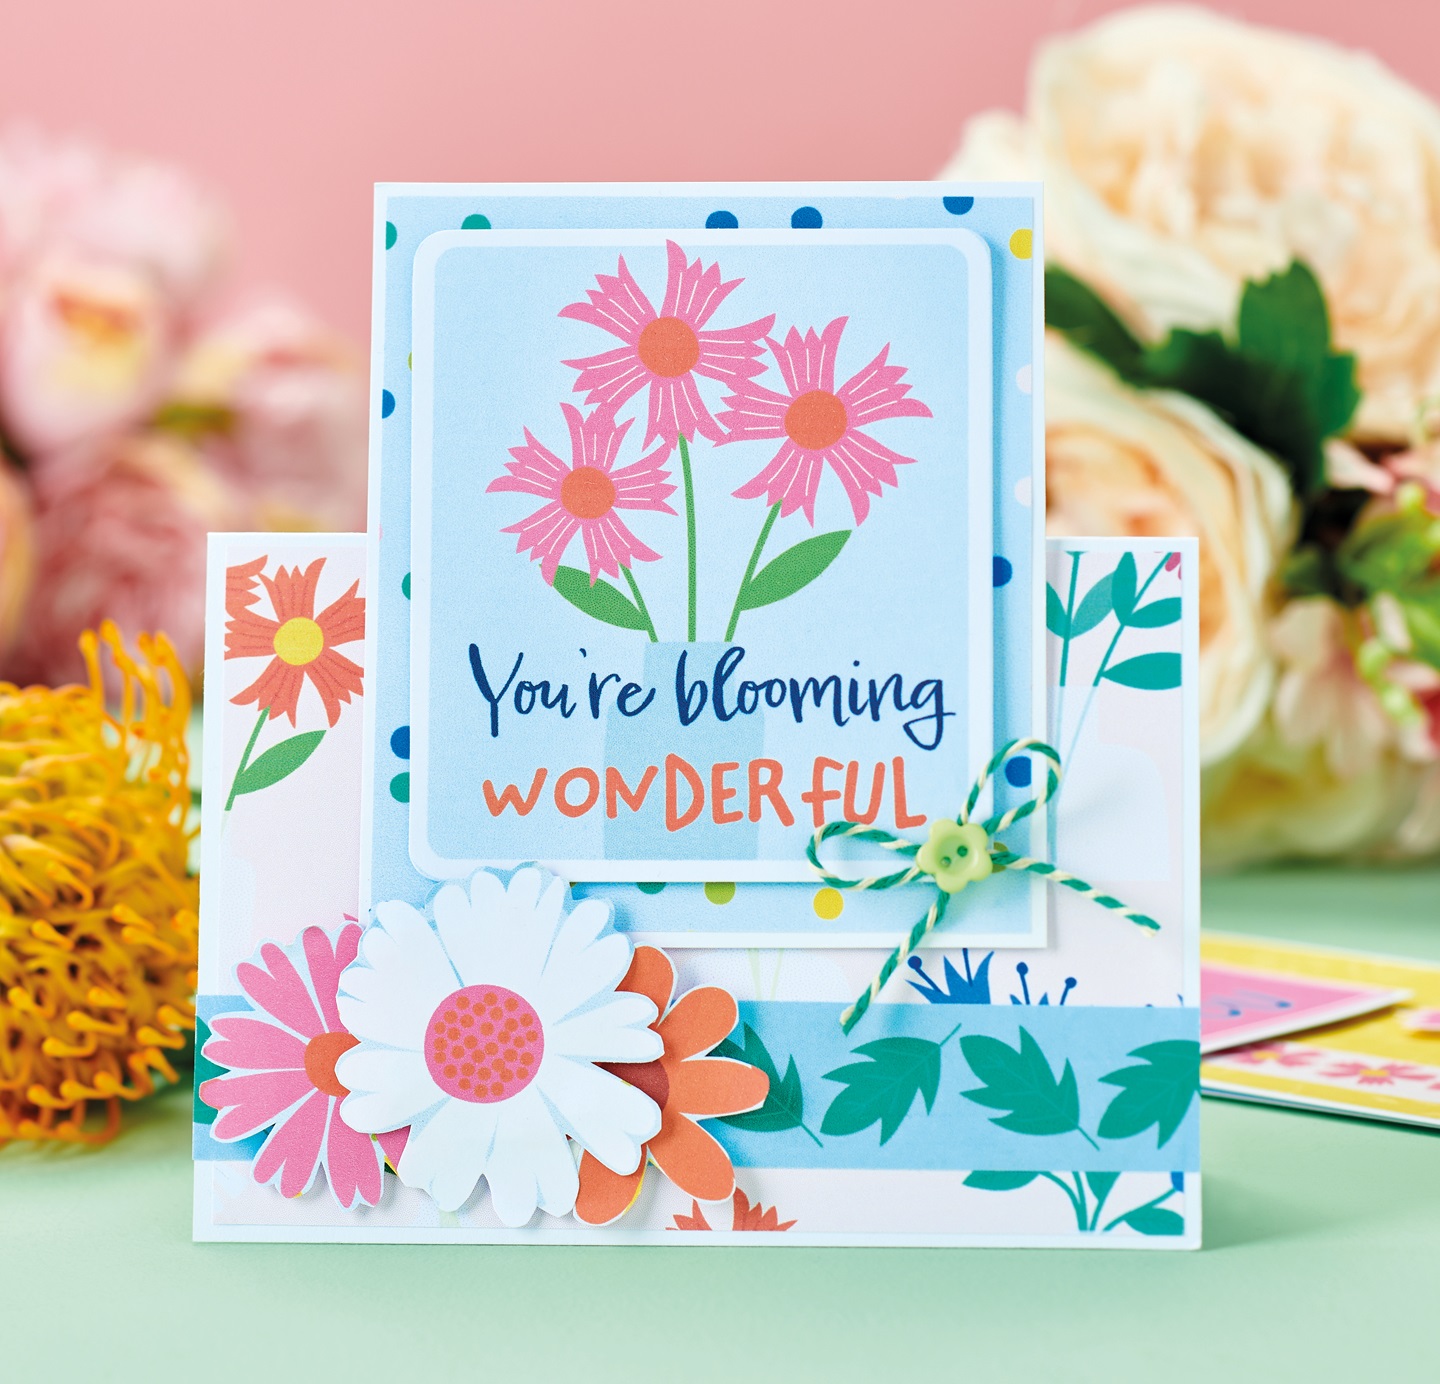
Layered Flower Card
1. Matt a 10cm x 14cm top-folding white blank with flower paper. Snip a leaf border to 14cm long and adhere towards the bottom. Trim spotty paper to 9cm x 10.5cm and layer onto white card. Cut out a rectangular sentiment and fix on top with 3D foam pads.
2. Adhere this panel above the border so it extends the top of the card. Cut out three flowers and attach to the left-hand side of the border with 3D foam pads. Add a baker’s twine bow and flower button in the bottom-right corner of the sentiment.
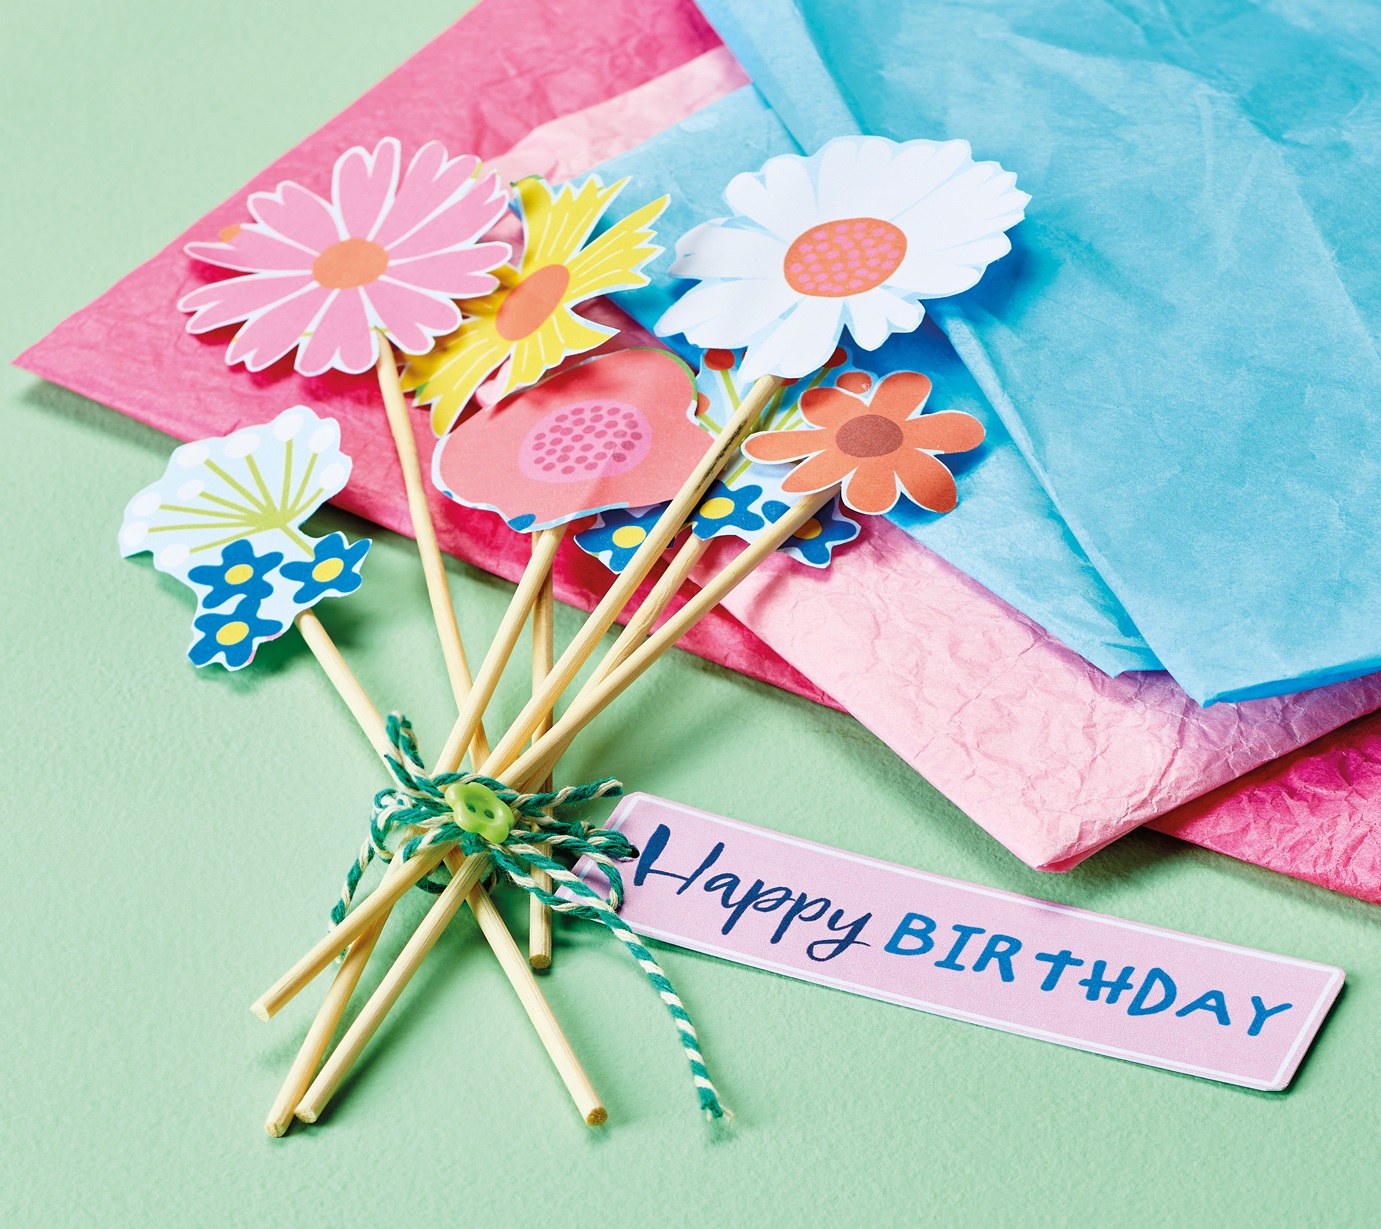
Easy Paper Flowers
1. Cut out various flowers from your papers, then snip lengths of wooden skewers to 15cm long. Glue the flowers to the tops of the skewers. Tie the skewers together with baker’s twine.
2. Trim our ‘Happy birthday’ sentiment, punch a hole through the top, then thread with baker’s twine. Tie to the wooden skewers, before adding a baker’s twine bow and flower button.
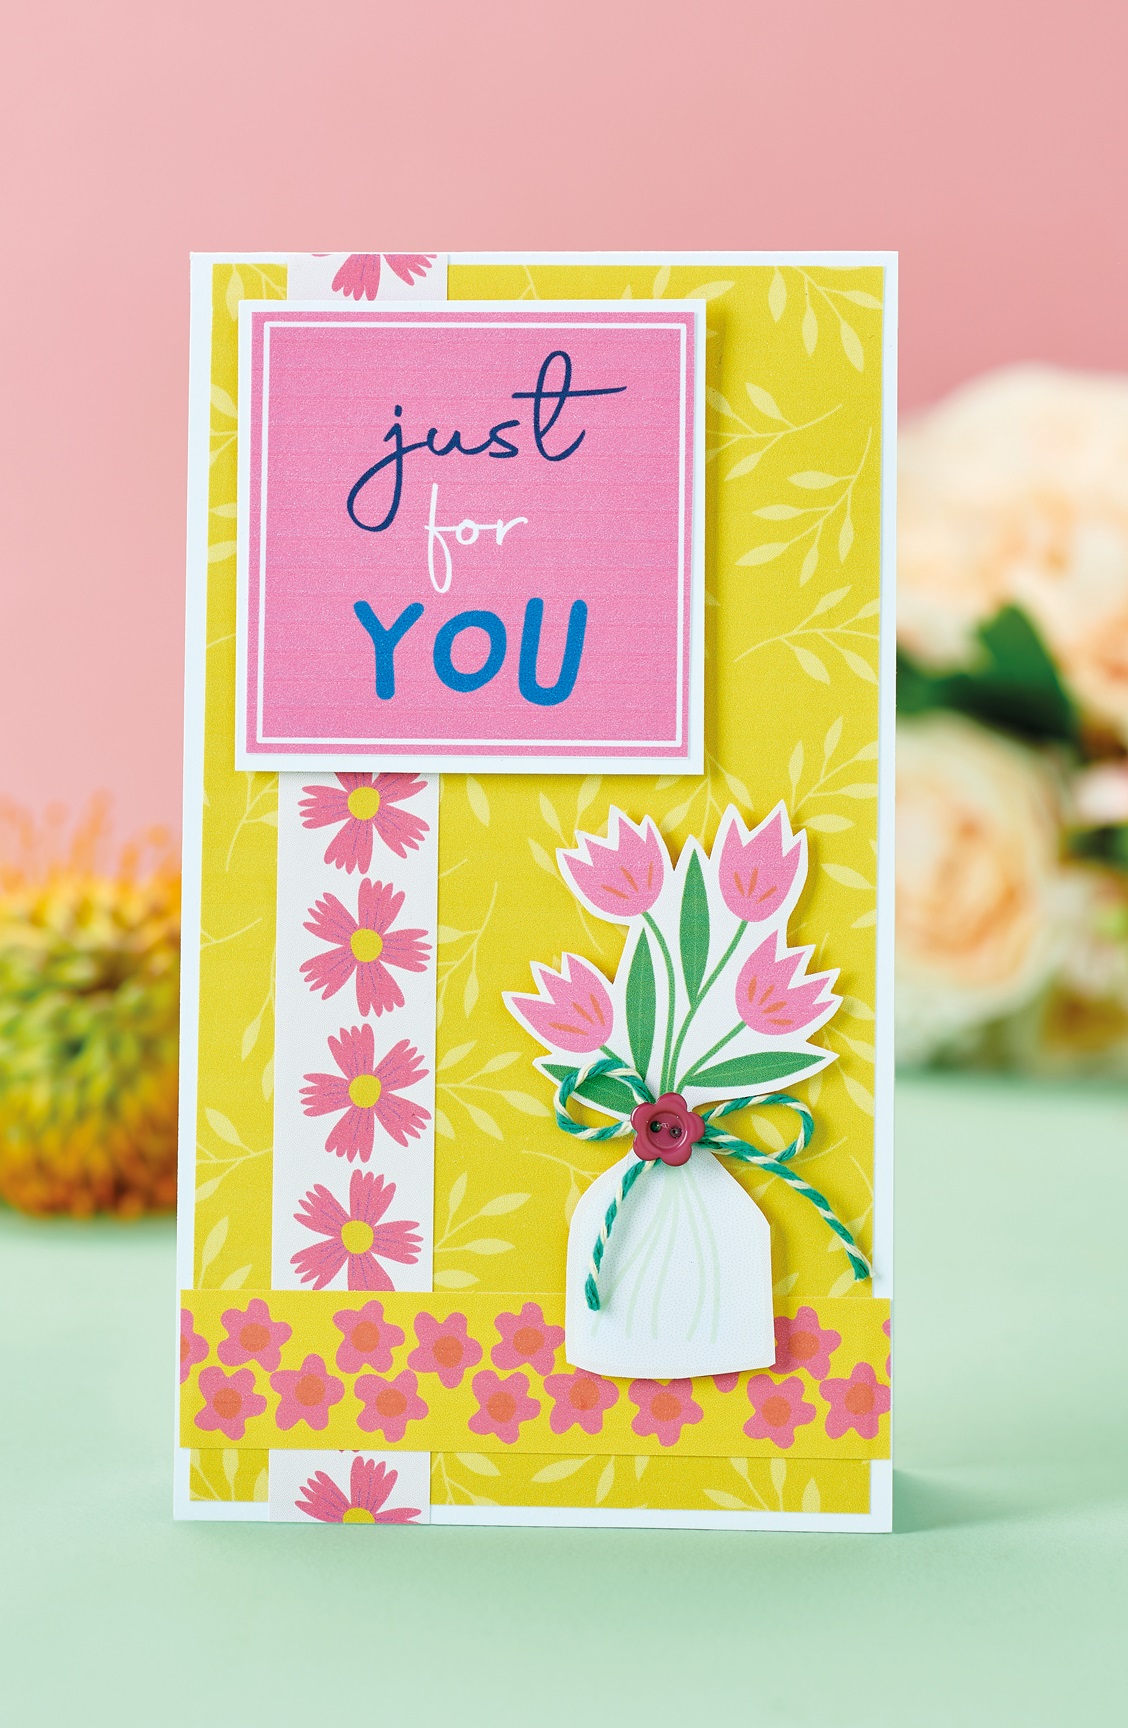
Floral Beginner Card
1. Matt yellow leaf paper onto a 10cm x 18cm top-folding white blank. Trim a floral border to 18cm long, then adhere down the left-hand side. Snip a yellow floral border to 10cm long and secure across the bottom.
2. Cut out a vase of flowers and attach towards the bottom-right corner with 3D foam pads. Trim a square sentiment topper and fix top-left with 3D foam pads. Add a baker’s twine bow and flower button to the vase of flowers.
Loving our paper collections? We’ve got lots more for you to enjoy.

To download our templates, simply click ‘Download Now!’ and it will open in your browser. Why not send us a picture of your project once you’re done? For your chance to be…
Home decor Home decorations Papercraft Papercrafter Party makes Templates

There’s nothing quite so relaxing, or quite so fun, as settling down with a good colouring page. It’s even better if that colouring page happens to include Wallace & Gromit. This duo…
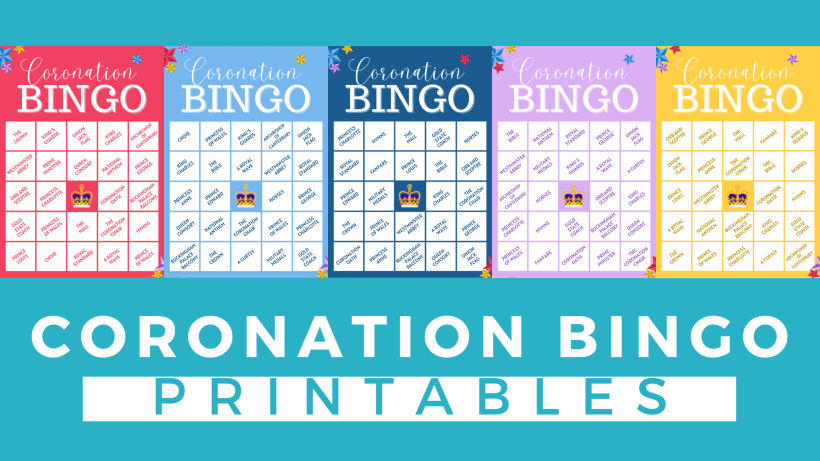
Gather your friends, get the TV on, bring a pen, and play Coronation Bingo! Extra points for prizes.
HOW TO PLAY
1. Each player will need one scorecard and a pile of…
.png)
Featuring motifs full of whimsy and joy, this Clearly Besotted digi stamp set is perfectly suited to wish someone a happy day. Use your nine-piece printable pack as many…
Birthday crafting Card making Papercraft Stamping Techniques


