


Home decor Home decorations How to Papercraft Papercrafter Party makes Papers
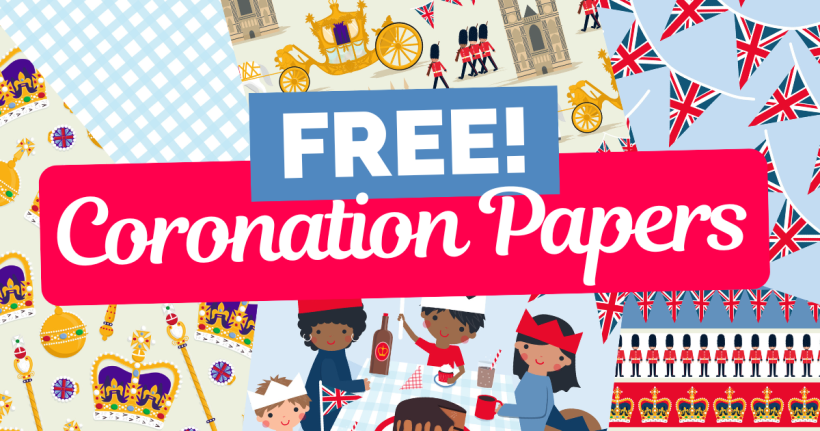
This momentous occasion deserves bespoke illustrations – download our 30-piece royal collection!
Please login to download. Sign in here
We’re looking forward to celebrating the King’s coronation. So much so, in fact, that we didn’t just want to host a street party. We want to host a street party dressed to the nines in PaperCrafter finery. Thanks to Jane Farnham’s royal prints, we’ve got all we need and more to tablescape and decorate. See how we’ve used this 30-piece collection to make bunting, coasters and more. Then gather your friends and party!
Learn to make decorative fans, bunting, food flags and coasters with the incomparable Corinne Bradd – then see where your creativity takes you next. There are endless possibilities. Create a memory box with photographs from the day, use the borders to make classic paper chains, frame the street party illustration for an extra decoration… such fun!
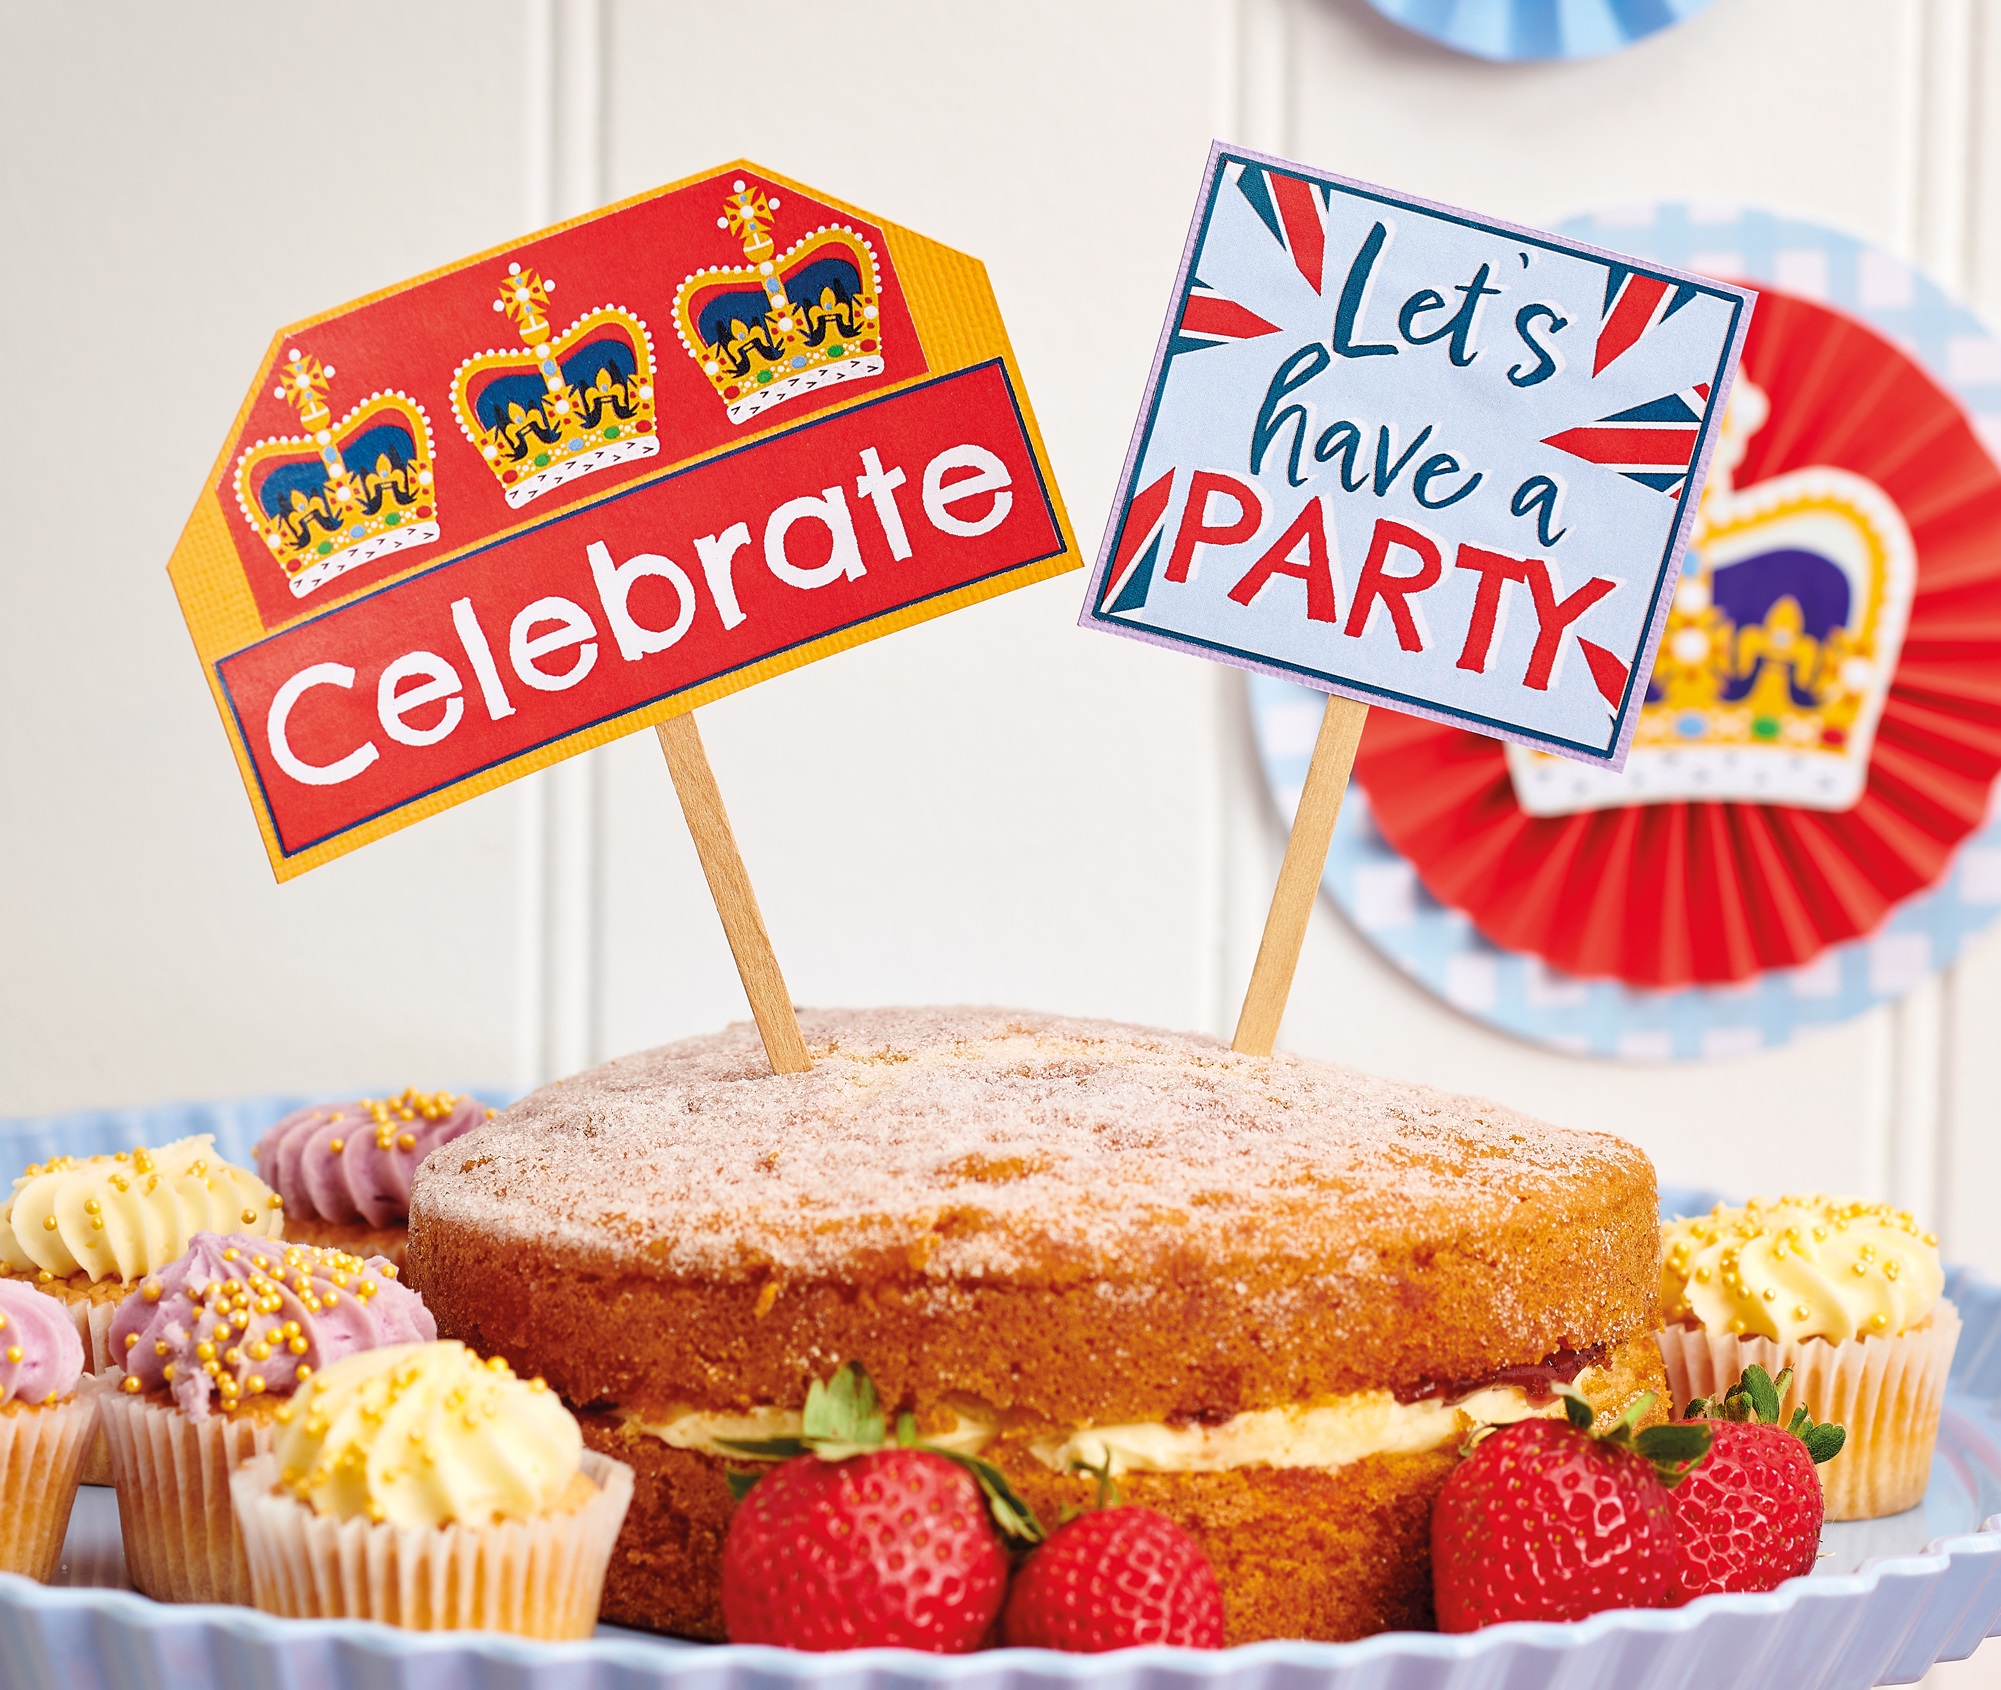
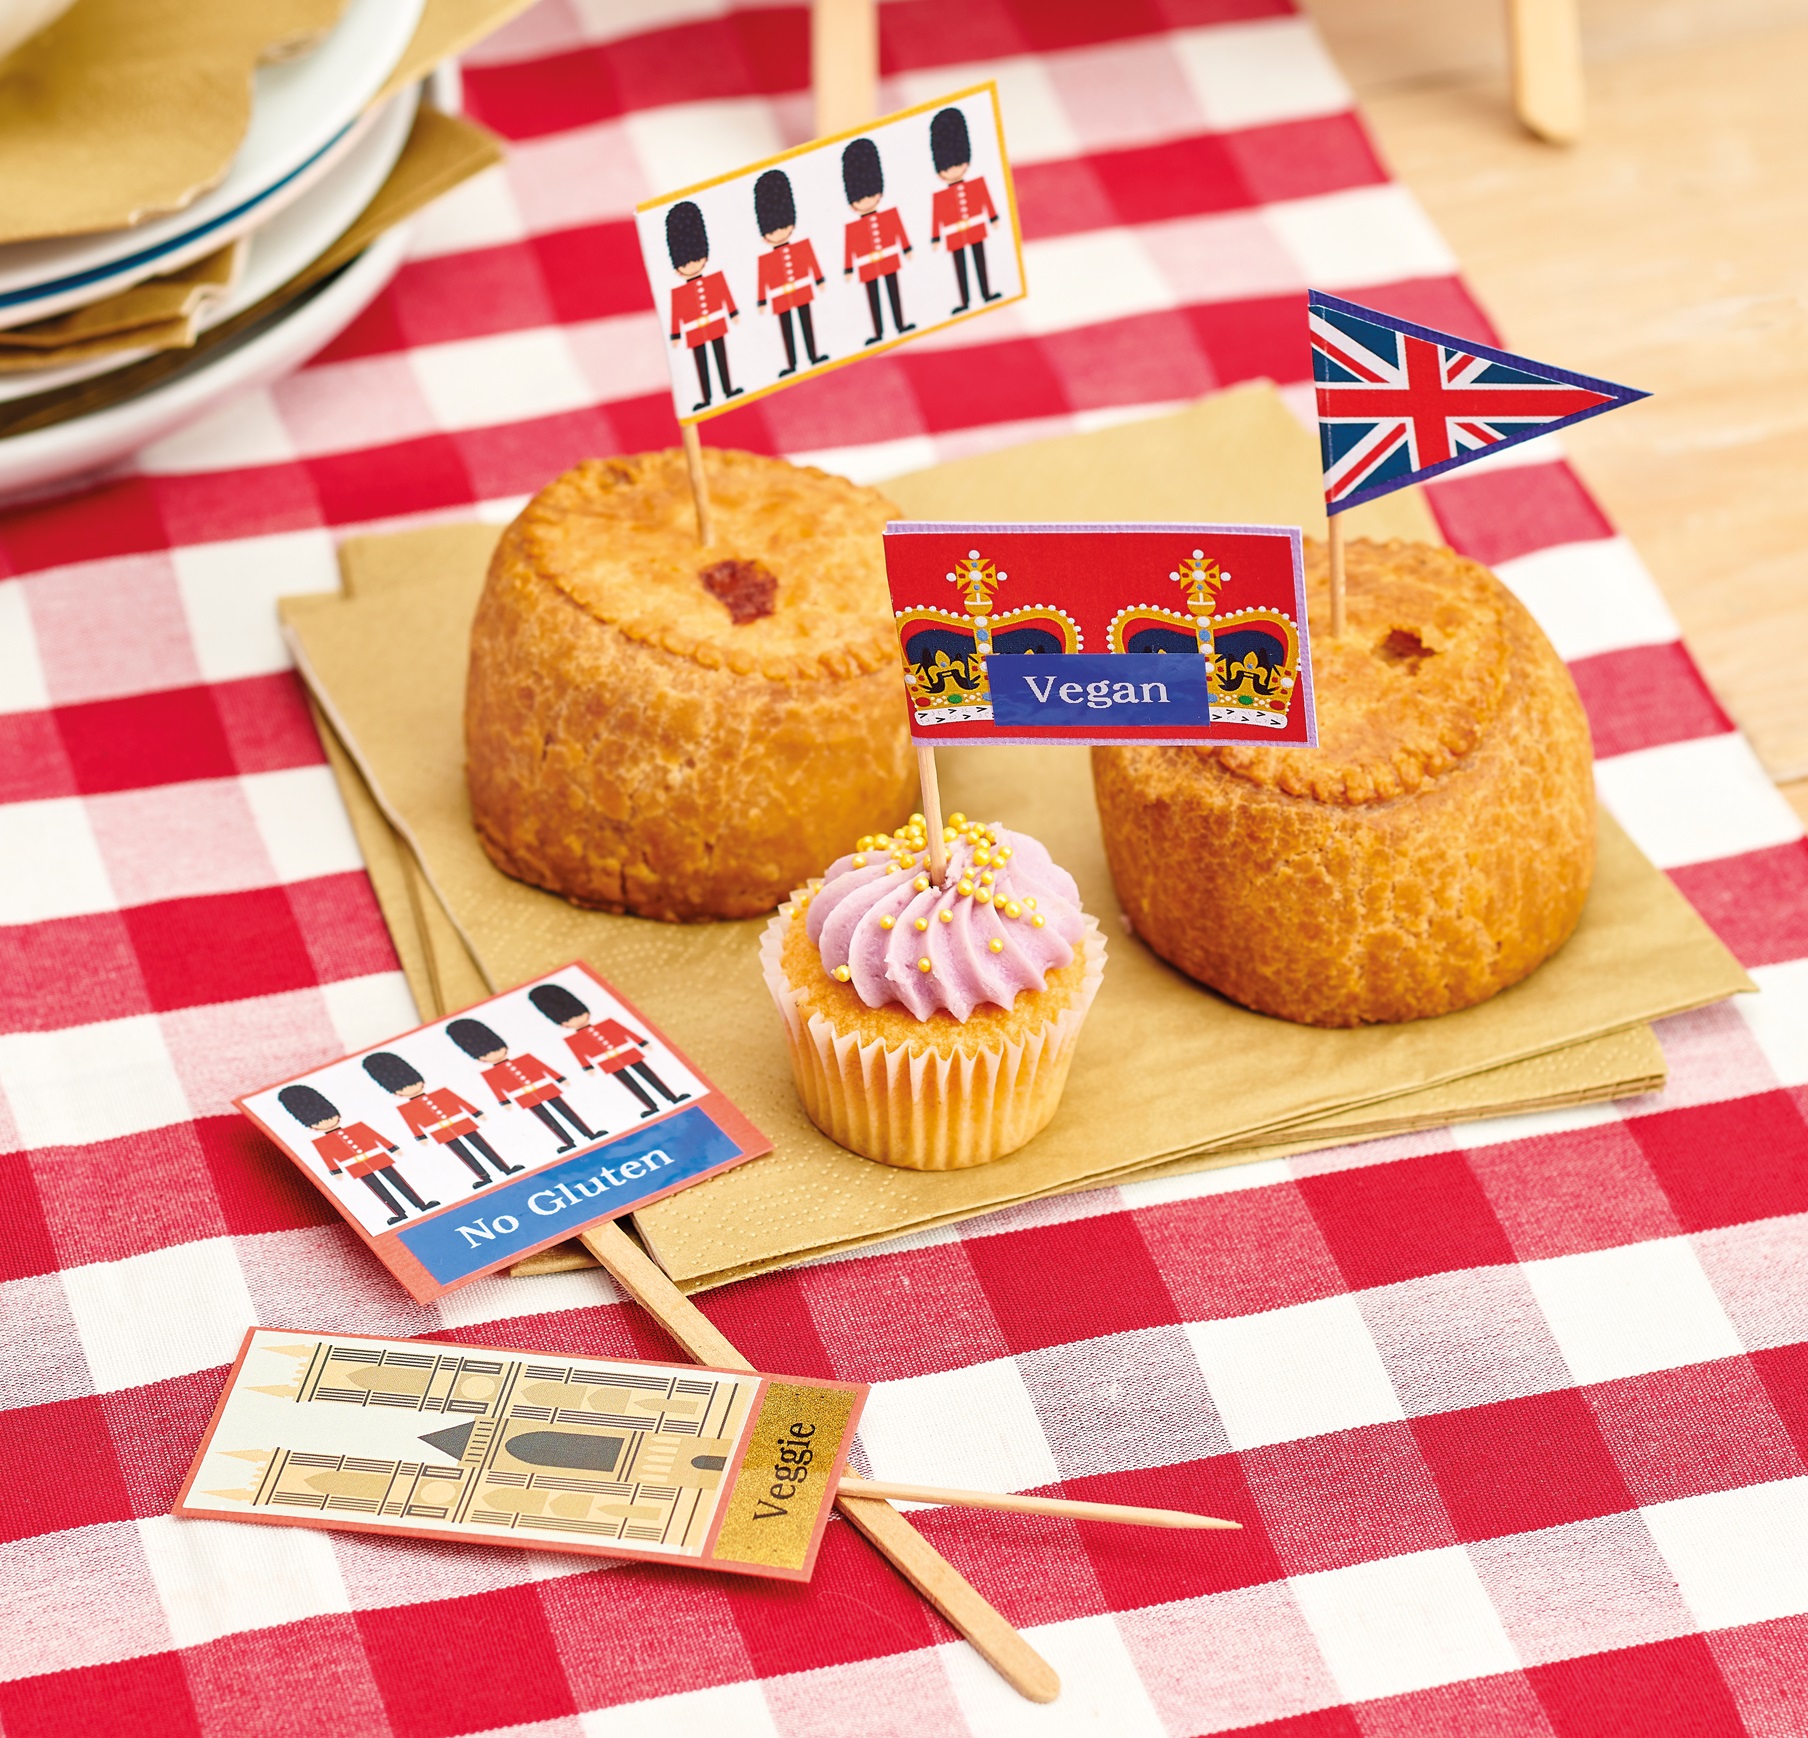
Coronation Food Flags
1. Handwrite or print your required food labels onto card rectangles. Making these first will give you a guide as to how wide your flags and panels need to be. Choose a motif and mount onto coloured card, adding a label below. You can also create a range of decorative food flags using our toppers and sentiments.
2. Glue a wooden coffee stirrer or cocktail stick to the back and secure further with tape. You can choose to wrap decorative panels around a cocktail stick so it sits at the side, or you can centralise the design instead.
“I used the Brother P-touch Craft Label Printer for these food flags – it’s a battery-operated handheld printer that’s perfect for personalisation”
Corinne Bradd, designer
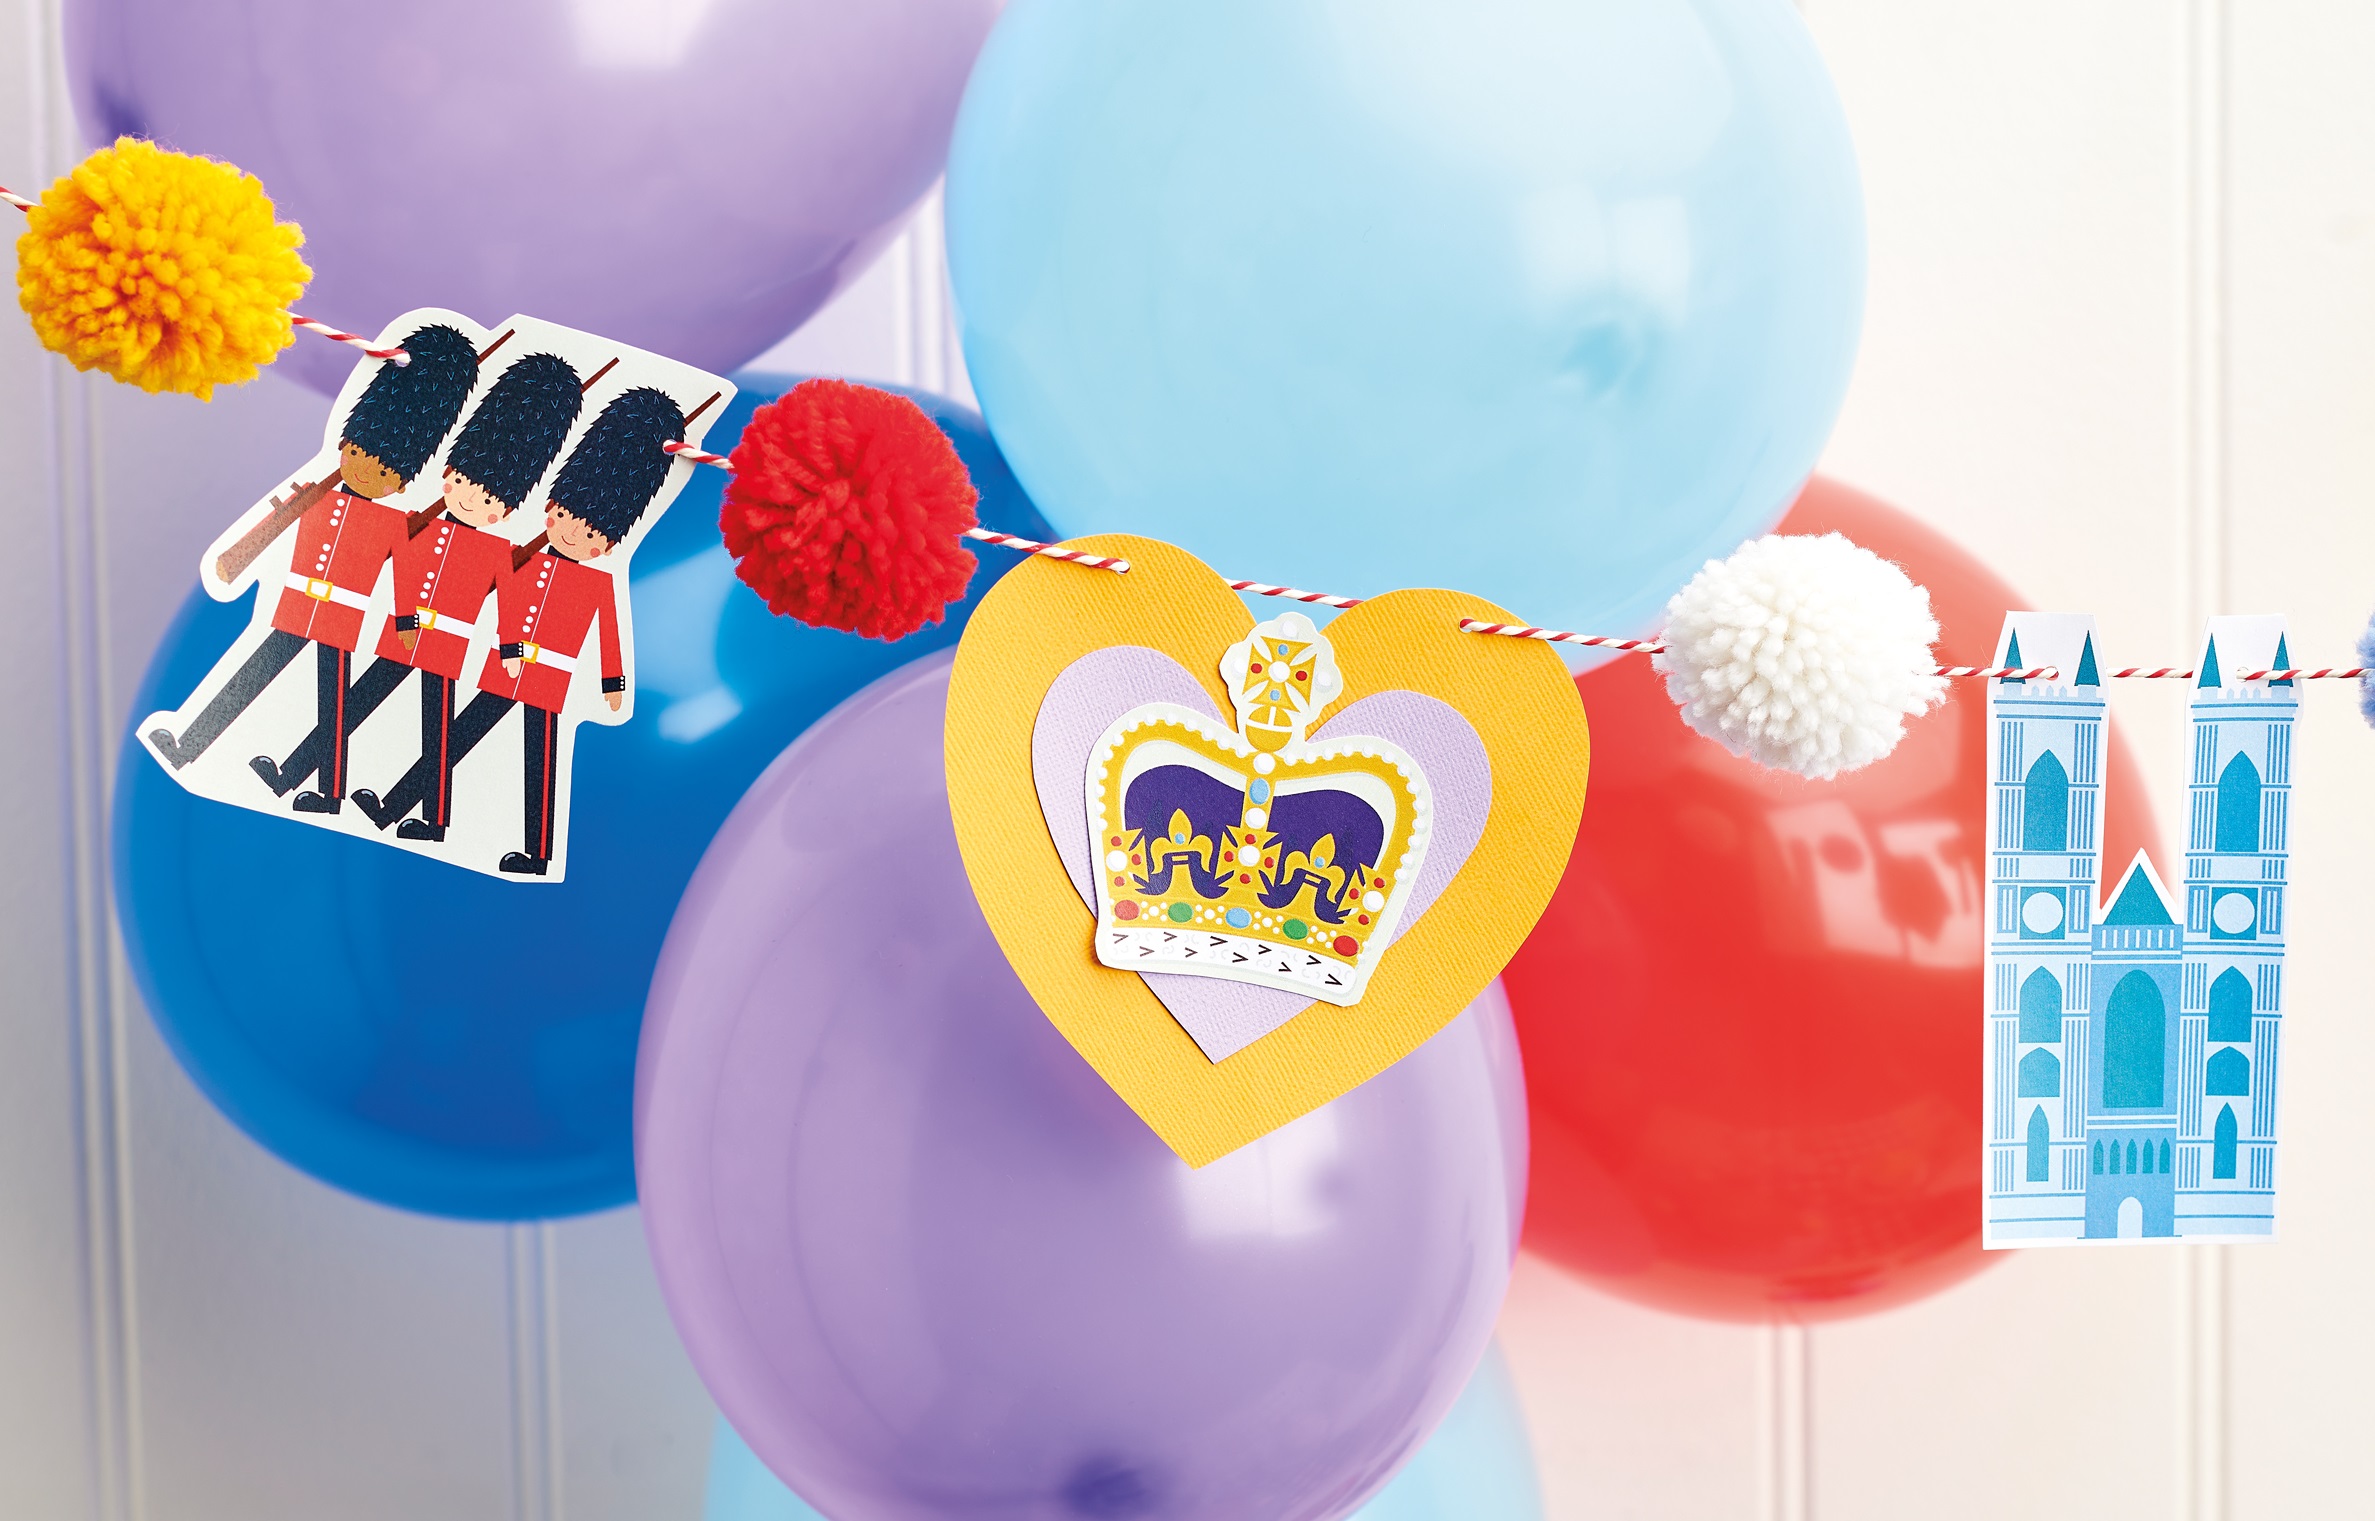
Coronation Bunting
1. Select a variety of larger motifs from the patterned papers, mount onto thin card and cut out neatly. Layer the smaller designs onto coloured card hearts using the templates from our website. Make two small holes in the top of each shape with a punch.
2. Using a pom-pom maker or two doughnuts of cardboard, create 5cm pom-poms from coloured DK yarn. Tie each pom-pom tightly in the centre by wrapping yarn around it at least three times, before securing in a reef knot.
3. Use a darning needle to thread baker’s twine through the tied centre of each pom-pom and the holes in the bunting flags, alternating the two elements.

Coronation Coasters
1. Trim patterned paper slightly larger than a cork-backed coaster. Apply PVA to the top of the coaster with a glue brush. Place the paper onto the coaster and smooth down with the brush to remove any air bubbles. Don’t worry if it looks wrinkled; this will disappear once the glue dries.
2. Choose motifs, borders and sentiments, then cut out neatly. Adhere these to the dried background with PVA glue as desired. Paste over the completed coaster with more PVA glue, then use the brush in a pouncing motion to remove any brush lines and create a matt finish.
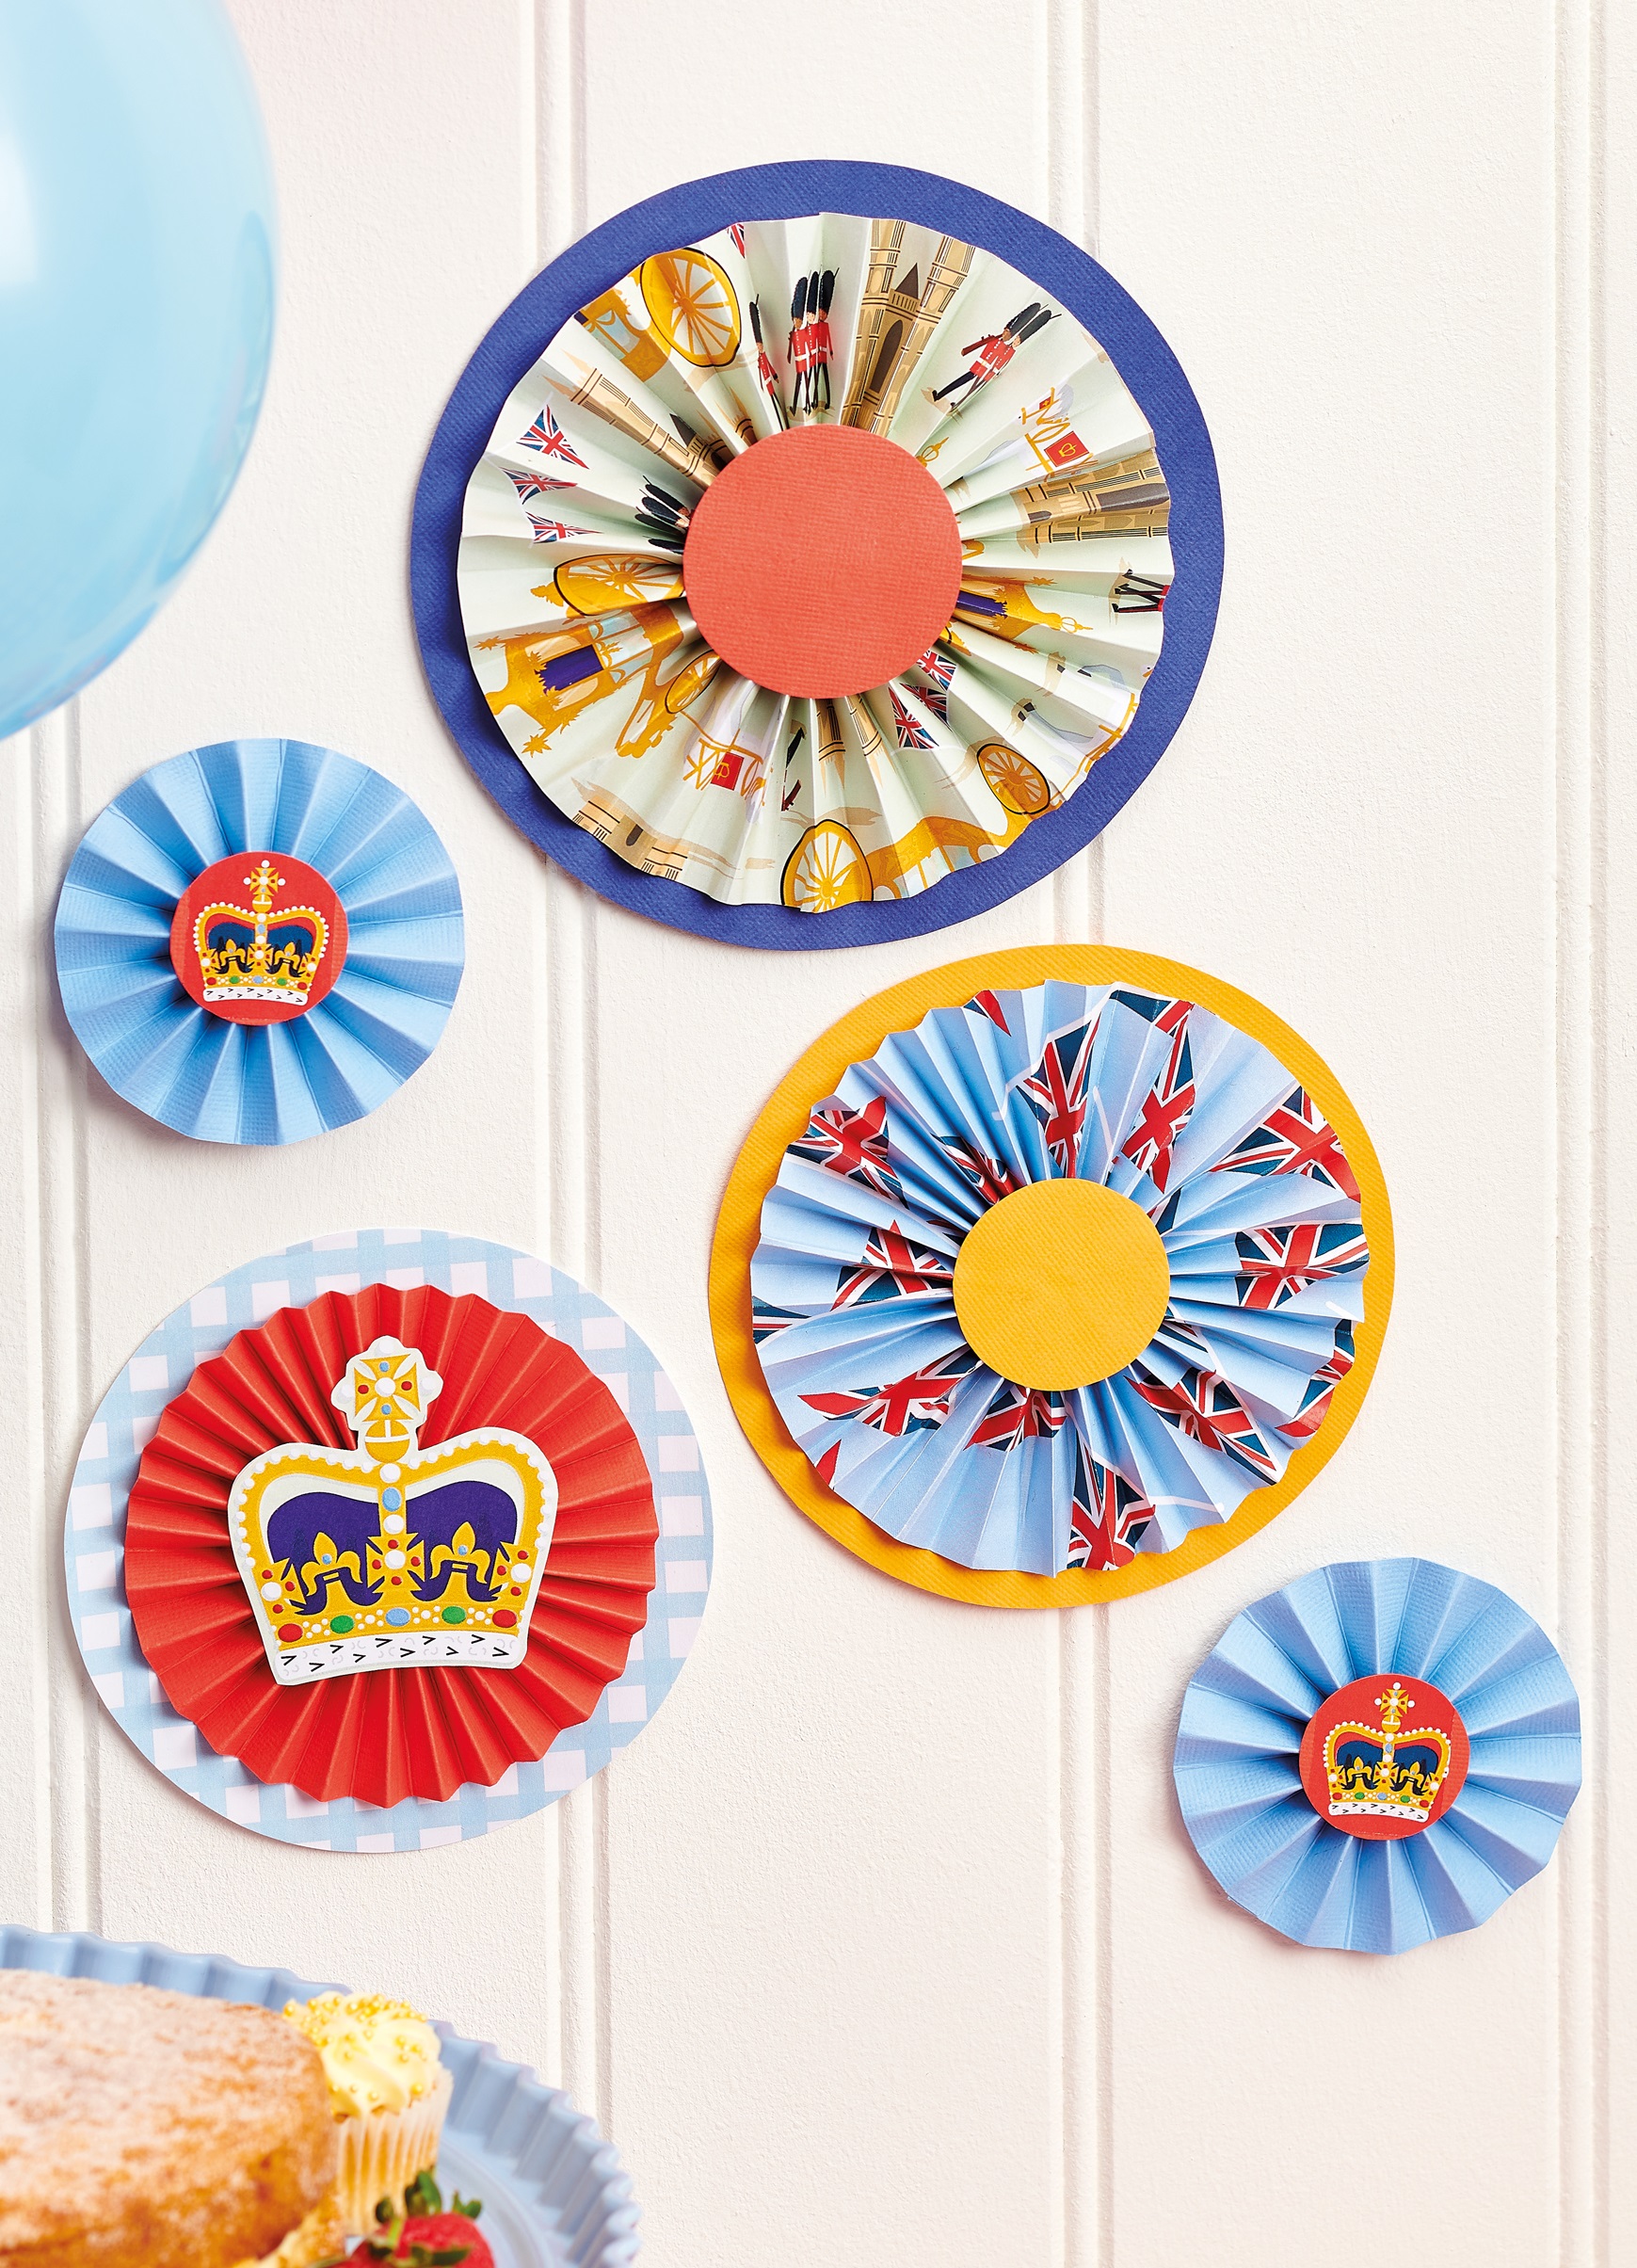
Coronation Rosettes
1. Cut two 7cm x 21cm strips of patterned paper and glue end to end. Score the strip at 1cm intervals. Concertina fold along the lines and crease well. Join the ends of the strips together to make a ring, then flatten down the centre to create a rosette. Flip over and secure on the back with tape.
2. Turn the fan right side up. Apply strong PVA glue to the middle edges of the centre and weight it down as the glue dries. Cut a 5cm wide disc of coloured cardstock and glue centrally. Adhere the rosette to a contrasting or matching 16cm cardstock circle. Decorate with toppers as desired.
TOP TIP
Create fans in any size you want – just make sure your card strip is at least four times as long as it is wide

To download our templates, simply click ‘Download Now!’ and it will open in your browser. Why not send us a picture of your project once you’re done? For your chance to be…
Home decor Home decorations Papercraft Papercrafter Party makes Templates

There’s nothing quite so relaxing, or quite so fun, as settling down with a good colouring page. It’s even better if that colouring page happens to include Wallace & Gromit. This duo…
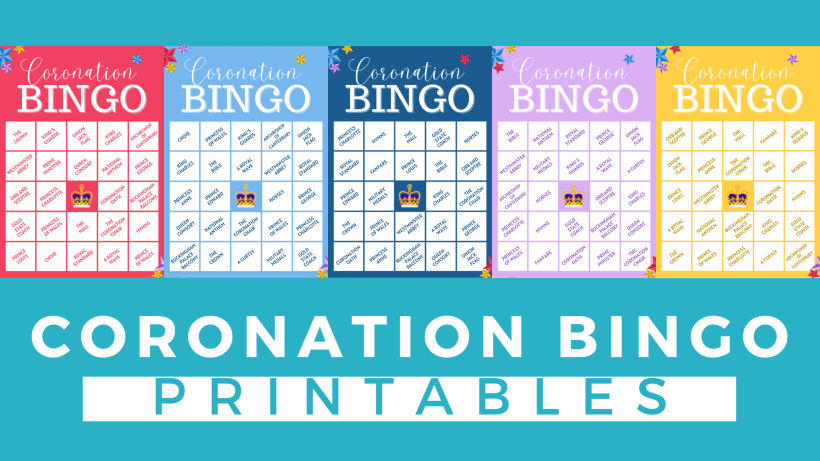
Gather your friends, get the TV on, bring a pen, and play Coronation Bingo! Extra points for prizes.
HOW TO PLAY
1. Each player will need one scorecard and a pile of…
.png)
Featuring motifs full of whimsy and joy, this Clearly Besotted digi stamp set is perfectly suited to wish someone a happy day. Use your nine-piece printable pack as many…
Birthday crafting Card making Papercraft Stamping Techniques


