


Card making Christmas cards Home decorations Papercrafter Revamping Techniques Card Making
Creating a memorable festive greeting is easy with this Simple Scandi-Style Card bonus make.
Cricut Explore™ machine, Cricut Design Space™ software, 12” x 12” standard grip cutting mat, 12” x 12” Coloured cardstock in three coordinating colours, Cricut Scoring Stylus, Cricut tool set, PVA glue, Sticky Foam pads
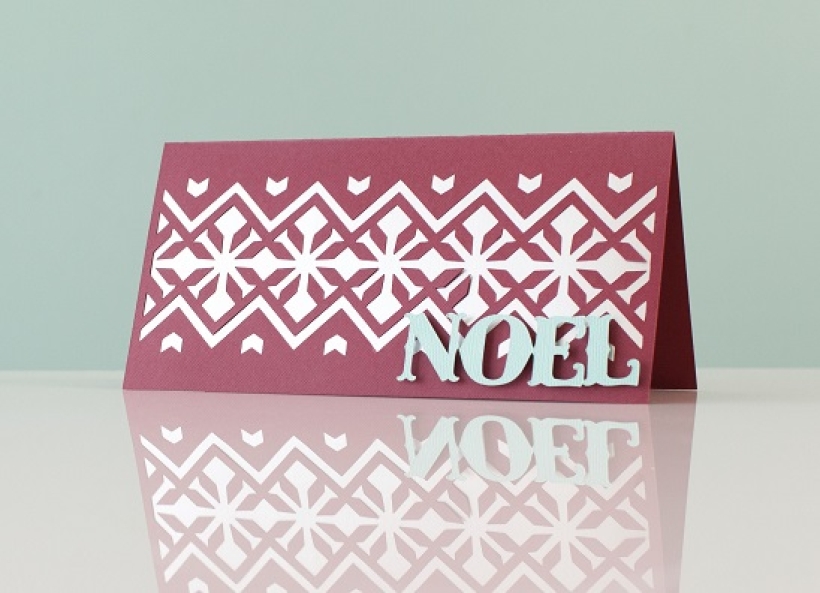
This intricate Scandinavian design Christmas card make look complicated but is very easy to make with the precision cut of Cricut Explore.
The Cricut Explore is a great design and cut machine that produces crisp shapes and creases that are great for a wealth of amazing projects. The sleek piece of kit is combined with an easy-to-use online design space that lets users create an array of items from home décor for interior design fashion designs, party decorations or cards and gifts.
Cricut Explore is available from Create & Craft, selected Hobbycraft stores, Amazon.co.uk and other well-known craft retailers and etailers at £249.99 including VAT.
• Connect the Cricut Explore™ to your computer, log on to your Design Space™ account. Select ‘cards’ from the categories menu and locate the ‘Holiday Pattern Card’ project.
• The project makes a card measuring 8.25" x 4.25". To create the project as designed, click ‘Make it Now’. To resize the project or change the message, click ‘customise’.
• Resize the images as required by first highlighting the image and then dragging the corner point. The size appears in a black text box as the image is altered.
• To change the text, highlight and delete ‘NOEL’. Click on ‘add text’ and type the text required. Choose the font from the edit menu and resize the text to fit the card.
• Score and cut the text, card and insert from your chosen cardstock, inserting the scoring stylus into the accessories port of the dual Cut Smart system when prompted.
• Carefully remove the cut images from the cutting mat using the spatula; this will minimise the damage to the image and mat.
• Fold the card along the scored line. Glue the insert to the inside of the card front. Attach the text to the card front using sticky foam pads.

Busy lives often involve a lot of memos and reminders, and it can sometimes be hard to keep track. Luckily, we’ve got a sophisticated solution to keep your desk tidy and…

If you’re having a quiet Valentine’s with your beloved at home this year, make the place look a little more special with a speedy-to-make hearts frieze. Papercrafting doesn’t get much easier than…
Home decor Home decorations How to Papercraft Papercrafter Techniques Projects

1. Using a 3.5cm circle die, cut eight discs from chipboard and sixteen circles from patterned paper. Glue the patterned circles to either side of the discs and punch a…

Craft essentials
1. Cut a 5cm x 15cm strip of double-sided patterned paper and fold in half lengthways. Draw parallel pencil lines at 1.5cm and 2cm from the…


