


How to Papercraft Papercrafter Techniques Projects
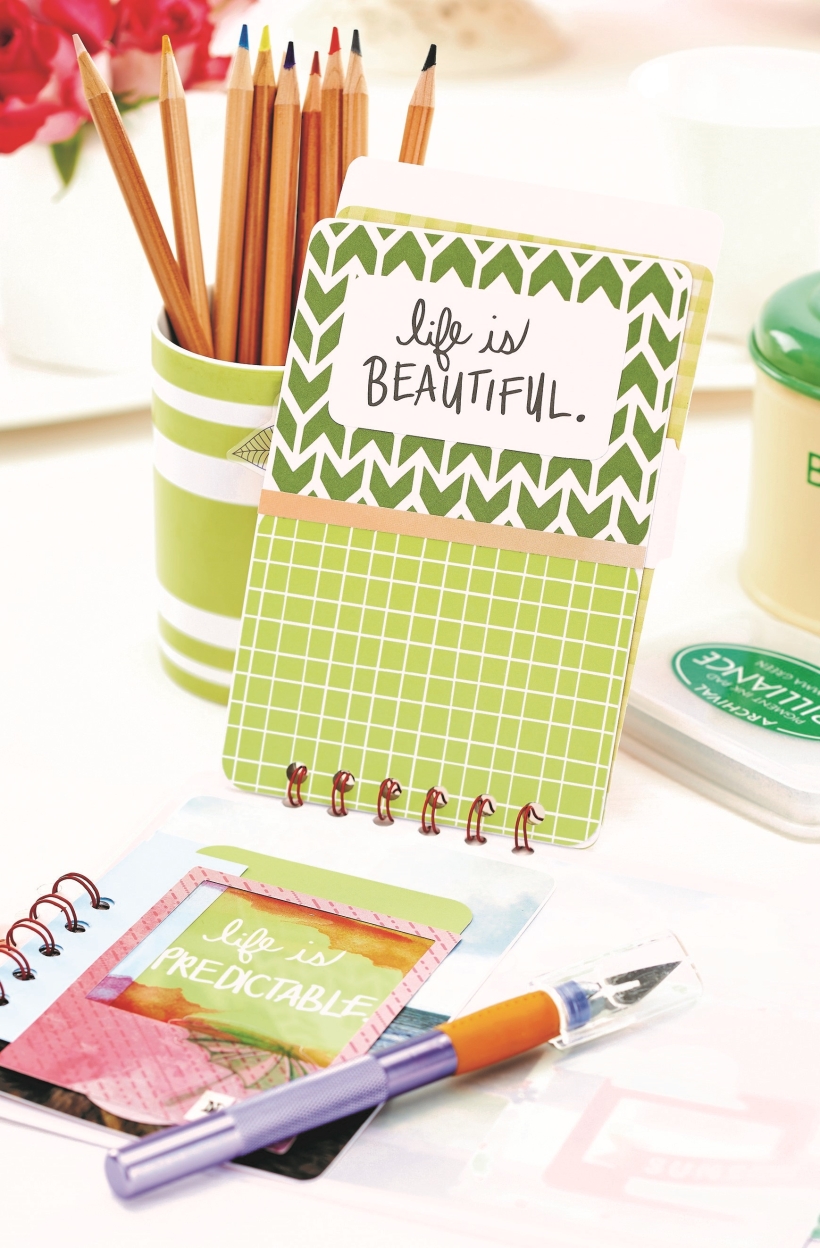
Make a unique scrapbook by creating pages that overlap and interact with one another. Transparencies are used to act as a sneak-peak page, and various sized papers and strips encourage the reader to play with the book to recreate the fun of its inner content.
YOU WILL NEED:
Patterned papers
Becky Higgins Project Life cards
Cardstock, white
Paper, vellum
Punch, corner rounder
Embellishments: die-cut toppers, transparency shapes, gems
Binder wire
Cinch binding machine
Adhesives: double-sided tape, glue
METHOD:
1. Round the corners of card and vellum, 17cm x 21cm. Mount a large photograph to the card, then add two frames and die-cut toppers onto the image using double-sided tape. Matt a photo onto a smaller card piece. Secure vellum behind a frame, then add a die-cut shape and adhere to the photo.
2. Now decide how you want the pages to look. List all of your planned layers, deciding where the photos, cards and interactive elements will go. Decide what pages will open upwards or sideways. Break up the pattern by overlapping with vellum sheets, then add transparent shapes.
3. Adhere little frames onto the pictures to highlight the important parts. Create a front page, 10.5cm x 17cm, by adding strips of card and patterend paper. Use die-cut shapes, frames, a transparency and gems to add depth.
4. Put everything together. Remove the side attaching pieces from the pile and position each one exactly how you want them to be placed in the book. Feed into the binding system, punch, then add wire. Close the wire to secure. Repeat the process to attach the top folding pieces.

Busy lives often involve a lot of memos and reminders, and it can sometimes be hard to keep track. Luckily, we’ve got a sophisticated solution to keep your desk tidy and…

If you’re having a quiet Valentine’s with your beloved at home this year, make the place look a little more special with a speedy-to-make hearts frieze. Papercrafting doesn’t get much easier than…
Home decor Home decorations How to Papercraft Papercrafter Techniques Projects

1. Using a 3.5cm circle die, cut eight discs from chipboard and sixteen circles from patterned paper. Glue the patterned circles to either side of the discs and punch a…

Craft essentials
1. Cut a 5cm x 15cm strip of double-sided patterned paper and fold in half lengthways. Draw parallel pencil lines at 1.5cm and 2cm from the…


