


Birthday crafting Card making Die cutting How to Papercrafter Techniques Card Making
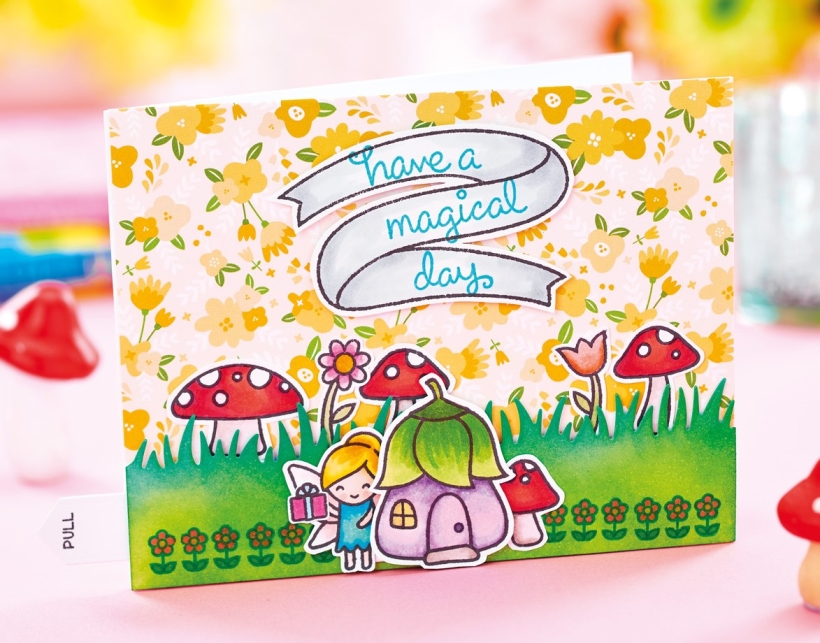
Secret away a magical surprise for your recipients with this interactive design by Claire Richards
YOU WILL NEED:
Stamps: Lawn Fawn Fairy Friends, Oh Gnome, Bannertastic
Dies: Lawn Fawn Let’s Toast Pull Tab Add-On, Flower Border, Grassy Border
Stencil, Carta Bella Wander & Find
Patterned papers, Lawn Fawn Spring Fling
Ink pads: Ranger Distress Oxide Mowed Lawn, Twisted Citron, Dusty Concord, Shaded Lilac, Festive Berries, Spun Sugar; black, green, pink, purple, yellow
Tools: Tim Holtz mini blending, bone folder
Pens, alcohol markers
Sequins, stars
Stickles Crystal glitter glue
Die-cutting machine
METHOD:
1. Create an 11cm x 14cm white blank. Trim yellow patterned paper to 11cm x 14cm, then fix to the blank. Trim white card to 14cm wide and die cut a grassy border edge, applying green distress inks to it. Stamp on flowers with green, then colour in.
2. Die cut a slot in the centre of the grassy border. Die cut a slider mechanism from white card, push through the slot, fold into place and trim the end to a point. Fix the holder to the reverse. Adhere the grassy border to the bottom of the card using 3D foam pads.
3. Stamp a fairy, present, house, mushrooms, flowers and banner, then colour with marker pens and cut out. Stamp the sentiment onto the banner. Fix the fairy to the left edge of the slider, then add the present. Attach the house with 3D foam pads around the top, bottom and right edges, hiding the fairy. Adhere the sentiment banner using 3D foam pads, then the mushrooms and flowers to complete.

Busy lives often involve a lot of memos and reminders, and it can sometimes be hard to keep track. Luckily, we’ve got a sophisticated solution to keep your desk tidy and…

If you’re having a quiet Valentine’s with your beloved at home this year, make the place look a little more special with a speedy-to-make hearts frieze. Papercrafting doesn’t get much easier than…
Home decor Home decorations How to Papercraft Papercrafter Techniques Projects

1. Using a 3.5cm circle die, cut eight discs from chipboard and sixteen circles from patterned paper. Glue the patterned circles to either side of the discs and punch a…

Craft essentials
1. Cut a 5cm x 15cm strip of double-sided patterned paper and fold in half lengthways. Draw parallel pencil lines at 1.5cm and 2cm from the…


