


Card making Easter cards Easter crafts How to Papercraft Papercrafter Stamping Techniques
Easter chicks four ways! Learn to create rocker, gatefold, z-fold and easel cards
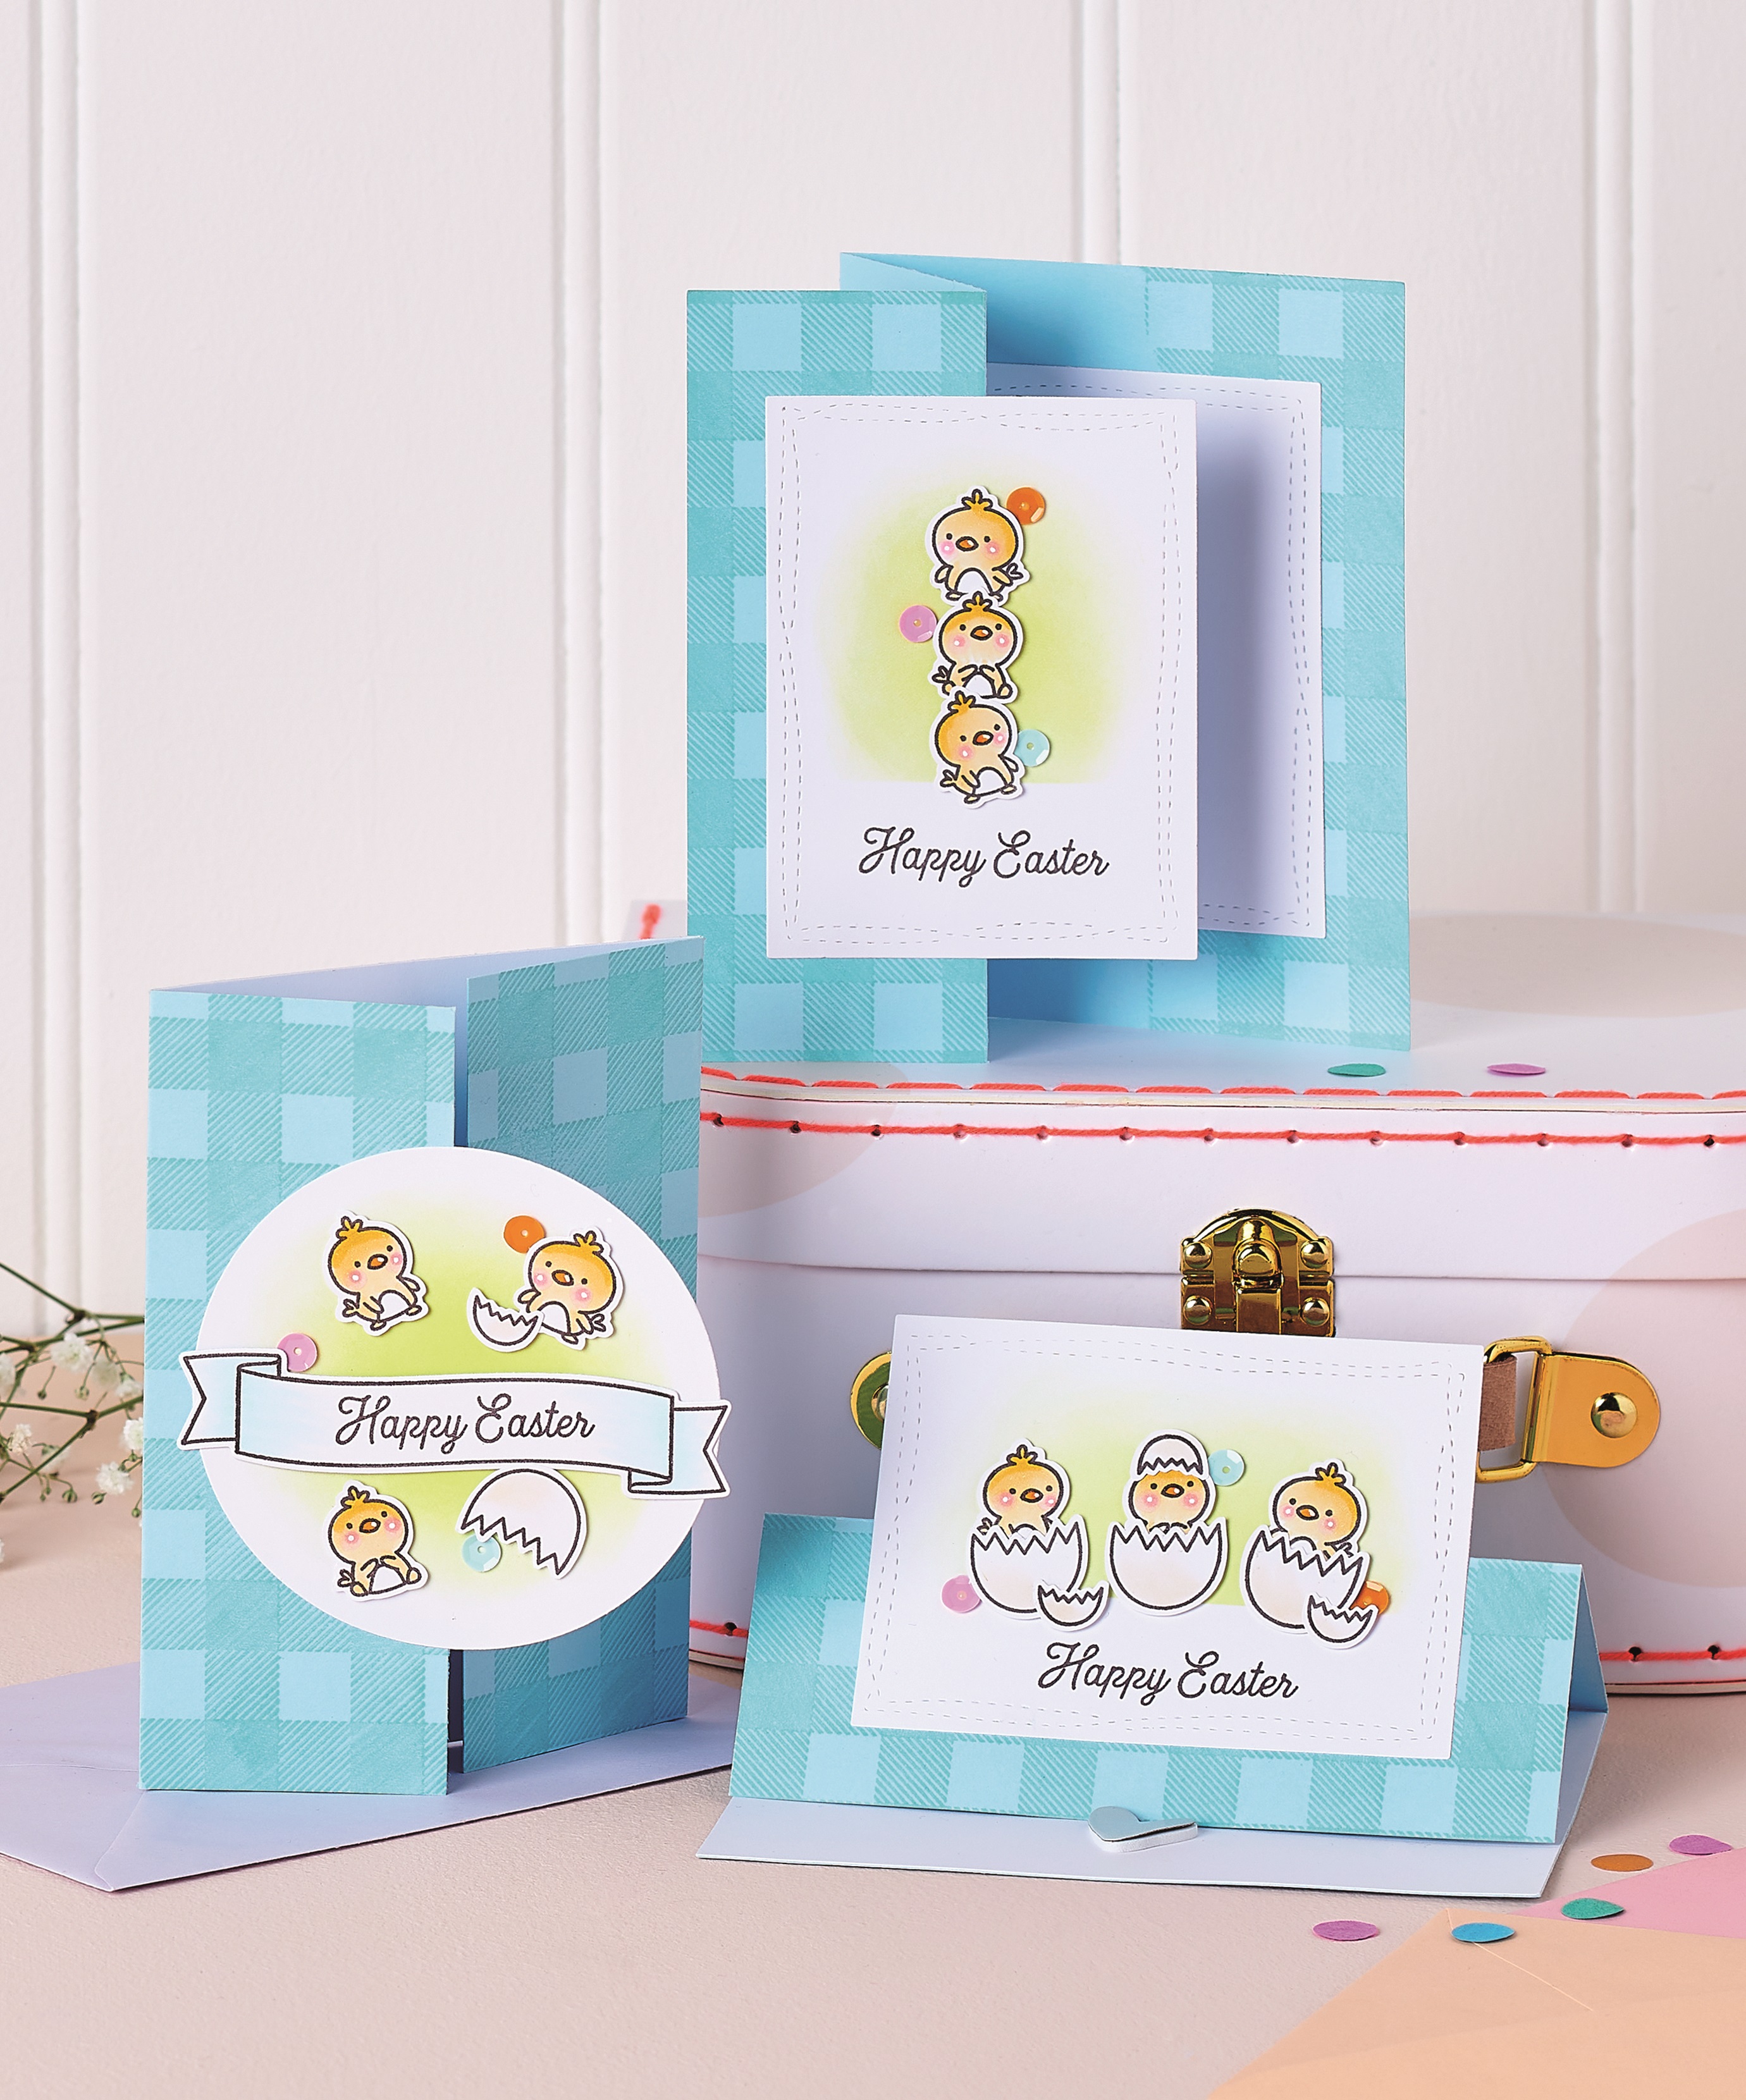
Same Easter chicks, four different folds. Well, we do like to spoil you. Create a rocker, gatefold, z-fold and easel with Francesca Vignoli, who’s got a little pencil trick up her sleeve to make it super easy. Get your colour fix too with ink pads and Copic pens. Speaking of which, there’s actually a little more to the gingham card blanks than you might think – the secret will be revealed on the next page.
Trick of the eye
OK, designer Francesca Vignoli even had us fooled. These cards aren’t made from patterned blue card like you might initially think, but fashioned by Francesca herself! She’s used a combination of the Hello Bluebird Buffalo Check Background stamp and a Lawn Fawn Mermaid ink pad to achieve that delightful gingham repeat, showing just how much creative control you can have over your designs – and we’re obsessed. The trick is working with an ink that’s only a little darker than your card colour.
Got a pencil?
There’s more than one running theme here. For each of these greetings, you’ll be adhering half of your focal panel to the blank and not the whole thing, either to allow the card to open or to simply add some height. Once ready to stick in place, just flip the panel over and draw a central line in pencil. You can then use that as a guide, only applying adhesive to the relevant half and lining it up evenly with the rest of your design. How neat is that?
Pay the score
Your basic scoring and folding is essential here, and a proper bone folder is key. It’s worth splashing out a little more on good quality. As Francesca quite rightly tells us, it’s a lifetime buddy! A scoring board is another wise investment, because they ensure straight, perpendicular lines every time. We’re big fans of gadgets that make our cardmaking experience easier – you can even get smaller boards for on-the-go crafting.
You Will Need:
Stamps: Avery Elle Easter Chicks, Banner Bits; Hello Bluebird Buffalo Check Background
Dies: Avery Elle Elle-ments Wonky Stitches, Elle-ments Banner Bits; Lawn Fawn Circle Stackables
Cardstock: white, light blue
Ink pads: Distress Oxide Twisted Citron, Memento Espresso Truffle, Lawn Fawn Mermaid
Pens: Copic Y17, YR31, BG10, YR07, RV13, RV10, E50; white gel
Ink-blending tool
Tape, masking
Sequins
Adhesives: liquid glue, 3D foam pads, low-tack tape
Die-cutting machine
Easter Chick Rocker Card
1. Working with light blue cardstock that’s bigger than 11cm square, stamp the Buffalo Background onto it with the Mermaid ink pad. Die cut into a circle, using the largest die from the Circle Stackables set.
2. Cut the third largest circle from white cardstock and ink the centre with Distress Oxide Twisted Citron. Stamp, colour in and die cut the required motifs and banner, then adhere onto the inked circle, using a mix of 3D foam pads and glue.
3. Fold the blue circle in half to create a rocker card. Turn the decorated circle over and trace the middle with a pencil. Apply adhesive to the bottom half and glue to the bottom half of the rocker. Finish with sequins and white gel pen details.
Easter Chick Gatefold Card
1. Cut light blue cardstock to 14cm x 21cm and score at 5.2cm in from both short sides. Close the blank and secure with low-tack tape on the inside, then stamp the Buffalo Background on the front with Mermaid ink.
2. Stamp, colour and cut chicks, eggshells and a banner. Die cut the second largest circle from the Circle Stackables set from white. Ink the centre with Distress Oxide Twisted Citron, then glue the elements on top.
3. Glue half of the back of the decorated circle and adhere to the left of the gatefold, so it sits centrally. Cut a 10cm x 14cm white panel and fix inside the card. Add sequins and white details to finish.
Easter Chick Z-fold Card
1. Create a side-folding 10.5cm x 14cm light blue blank. With the card in a landscape position, fold the front panel away from you so it lines up with the fold to create a z-fold greeting. Secure into its final shape with low-tack tape and stamp the Buffalo Background in Mermaid ink.
2. Stamp, colour and cut out the required motifs. Die cut the smaller wonky stitched rectangle from white, mask off the bottom and ink with Distress Oxide Twisted Citron towards the top. Glue the motifs in a stack, then stamp a sentiment at the bottom.
3. Flip over and trace down the middle with a pencil, using this as a guide to glue the panel onto the greeting, on the left flap only. Cut another wonky rectangle from white and adhere inside the card, so it’s in line with the front version. Finish with sequins and white gel pen details.
Easter Chick Easel Card
1. Create a top-folding 10.5cm x 14cm light blue blank and stamp the Buffalo Background onto the front panel in Mermaid ink. Fold the front of the greeting in half to create an easel. Die cut the smaller wonky stitched rectangle from white, mask off the bottom, then ink towards the top with Distress Oxide Twisted Citron.
2. Stamp, colour and cut out the images. Fix onto the inked panel and stamp a sentiment below. Flip the panel over and draw a horizontal line in pencil, using this as a guide so you only glue the bottom half to the easel card. Glue a 10cm x 14cm white panel inside the card. Add a stopper for the easel, sequins and white highlights to complete.
TOP TIPS
- Why not lower the height to create a slimline z-fold greeting?
- Pointing at bottom-left card: Boost the colour palette with some choice sequins
- Pointing at bottom-right card: Mini stamps give you the opportunity to become a storyteller with your cards

Busy lives often involve a lot of memos and reminders, and it can sometimes be hard to keep track. Luckily, we’ve got a sophisticated solution to keep your desk tidy and…

If you’re having a quiet Valentine’s with your beloved at home this year, make the place look a little more special with a speedy-to-make hearts frieze. Papercrafting doesn’t get much easier than…
Home decor Home decorations How to Papercraft Papercrafter Techniques Projects

1. Using a 3.5cm circle die, cut eight discs from chipboard and sixteen circles from patterned paper. Glue the patterned circles to either side of the discs and punch a…

Craft essentials
1. Cut a 5cm x 15cm strip of double-sided patterned paper and fold in half lengthways. Draw parallel pencil lines at 1.5cm and 2cm from the…


