


Home decor Home decorations How to Papercraft Papercrafter Techniques
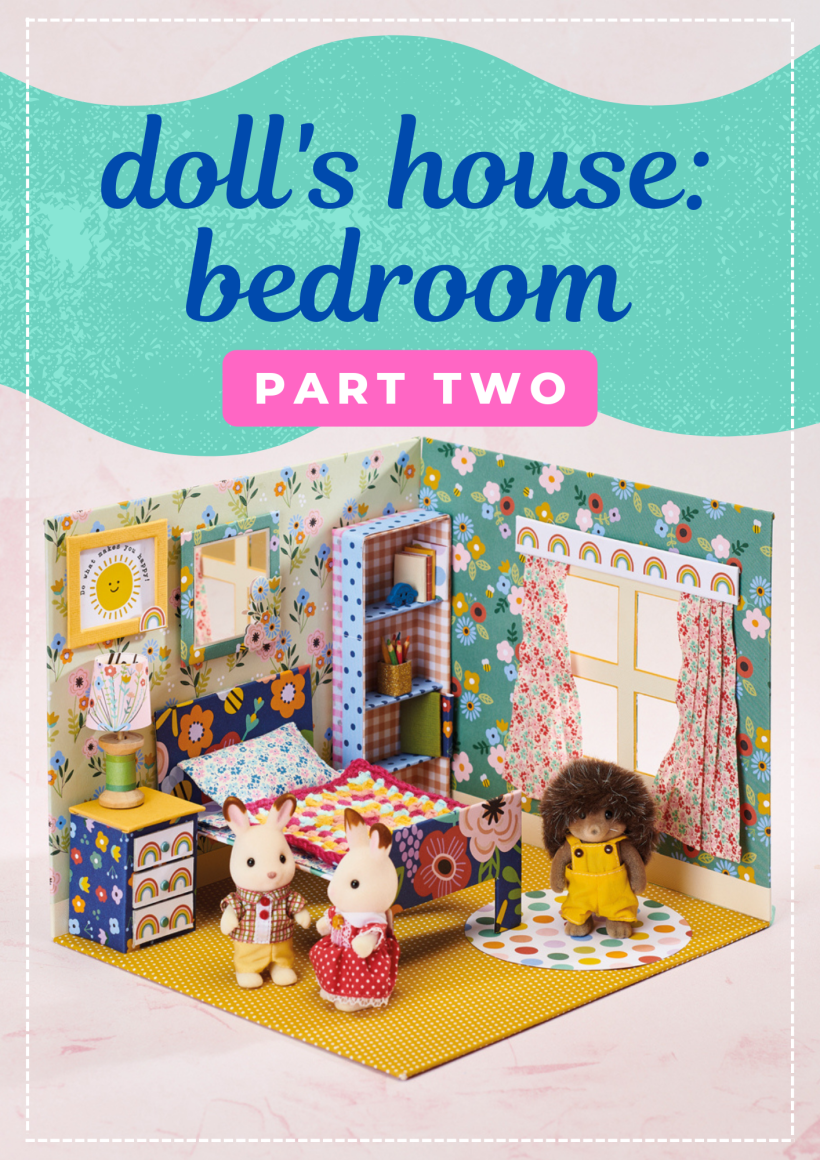
Watch your doll’s house come to life with an assortment of accessories
Corinne Bradd’s back and more creative than ever. Pencils made from wooden skewers, a cotton reel lampshade, granny square blanket… there’s lots to learn and be proud of in part two of our doll’s house craft-along.
YOU WILL NEED:
Mountboard
Patterned papers
Cardstock, various colours
Patterned cotton fabric
Stuffing
Yarn
Washi tape
Wooden cotton reel, small
Wooden skewer
Small mirror
Paper fasteners
Pinking shears
Crochet hook, 3mm
Tapestry needle
Adhesives: solid glue stick, tacky PVA glue, 3D foam pads
LAMP
1. Trim a strip of patterned paper and glue around the inner core of a small cotton reel. Cut a 6.5cm length of wooden skewer and glue one end inside the reel, wrapping the end of the skewer with tape for a snug fit if necessary.
2. Snip a gently curving band of patterned paper and roll into a flared tube. Glue so the top width is approximately 2.5cm. Cut two 2.5cm wide circles from coloured card. Pierce a hole in the centre of one and glue over the end of the skewer. Apply glue to the edge of that circle and slip the lampshade over the top. Once dry, glue the remaining circle of card into the top of the lampshade to hide the skewer end.
MIRROR
1. Cut mountboard 1.5cm bigger than your mirror on both edges. Cut a 7mm frame from the centre of this board before covering with patterned paper, folding the excess to the back and cutting a cross in the centre.
2. Press the centre of the paper down into the aperture, making a firm crease on the edges. Slip the mirror into the hole and glue the excess paper to the back before covering the back with a slightly smaller piece of coloured card. Clip small decorative elements from patterned paper and add these to one corner of the mirror.
PICTURE
1. Trim mountboard 1.5cm bigger than your chosen image on both edges. Cut a 5mm frame from the centre of this board before covering with patterned paper, folding the excess to the back and cutting a cross in the centre.
2. Press the centre of the paper down into the aperture, creating a firm crease on the edges before trimming and glueing the excess to the back of the frame. Slip the frame over the picture so it’s central and secure with washi tape on the reverse.
BOOKS
Cut small rectangles of old book pages or printed magazine pages. Stick together with a thin line of glue down the centre of each and fold in half before the glue dries fully. Trim the edges with a craft knife. Snip patterned paper slightly bigger than the pages, crease a ‘spine’ in the centre of the cover and glue over the book pages.
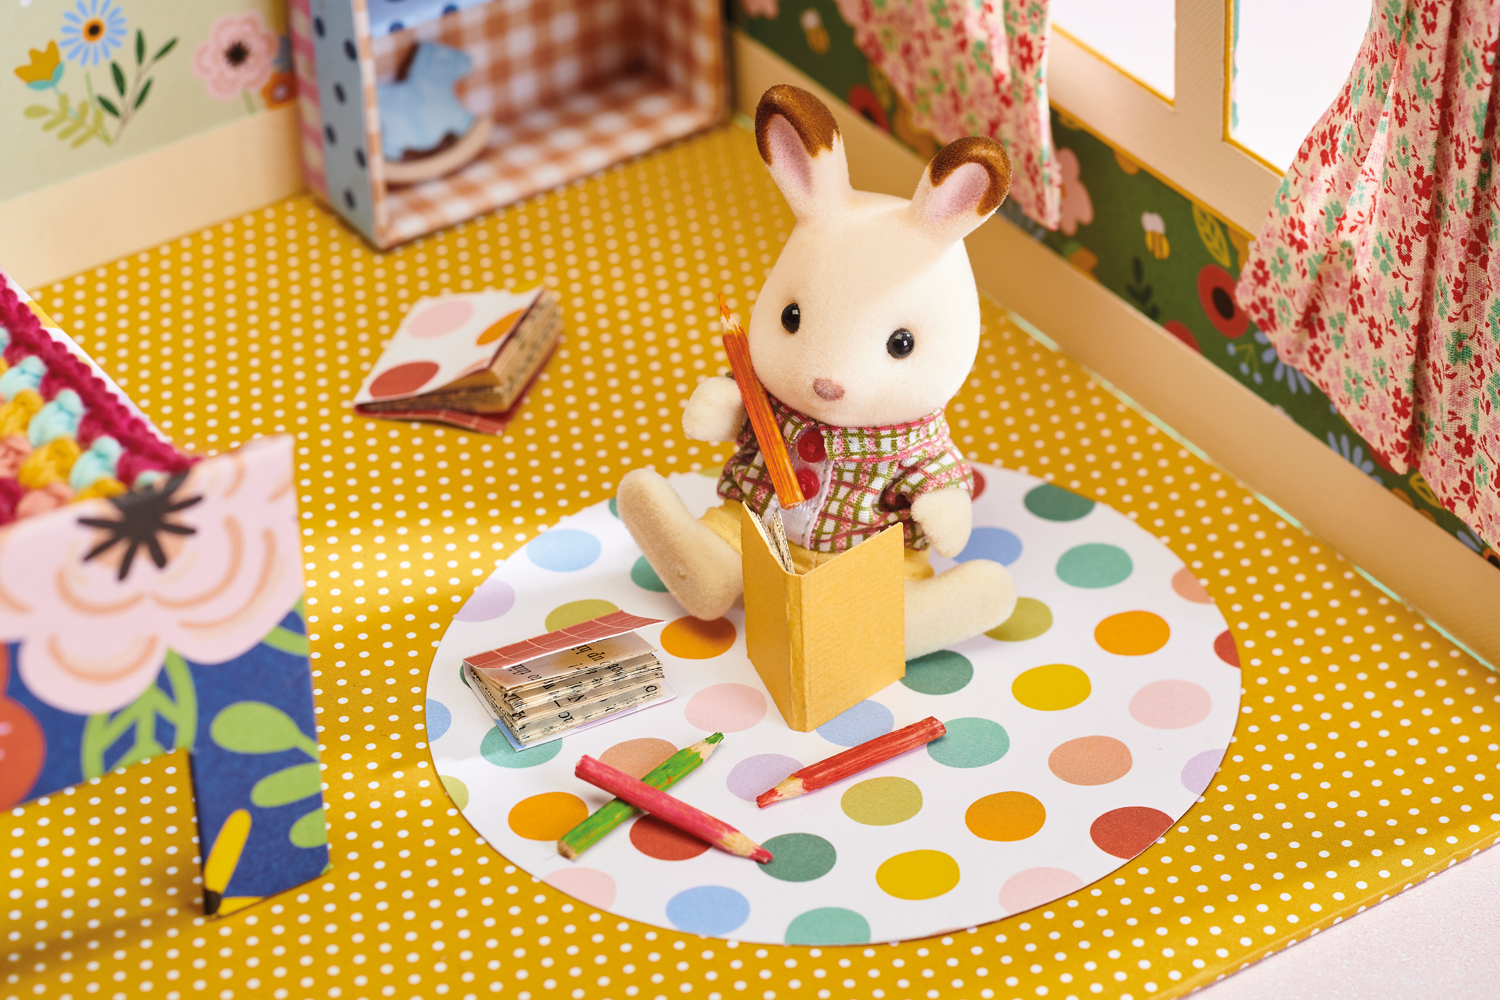
PENCIL POT
Half cut a 1.5cm x 6cm section of mountboard at 1.5cm intervals and fold into a square tube. Wrap with washi tape to hold it together and glue a 1.5cm square of board to the base. Cut a wooden skewer into 3cm lengths and create a point on each one using a pencil sharpener. Colour in with alcohol markers to imitate pencils.
“If you’re making this doll’s house for little ones to play with, omit the pencils and smaller elements, and ensure everything else is securely adhered”
Corinne Bradd, designer
BED LINEN
1. Snip patterned cotton fabric to 11cm x 17cm. Fold under and glue 3cm on one short edge. Fold under and glue 1cm on the remaining three edges. Cut a second piece of patterned fabric, 9cm x 11cm, with pinking shears and glue to the reverse of the first piece to cover the raw edges, leaving a wider gap at the top. Fold over the wide hem at the top and press to make a sheet.
2. Cut more of the same fabric to 9cm x 12cm and press 1cm under on all four sides. Fold up 4.5cm along the short edge and glue the hemmed edges together. Lightly fill the envelope with stuffing, before folding the flap over and glueing. Secure the pillow with small hand stitches if desired.
![]()
BLANKET
1. With a 3mm crochet hook and cotton DK yarn, make 4ch and join into a loop with a slip stitch. Make 2ch (to make the first treble) and work a treble into the ring to make the first cluster. Make 2ch and work two trebles into the ring three times. Make 2ch and join to the first stitch with a slip stitch and fasten off.
2. For each subsequent, different coloured round, attach your yarn into a corner space and work 2ch and a treble for the first cluster. Add 2ch before working two trebles into the same corner space. Add 1ch between the clusters that are not in the corners. Use a tapestry needle to weave in all the loose ends. Dampen the blanket and stretch it square, before leaving it to dry flat.
If granny squares are new to you, learn how to crochet with the experts at Top Crochet Patterns.
Missed part one? Learn to make a doll’s house base and furniture with our simple-to-follow tutorial.

Busy lives often involve a lot of memos and reminders, and it can sometimes be hard to keep track. Luckily, we’ve got a sophisticated solution to keep your desk tidy and…

If you’re having a quiet Valentine’s with your beloved at home this year, make the place look a little more special with a speedy-to-make hearts frieze. Papercrafting doesn’t get much easier than…
Home decor Home decorations How to Papercraft Papercrafter Techniques Projects

1. Using a 3.5cm circle die, cut eight discs from chipboard and sixteen circles from patterned paper. Glue the patterned circles to either side of the discs and punch a…

Craft essentials
1. Cut a 5cm x 15cm strip of double-sided patterned paper and fold in half lengthways. Draw parallel pencil lines at 1.5cm and 2cm from the…


