


Birthday crafting Card making Die cutting How to Papercraft Papercrafter Stamping Techniques Card Making
Use over-the-edge dies for Kitty Day’s shaped card fronts
Instant Value
Gemini’s Magical Wishes stamp and die set is such great value considering you get three separate dies for creating three different ‘over the edge’ style card shapes. As they’re in smaller pieces it makes it incredibly easy to line up the die and cut just that part. The stamp set is also full of extra accessory stamps and sentiments so you can create coordinating cards with just one kit. For the backgrounds, I simply used rainbow coloured distress oxide inks as I find they blend seamlessly with zero hassle.
Stash Saviours
For the blank itself, I recommend using strong white cardstock that you can easily apply inks onto. For these makes, I used Hunkydory’s Essential Card Block as it’s a great option for blending inks, stamping and colouring in with alcohol pens. I also always use Memento ink when using alcohol markers – this helps to stop the ink bleeding when mixed with the pens. I’ve opted for rainbow colours but you can use any hues you wish to create your own bespoke look.
YOU WILL NEED:
Stamps and dies, Crafter’s Companion Gemini Magical Wishes
Stencils: Lawn Fawn Starry Skies; Craft Sensations Love Hearts; My Favorite Things Cloud Edges
Inks: Ranger Distress Oxide Picked Raspberry, Spiced Marmalade, Mustard Seed, Twisted Citron, Peacock Feathers, Wilted Violet; black
Gina K Masking Magic Sheets
Cardstock, various colours
Copic markers
Gems, silver
Ink blending tool
Adhesives: glue, 3D foam pads
Die-cutting machine
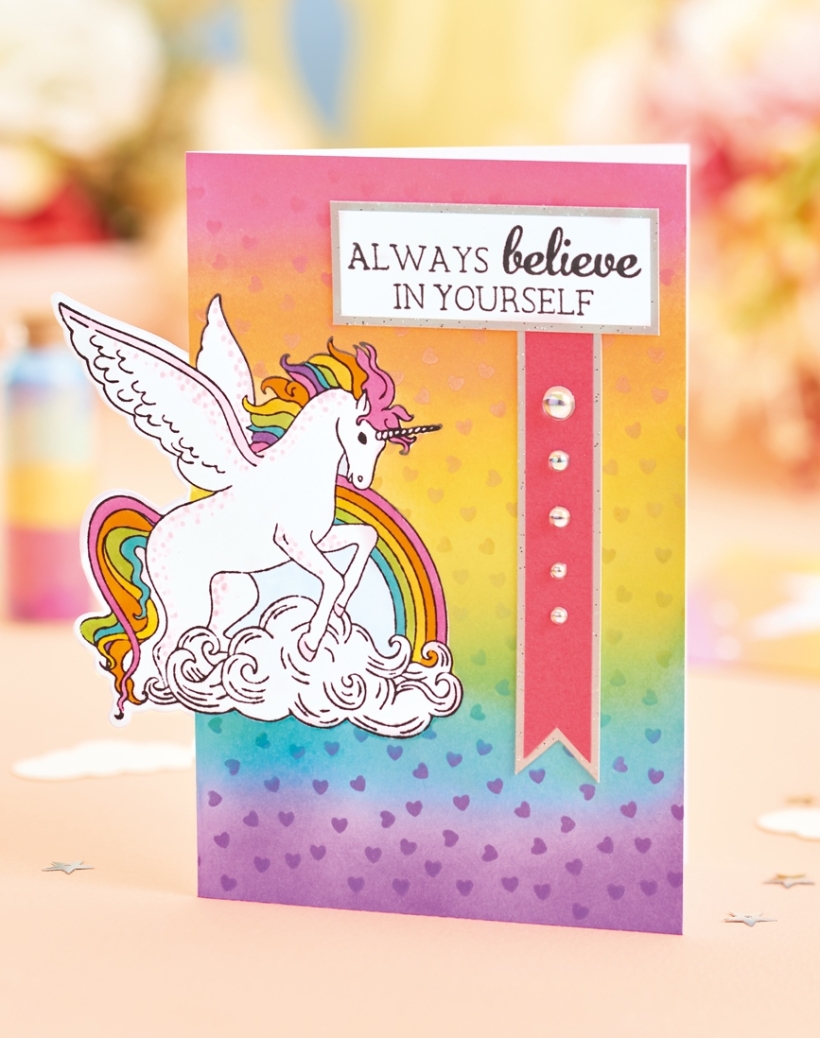
BELIEVE IN YOURSELF
1. Follow the guidance in our step-by-step to create a card, this time with the unicorn on the left. Stamp a unicorn onto the front panel, mask off the motif, then blend various distress oxide inks in a rainbow pattern. Add a heart stencil on top and apply the same inks through it.
2. Remove the mask from the unicorn and colour it in. Layer a pink pennant onto grey and glue towards the right-hand side. Stamp a sentiment onto white in black ink, matt onto grey, then secure above the pennant. Add silver gems to complete.
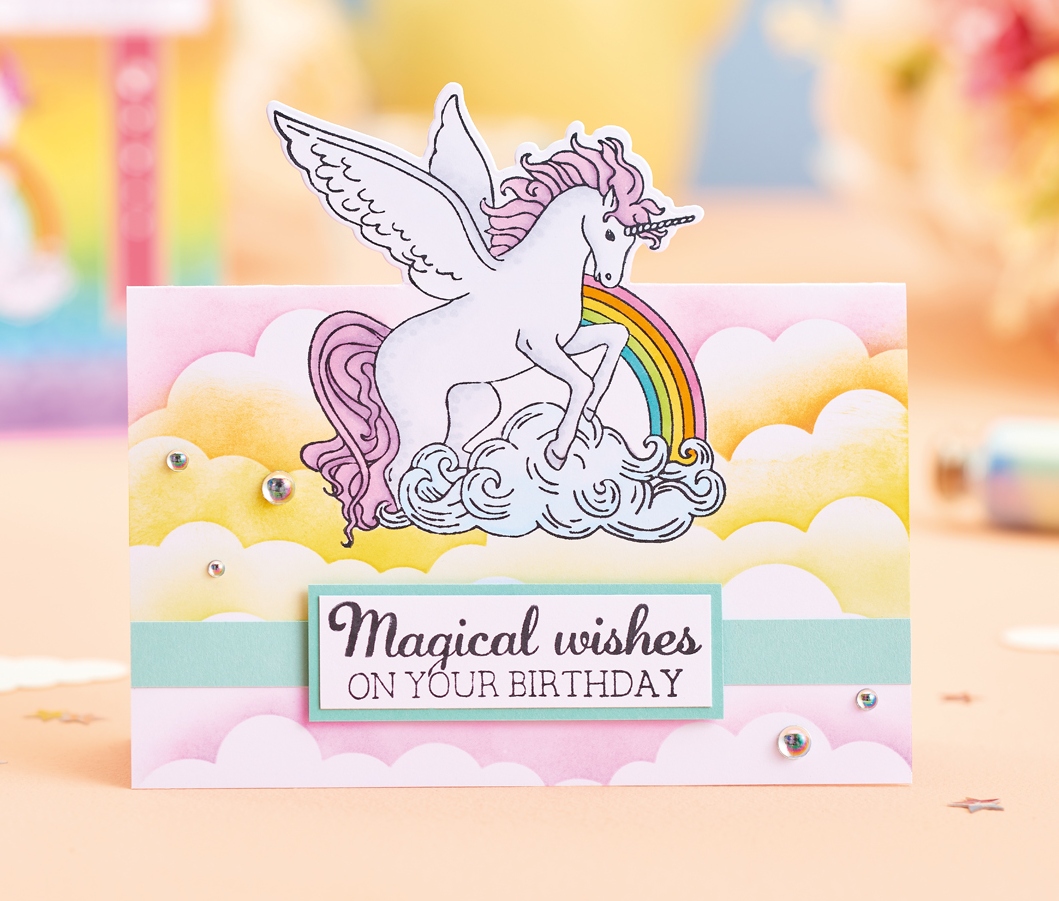
MAGICAL WISHES
1. Create a top-folding landscape blank, 10.5cm x 16cm, this time with a unicorn at the top. Stamp a unicorn onto the card front. Mask off the motif, then blend pink and yellow distress oxide inks through a cloud stencil.
2. Remove the mask from the unicorn and colour in with marker pens. Stamp a sentiment onto white, then layer onto teal. Run a strip of teal card along the bottom of the greeting and fix the sentiment on top with 3D foam pads. Complete with silver gems.
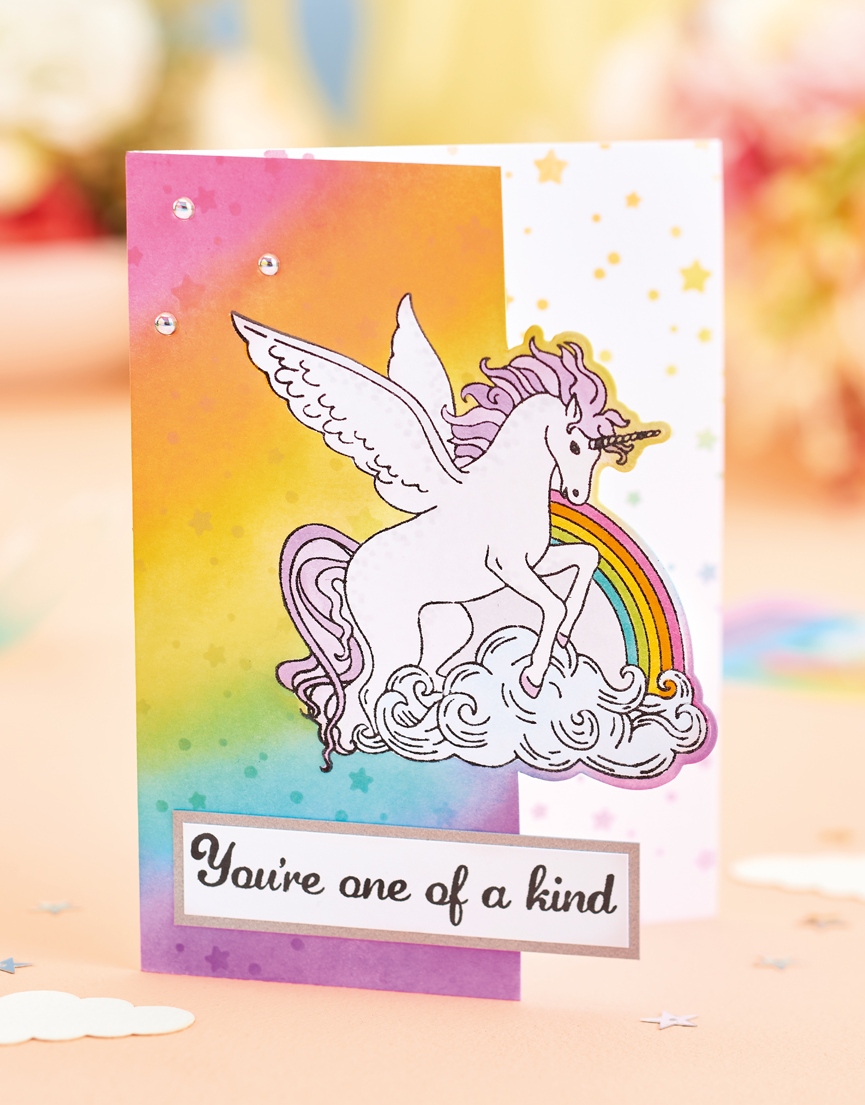
ONE OF A KIND
1. Follow the step-by-step opposite to create a shaped card front. Mask off the unicorn and apply pink, orange, yellow, green, turquoise and purple distress oxide inks across the front panel using an ink blending tool.
2. Secure a star stencil on top and blend the same inks through it. Repeat the process for the inside of the card. Remove the mask from the unicorn and colour in with alcohol markers. Stamp a sentiment onto white, layer onto grey card, then fix towards the bottom. Embellish with three silver gems to finish.


Busy lives often involve a lot of memos and reminders, and it can sometimes be hard to keep track. Luckily, we’ve got a sophisticated solution to keep your desk tidy and…

If you’re having a quiet Valentine’s with your beloved at home this year, make the place look a little more special with a speedy-to-make hearts frieze. Papercrafting doesn’t get much easier than…
Home decor Home decorations How to Papercraft Papercrafter Techniques Projects

1. Using a 3.5cm circle die, cut eight discs from chipboard and sixteen circles from patterned paper. Glue the patterned circles to either side of the discs and punch a…

Craft essentials
1. Cut a 5cm x 15cm strip of double-sided patterned paper and fold in half lengthways. Draw parallel pencil lines at 1.5cm and 2cm from the…


