

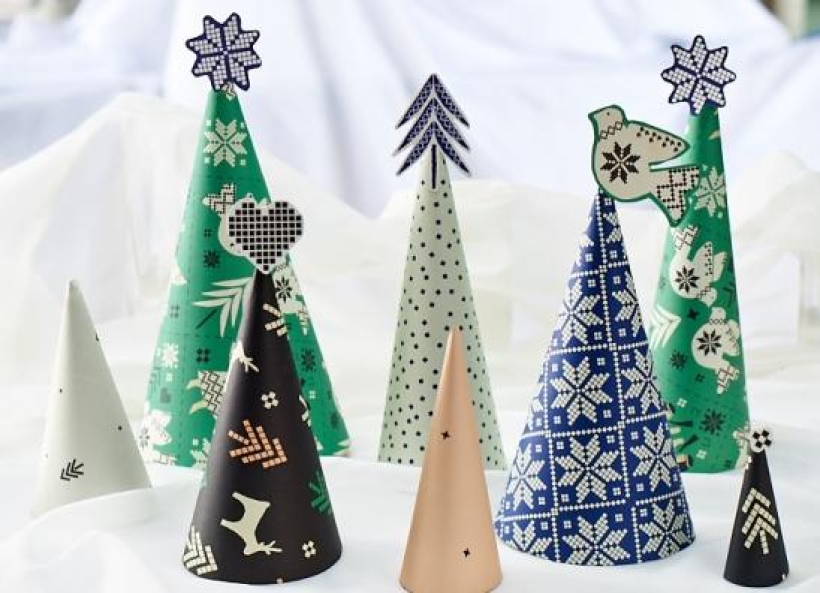


Some wrapping papers are just *so* nice, don't you just want to use the pretty patterns to make some festive ornaments around the home?! Well, Silkie from Rosehip Cards sent us a taster of her new range, which included double-sided wraps, gifts and tags. They were very lovely, but we couldn't help ourselves - and repurposed them into trees.
You can download the templates for our different shaped trees, simply click on each link at the bottom of this page! Depending on what size you’d like them to be, you can enlarge them to suit your home. Craft paper would be ideal for this project, or good quality wrapping paper!
1. Firstly, think about how many trees you would like to create so you can plan which papers to use for each tree. For instance, our fave was the green patterned paper so we made two bigger trees out of it.
2. Prepare and print out your templates to your desired size, so that you have a good variety of trees. Trace them out onto your papers and snip out the shapes.
3. Either glue or apply double-sided sticky tape to where the shape says ‘glue here’, making sure you apply this to the reverse, plain side.
4. Shape your cut-out into a cone, so that the two edges meet at the bottom. Stick the ‘glue here’ edge so it overlaps the opposite edge (patterned side), ensuring there isn’t a hole at the top and that the bottom is straight.
5. Cut patterned paper or any patterned card to create a topper for your trees. We snipped up some gift tags to make ours! Secure to the top of your cones using a foam pad or double-sided tape.
Voilà! Display your new ornaments on the mantelpiece, windowsill or wherever you please!
Our top tip: See the slightly narrower trees? When shaping the cones, push the non-glued edge to curl inside the cone, stopping to glue where you please. This will make it narrower and you can do this to achieve your desired width. You’ll have to be handy with a pair of scissors to snip the base straight!

To download our templates, simply click ‘Download Now!’ and it will open in your browser. Why not send us a picture of your project once you’re done? For your chance to be…
Home decor Home decorations Papercraft Papercrafter Party makes Templates

There’s nothing quite so relaxing, or quite so fun, as settling down with a good colouring page. It’s even better if that colouring page happens to include Wallace & Gromit. This duo…
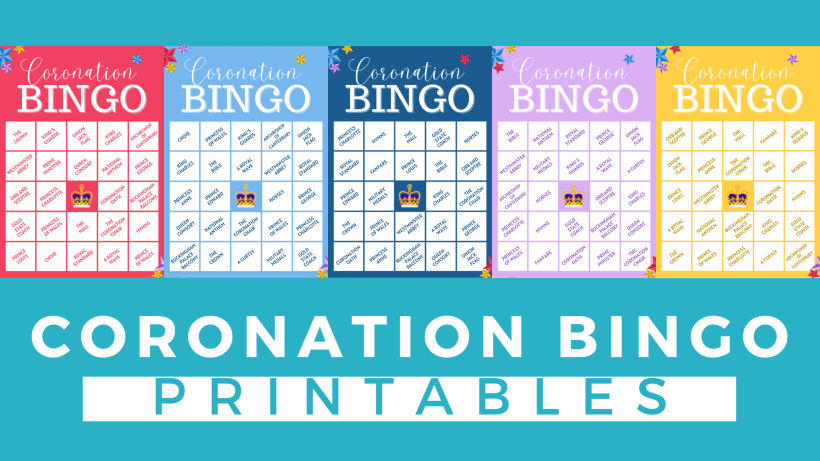
Gather your friends, get the TV on, bring a pen, and play Coronation Bingo! Extra points for prizes.
HOW TO PLAY
1. Each player will need one scorecard and a pile of…
.png)
Featuring motifs full of whimsy and joy, this Clearly Besotted digi stamp set is perfectly suited to wish someone a happy day. Use your nine-piece printable pack as many…


