


PaperCrafter readers have been gifted with ten stylish printables from Uniko – you’re welcome!
We encourage you to push the boat out with these gorgeous designs from Beverley Brown at Uniko. Here she demonstrates umpteen ways with your free digital pack – simply print them out and colour, or discover new ways to show them off. You could master foiled repeat patterns, enlarge or reduce to suit your needs, dabble with digital colouring… and that’s just the beginning! Why not give it a go today?
Download and print your digi stamps
1 Press ‘Click here to download now’ then log in – or register if you don’t currently have an account with us.
2 Click ‘Download now’ and you’ll see the download processing at the bottom of your screen.
3 Open the folder, then right-click on the file and select ‘Print’ – we’ve got all of the individual motifs, so you can print off exactly what you need or even adjust them if you’re tech savvy.

Get foiling
Did you know you can foil digi stamps? It’s easy! Print your chosen digi from a laser printer, ensuring the ink has a solid finish – if it’s lined or faint, you’ll need to replace your black ink cartridge. You can then run the paper through a foiling machine – we’ve used the Heidi Swapp Minc. Create an ultra simple card by having a foiled sentiment and little else. For a more impactful design, tile a digi stamp on a Microsoft Word document before printing and foiling in the same way – you can see this in action on the beautiful olive green greeting.
Give them a modern spin
A couple of the cards have been digitally coloured before they’ve been printed. If you’re comfortable on a computer, why not try it? Keep the sentiment monochrome, then fill the surrounding section of the topper with colour – you don’t need a fancy programme for this, you can actually do it in Microsoft Paint. Once you’ve printed your sentiment, die cut it into a circle and matt onto various layers. Beverley has used the Papertrey Ink Limitless Layers Dies to create her loopy-edged circle.
Colour them in
If you want less of a digital process, traditionally colour in the designs. Here you can see Prismacolour pencils and alcohol markers at work. The shapes are really easy to shade in, but don’t just colour the obvious sections – Beverley has added a thin wash to the foliage lines on the red holly card. Play about with it!
TOP TIP
Apply lines of double-sided tape to a blank and sprinkle with fine glitter for a glitzy touch

Looking for the perfect pen?
Try Pintor by Pilot! Their art markers create a strong finish, plus they’re really versatile, working on a multitude of surfaces including paper, wood, glass, ceramic, plastic, metal, fabric and more. Visit pintor.co.uk to shop the products and be inspired by an array of videos.

To download our templates, simply click ‘Download Now!’ and it will open in your browser. Why not send us a picture of your project once you’re done? For your chance to be…
Home decor Home decorations Papercraft Papercrafter Party makes Templates

There’s nothing quite so relaxing, or quite so fun, as settling down with a good colouring page. It’s even better if that colouring page happens to include Wallace & Gromit. This duo…
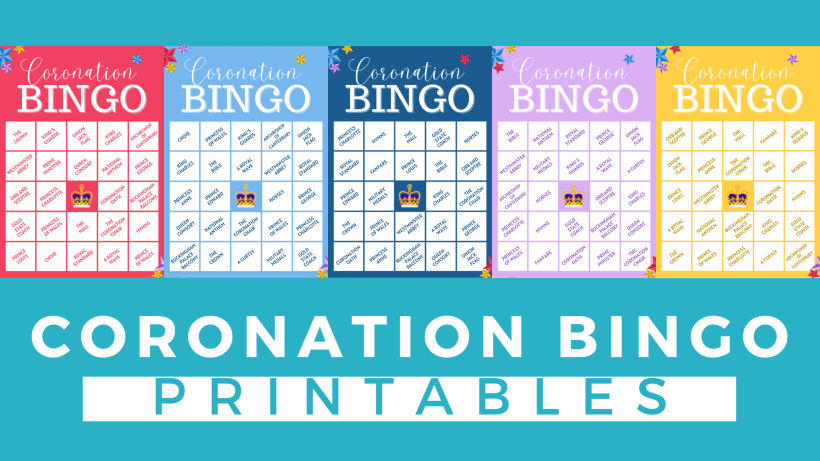
Gather your friends, get the TV on, bring a pen, and play Coronation Bingo! Extra points for prizes.
HOW TO PLAY
1. Each player will need one scorecard and a pile of…
.png)
Featuring motifs full of whimsy and joy, this Clearly Besotted digi stamp set is perfectly suited to wish someone a happy day. Use your nine-piece printable pack as many…


