

_1.png)


Card making Christmas cards Christmas crafts Die cutting Embossing How to Stamping Digi Stamps
Bring your festive greetings to life with these friendly faces
Please login to download. Sign in here
Cute characters are always a winner in our eyes, especially at Christmastime! Thanks to our pals at Di’s Digi Stamps (disdigistamps.com) you’re bound to have so much fun crafting with this seasonal selection of festive friends whilst also boosting your colouring skills thanks to Kitty Day’s clever tricks. Simply download and print your digi stamp pack for free and find the full instructions for the cards below.
Download and print them
1 Press ‘Click here to download now’ then log in – or register if you don’t currently have an account with us.
2 Click ‘Download now’ and you’ll see the download processing at the bottom of your screen.
3 Open the folder, then right-click on the file and select ‘Print’.
Shade & fade
Ever wondered how to add shading when colouring? It’s a great way to give your designs depth and realism. Layering pen or pencil strokes can build up shadow and shape. You can use both a light and firm pressure to create different tones, with added intensity coming from heavy pressure. Kitty has used a deeper colour around the edge of each motif whilst changing to a lighter hue as she works towards the centre.
Colour coordinated
Choose the hues you wish to use for your digi stamp, then raid your stash for coordinating patterned papers and cardstock. Matching colours makes for a cohesive look, but don’t be afraid to combine clashing prints. Just be sure to layer each paper onto plain cardstock so they all stand out. To add texture to your backgrounds, consider dry embossing for raised motifs, glitter card or lengths of ribbon and twine.
Faux snow
Look closely and you’ll notice that Kitty has applied a very light blue shade below each line of snow. It’s a subtle yet simple trick that’ll instantly lift your digi stamps – remember, it’s all in the finer details. To enhance the snowy effect even more, add random spots of Nuvo Glitter Drops as seen on Kitty’s ‘Happy Christmas’ card. Don’t have this medium in your stash? Simply apply small dots of PVA glue with the end of a pencil and cover with white glitter.
.jpg)
YOU WILL NEED:
Di’s Digi Stamps Christmas Character Digi Stamps
Stamps, Waffle Flower Classic Holiday Sentiments
Dies, Lawn Fawn Stitched Circles, Scallop Circles; M&C Snowflake Border, Scallop Borders; Xcut Mini Snowflake
Ink pad, black
Embossing folder, snowflake
Nuvo Glitter Drops
Copic Markers
Patterned Papers
Cardstock: various colours, glitter, kraft
Embellishments: ribbon, baker’s twine, lace, wooden stars, buttons, gems, pearls, paper flowers
Adhesives: 3D foam pads, glue
Die-cutting machine
Let It Snow
Dry emboss a square piece of white card with a snowflake embossing folder and glue onto a white blank. Cut a smaller piece of patterned paper into a square and mount onto navy card. Wrap red baker’s twine around the bottom, tie into a bow and fix the panel onto the card with 3D foam pads. Print out the digi stamp motif, colour in with alcohol markers, then die cut into a stitch-edged circle. Layer onto a navy scallop-edged circle and fix to the card. Finish with a die-cut snowflake, stamped sentiment and gems.
Shaped Card
Create a circular blank from white and cover the front with red card. Die cut patterned paper using a circle die and glue in place. Print out the digi stamp motif, colour in with alcohol markers and die cut into a stitch-edged circle. Matt onto a red scallop-edged circle. Stamp a sentiment onto white, layer onto kraft card and attach to the greeting. Finish with three wooden stars, a ribbon bow and gems.
Happy Christmas
Layer red patterned paper onto kraft card. Wrap ribbon around the middle of the panel and mount onto a white landscape blank. Print out the digi stamp motif and colour in. Matt onto kraft card and fix to the greeting with 3D foam pads. Add a ribbon bow and button to the left-hand side, then finish with a sentiment and glitter drops.
Merry & Bright
Matt green patterned paper onto a white square blank. Layer two different green patterned papers onto white card and overlap them on the card. Print out the digi stamp motif and colour in. Die cut the image using a rectangle die and attach to the card with 3D foam pads. Add a sentiment, then embellish with paper flowers and sequins.
Peace, Joy & Love
Mount two different patterned papers onto red card, then onto a square white blank. Trim a strip of pink patterned paper and layer onto red. Add a length of ribbon, then glue the strip along the middle of the card. Fix a ribbon bow to the left-hand side. Print out the digi stamp motif and colour in. Layer onto blue and red card, then attach to the greeting with 3D foam pads. Finish with a stamped sentiment.
Merry Christmas
Cover a portrait blank with red card. Layer patterned paper on top. Print out the digi stamp motif and colour in. Mount onto kraft card, then red. Glue towards the top of the greeting. Die cut a border from red and fix below the digi stamp panel. Add a stamped sentiment and heart gems to complete.
Seasons Greetings
Layer lilac patterned paper onto pink coloured card, then matt onto a white blank. Snip a strip of blue patterned paper and mount onto glitter and pink card. Run ribbon along the bottom, then adhere to the card. Print out the digi stamp motif and colour in. Layer onto glitter and pink card. Glue to the right-hand side of the greeting. Die cut a snowflake border from glitter card, add gems to the centres and fix in place. Finish with a bow, gem and sentiment.

To download our templates, simply click ‘Download Now!’ and it will open in your browser. Why not send us a picture of your project once you’re done? For your chance to be…
Home decor Home decorations Papercraft Papercrafter Party makes Templates

There’s nothing quite so relaxing, or quite so fun, as settling down with a good colouring page. It’s even better if that colouring page happens to include Wallace & Gromit. This duo…
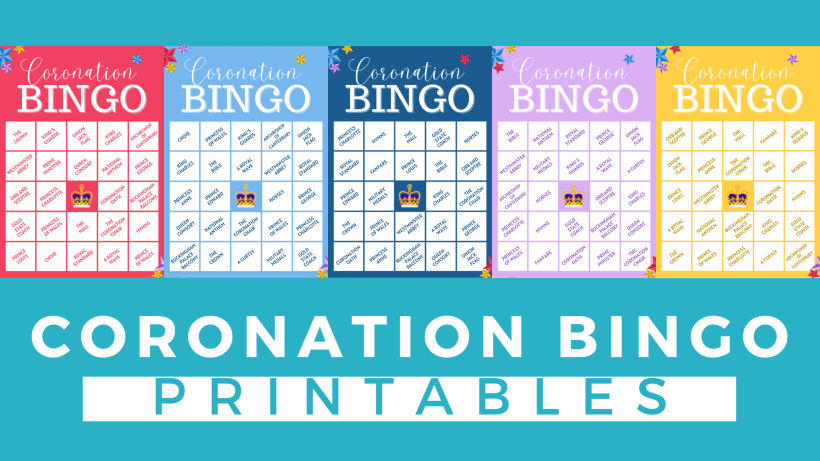
Gather your friends, get the TV on, bring a pen, and play Coronation Bingo! Extra points for prizes.
HOW TO PLAY
1. Each player will need one scorecard and a pile of…
.png)
Featuring motifs full of whimsy and joy, this Clearly Besotted digi stamp set is perfectly suited to wish someone a happy day. Use your nine-piece printable pack as many…


