

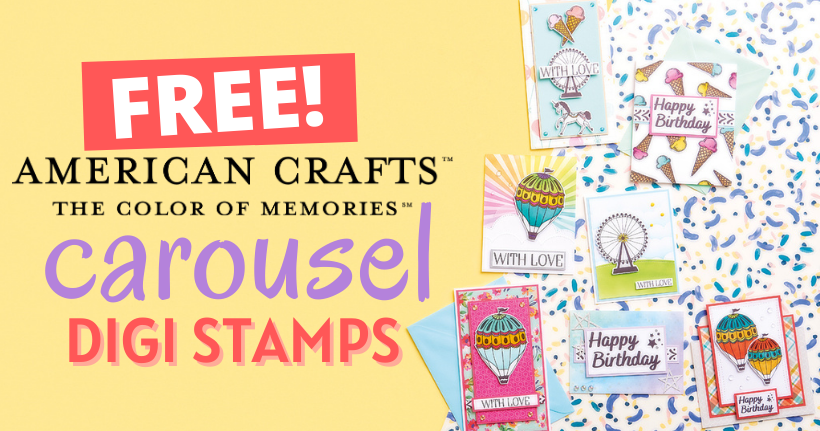


Keep crafting costs down with these bonus printables by Maggie Holmes
Please login to download. Sign in here
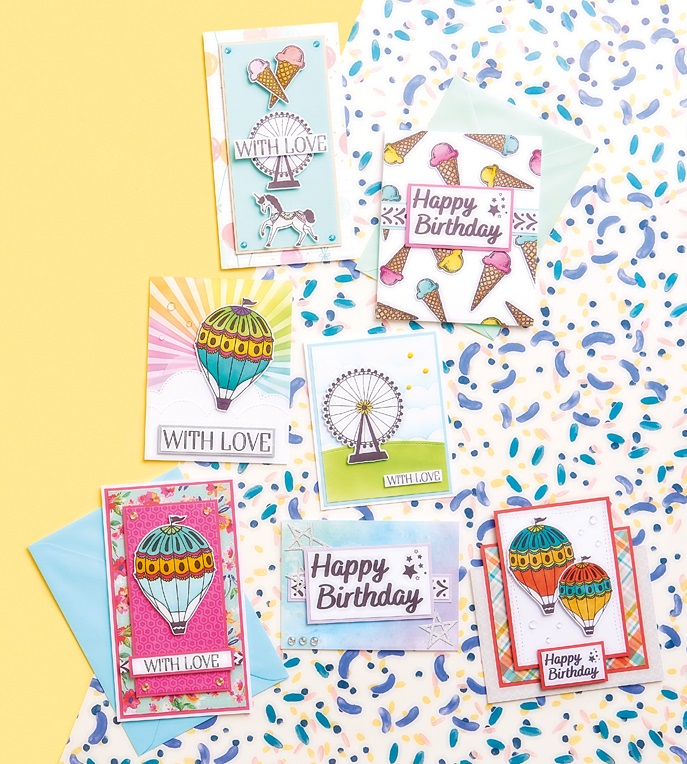
We’re delighted to join forces with our friends at American Crafts, offering up eight top digi stamps designed by the marvellous Maggie Holmes. Her aesthetic is pure happiness, and that’s just what these illustrations convey too. PaperCrafter designer Kitty Day shows off seven cards to get you started, utilising stencilling, ink blending, die cutting and layering to really show them off. Let’s get started…
Download and print them
1 Press ‘Click here to download now’ then log in – or register if you don’t currently have an account with us.
2 Click ‘Download now’ and you’ll see the download processing at the bottom of your screen.
3 Open the folder, then right-click on the file and select ‘Print’.
Repeat after me
One of the best ways to use digi stamps is to create repeat backgrounds. In regular stamping, there’s often the fear of leaving ink smudges, not being happy with the arrangement… but with digi stamps it’s much simpler. For her ice cream card, Kitty printed off the motif multiple times, coloured them in, then cut them out. From there you can decipher your layout and glue them in place one at a time. Ta-da!
Choose your size
Kitty’s cards have been made with beginners in mind, but using digi stamps can be as easy or advanced as you like. If you’re not completely comfortable with tech, the best way to level up is to practise resizing. You can see opposite how the ‘With love’ sentiment features in different sizes. Start a new Word document, insert the digi stamps, then drag the corners to adjust the size. If you only want one digi stamp, use the ‘Crop’ function.
Mix it up
This digi stamp collection is concise, featuring five motifs, two sentiments and one border. But don’t think for one minute that you’re limited! Kitty has expertly demonstrated that less can be more by showing off true variety in her greetings. Take the hot air balloon, for example. Use it as the focal along with patterned papers, set the scene with an inked sky and clouds, use more than one for top-notch layering… you get the picture!
YOU WILL NEED:
American Crafts Carousel digi stamps
Patterned papers
Card: various colours, glitter
Dies: My Favorite Things Die-namics Lucky Stars, Wonky Stitched Rectangles
Stencil, sun rays
Inks: Distress Oxide Wilted Violet, Picked Raspberry, Spiced Marmalade, Mustard Seed, Twisted Citron, Mowed Lawn, Mermaid Lagoon
Nuvo Drops, Dandelion Yellow
Alcohol markers
Embellishments: self-adhesive gems, bubbles and dots
Die-cutting machine
Adhesives: 3D foam pads, glue
With Love Trio
Cover the front of a blank with patterned paper. Mount mint card onto kraft card and fix in place with 3D foam pads. Print out two ice cream, ferris wheel and carousel horse digi stamps. Colour in and cut out. Attach onto the panel with 3D foam pads. Add a gem in each corner to finish.
Ice Cream Background
Print out lots of the ice cream digi stamps. Colour in each one and cut out. Arrange them onto a white blank and glue in place. Cut off any excess from the edges. Layer the border and sentiment onto card and attach onto the greeting.
Rainbow Sky
Lightly brush inks in rainbow colours onto white card. Secure a sun rays stencil on top and repeat the process but in darker colours. Die cut clouds from white card and vellum, then glue onto the panel. Add the panel to a blank. Print out the hot air balloon and ‘With love’ digi stamps. Colour and cut out the hot air balloon, then attach with 3D foam pads. Mount the sentiment onto silver card and fix with 3D foam pads. Add clear bubble embellishments.
Ferris Wheel Scene
Apply blue ink through a cloud stencil onto white card. Blend green ink onto white card and die cut into a hill. Glue onto the sky panel, then onto a blank. Print out the ferris wheel and a sentiment, reducing the size of the latter. Colour in, cut out and fix the ferris wheel in place with 3D foam pads. Add the sentiment with 3D foam pads. Add yellow Nuvo Drops and allow to dry.
Slimline Balloon
Mount patterned papers onto coloured card and glue onto a blank. Add a mounted sentiment on top. Print, colour and cut out the hot air balloon image. Fix onto the greeting with 3D foam pads. Add an adhesive gem in each corner of the middle panel to finish.
Happy Birthday Stars
Cover the front of a blank with patterned paper. Print out the ‘Happy birthday’ and border digi stamps. Layer both onto lilac card and attach to the greeting, using 3D foam pads for the sentiment. Die cut stars from silver glitter card and glue around the sentiment. Add three bubble embellishments in the bottom-left corner to complete.
Happy Birthday Balloon Duo
Adhere patterned paper onto a blank. Layer patterned paper onto red card and glue in place so it’s protruding from the top edge. Die cut white card into a rectangle and mount onto red, then add on top so it’s protruding further. Print out two hot air balloon images and colour in. Cut out each one and fix in place with 3D foam pads. Layer the ‘Happy birthday’ sentiment onto red and attach at the bottom. Add clear bubble embellishments to finish.

To download our templates, simply click ‘Download Now!’ and it will open in your browser. Why not send us a picture of your project once you’re done? For your chance to be…
Home decor Home decorations Papercraft Papercrafter Party makes Templates

There’s nothing quite so relaxing, or quite so fun, as settling down with a good colouring page. It’s even better if that colouring page happens to include Wallace & Gromit. This duo…
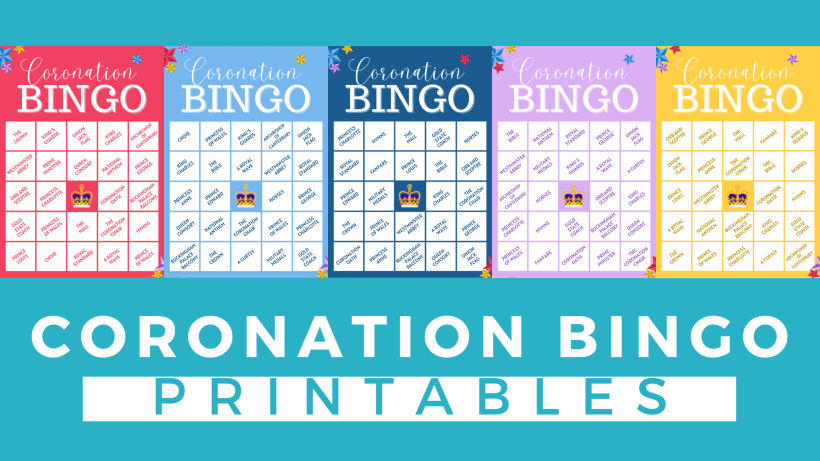
Gather your friends, get the TV on, bring a pen, and play Coronation Bingo! Extra points for prizes.
HOW TO PLAY
1. Each player will need one scorecard and a pile of…
.png)
Featuring motifs full of whimsy and joy, this Clearly Besotted digi stamp set is perfectly suited to wish someone a happy day. Use your nine-piece printable pack as many…


