Personalise Your Projects With The Silhouette Portrait
*ADVERTORIAL*
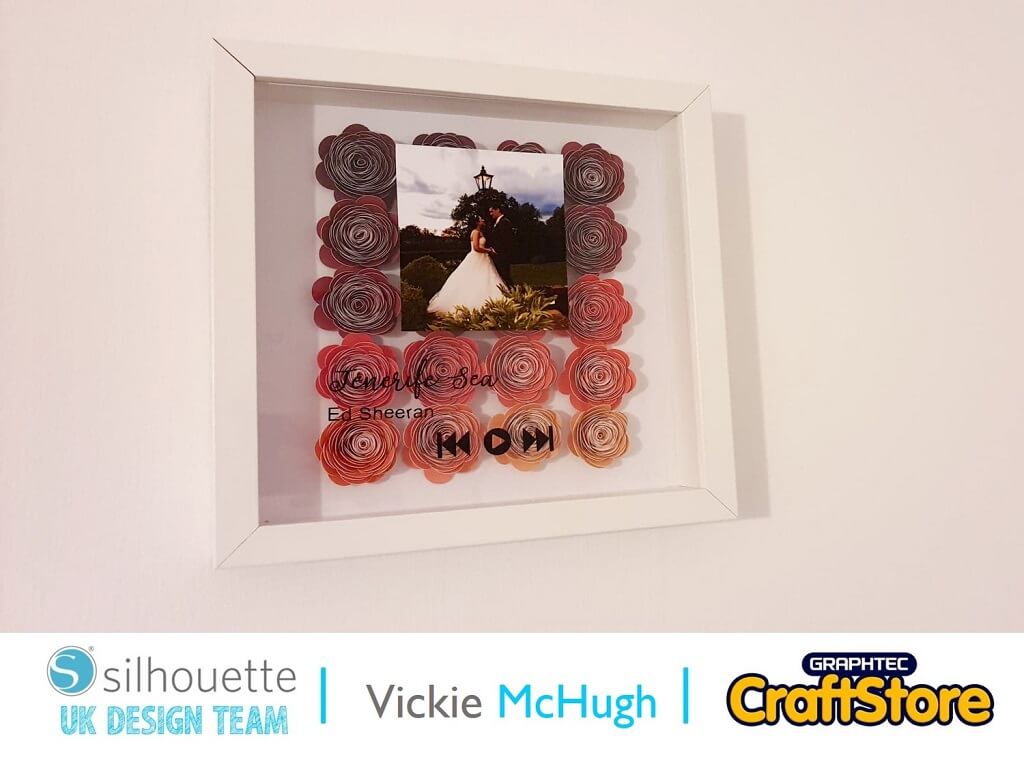
The wedding season is in full swing so now’s the time to show off what you’ve got and gift the happy couple a keepsake to cherish forever. Why not give Vickie McHugh’s first dance frame a go? She uses the Silhouette Portrait 3 which you’ll be glad to know takes all the hard work out for you… phew! Grab your hands on this go-to gadget at graphtecgb.shop – trust us, personalised projects have never been easier!

Selecting the design
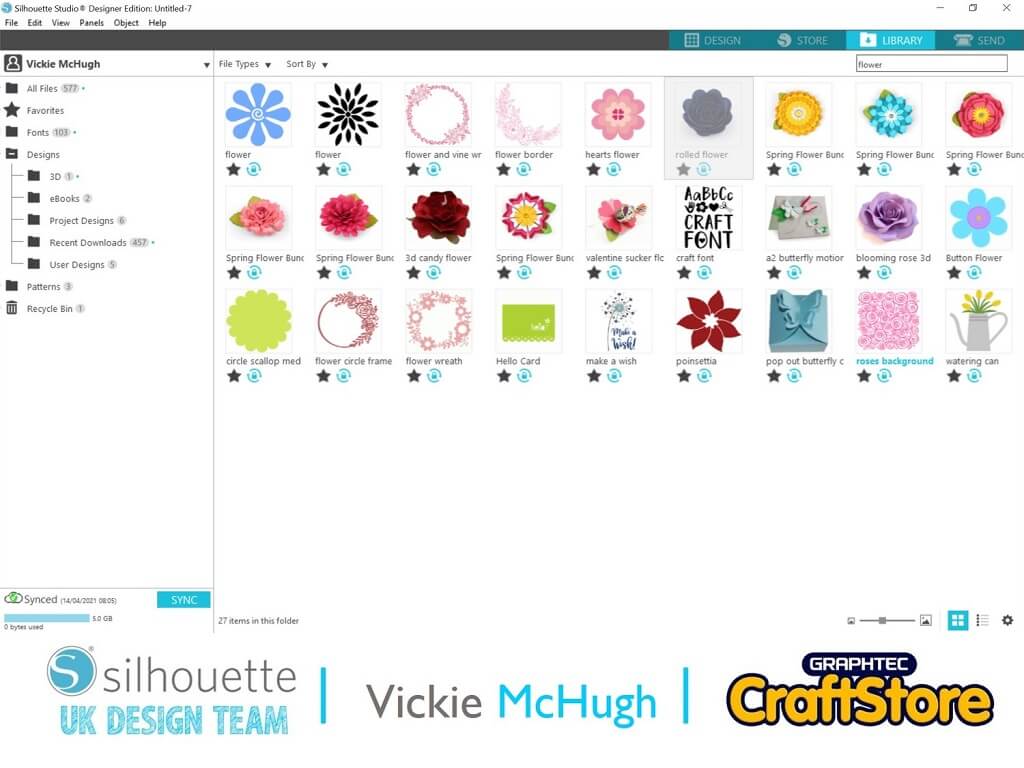
Browse the Silhouette design store and select the Rolled Flower design (302218). Once purchased, it can be pulled into the Silhouette studio from the library by double clicking on the file.
Setting the size of the flowers
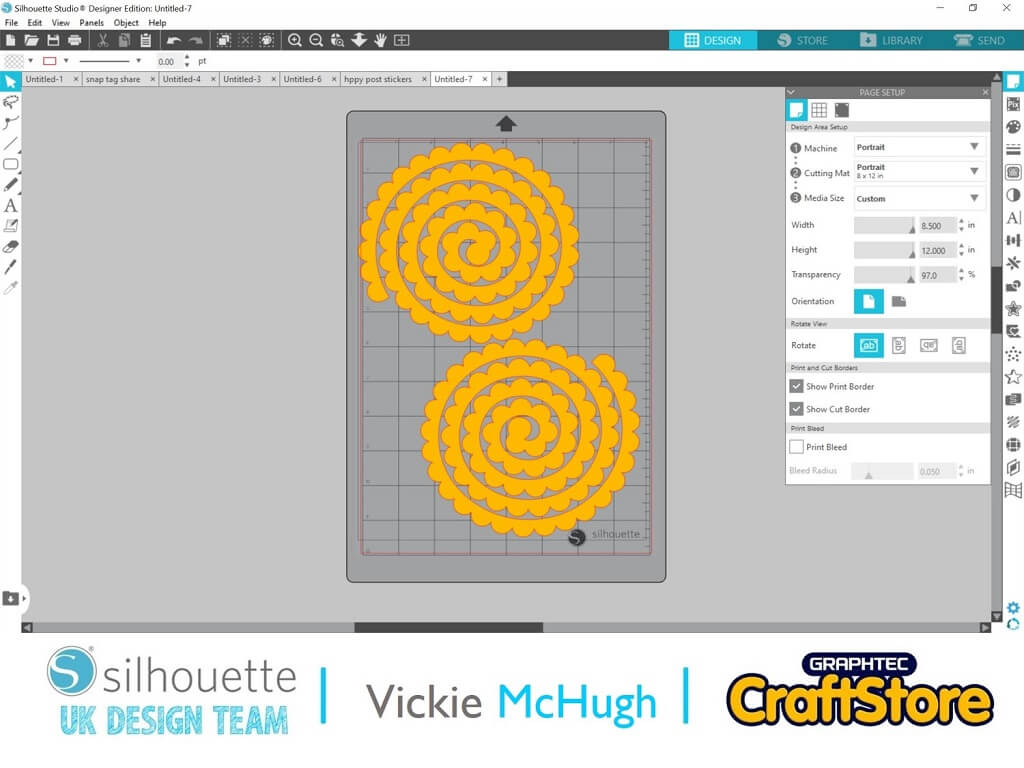
Take a white 23cm square frame. For this size of frame, you need approximately 20 roses. Within the Silhouette studio, ensure each flower measures 6” so you’ll be able to cut two flowers from one sheet of A4 cardstock.
Cutting out the flowers
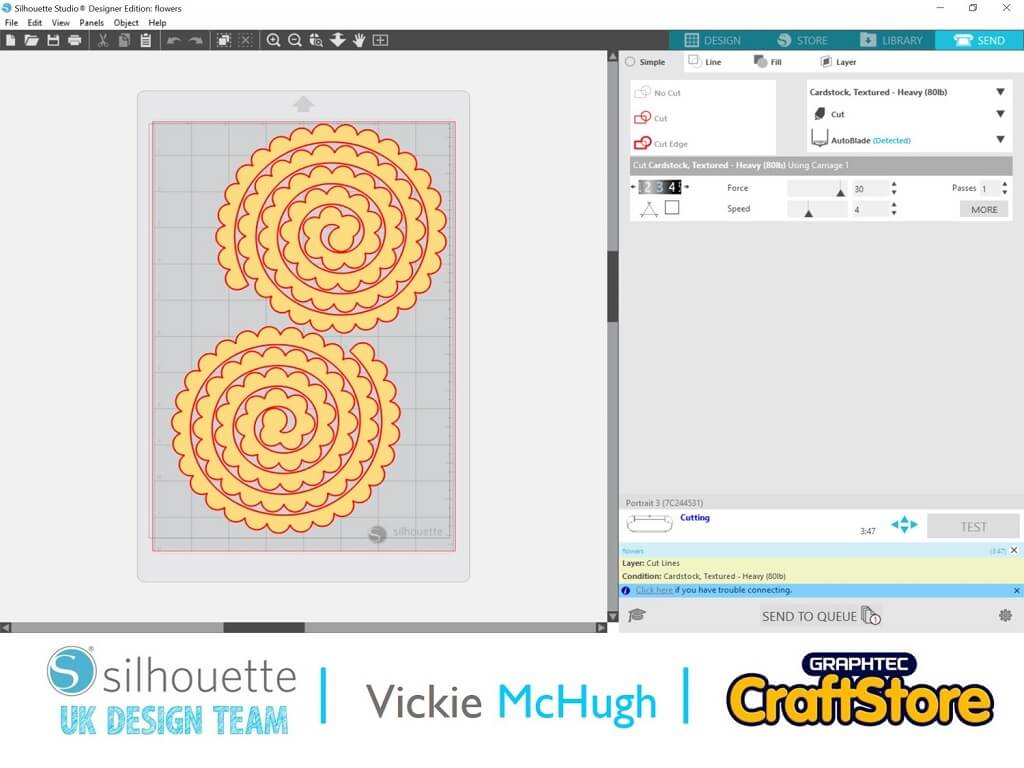
Change the cut settings to Material: Cardstock Textured, heavy, Blade: Auto-blade, then click send. The Silhouette Portrait will then cut out the flower. Repeat 20 times in different shades of red card.
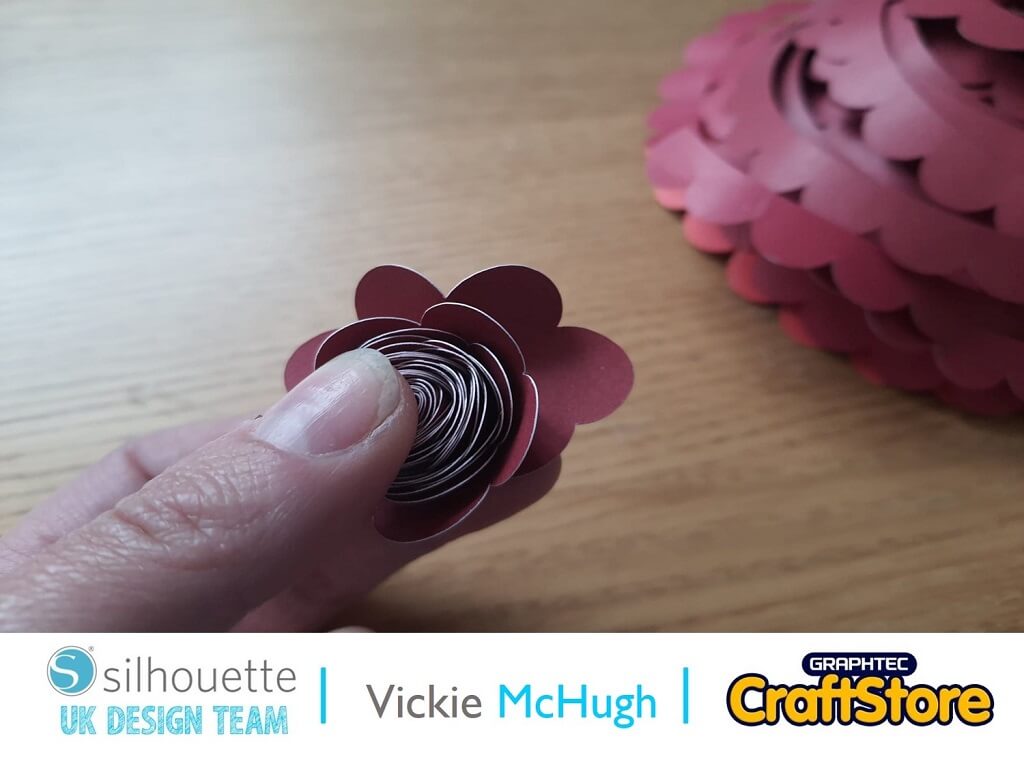
Rolling the flowers
Remove the cut flowers from the mat and hold the end of the spiral with a pair of tweezers. Wrap the paper spiral around the tweezers until you have a coil. Let the flower unravel slightly, then apply hot glue to the centre of the flower and press the spiral down onto the hot glue. Lay the flowers out onto white card and secure with hot glue. Place into the frame, trimming to fit.
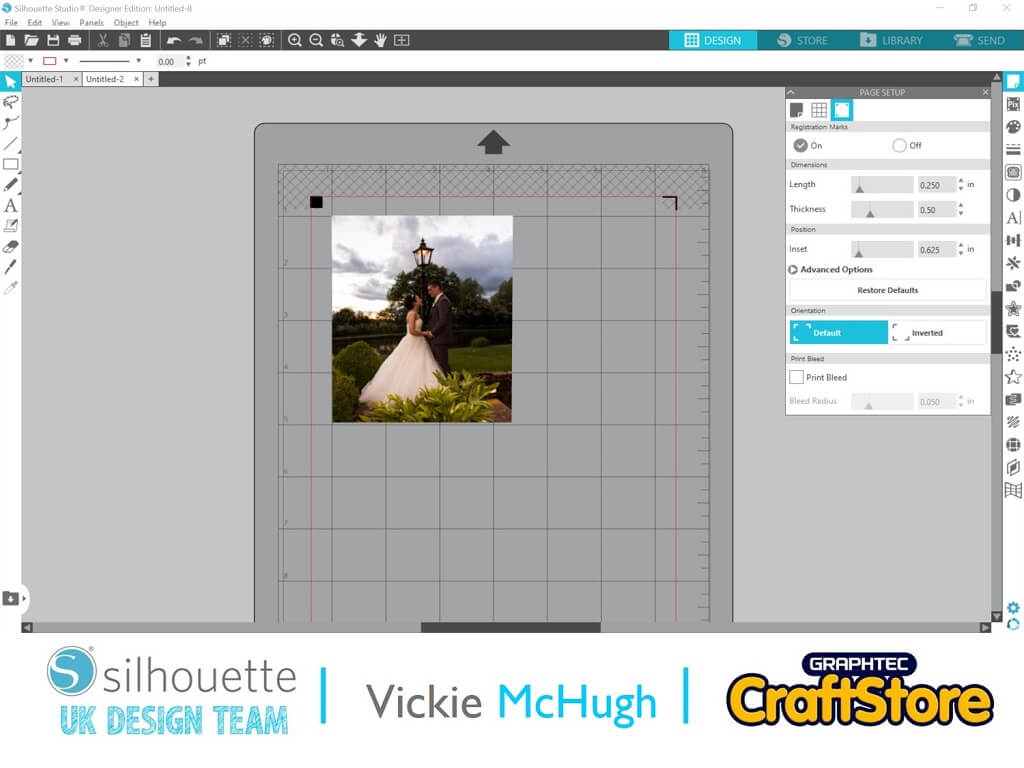
Creating the top layer
Go to the page set-up and turn on the registration marks. Go to file and merge, then select the image that you would like to use. Resize to 4” high. Click file and print. Place the printed file on your mat and change the settings to show sticker paper, then press send. The Silhouette Portrait will then read the registration marks and cut out the image.
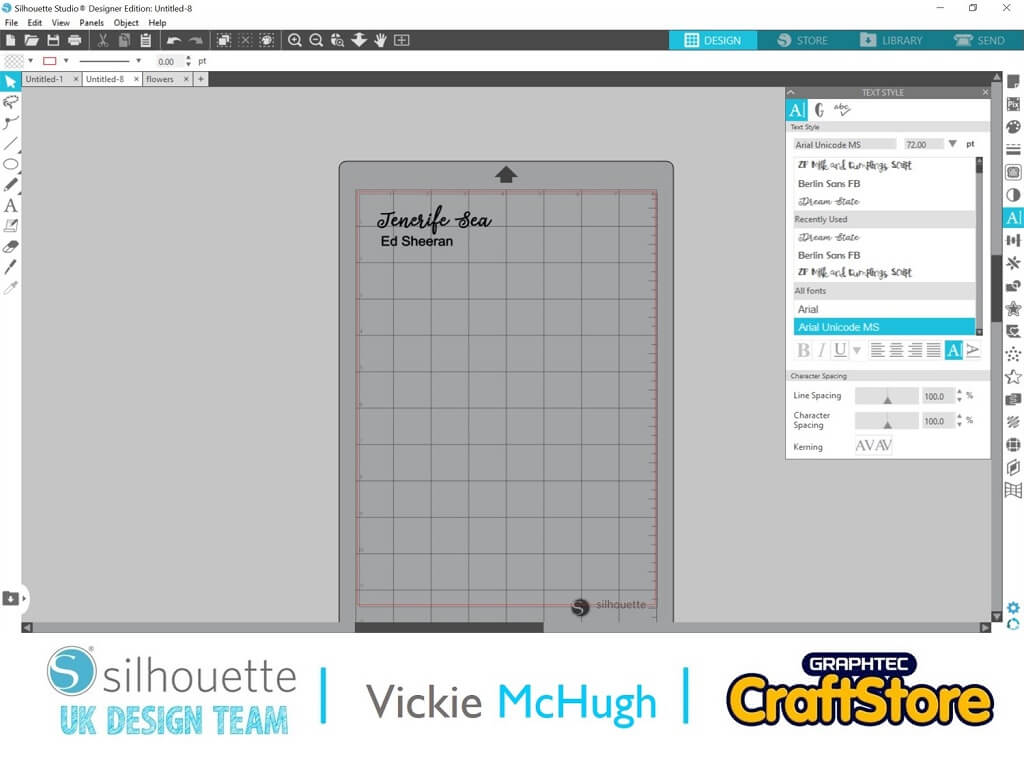
Cutting the vinyl pieces
Using the text function, write out the name of the couple’s first dance song and artist. Go to file, then click merge. Use the trace button to make a copy of these elements so you can cut them out from vinyl. Change the settings to vinyl and press send.
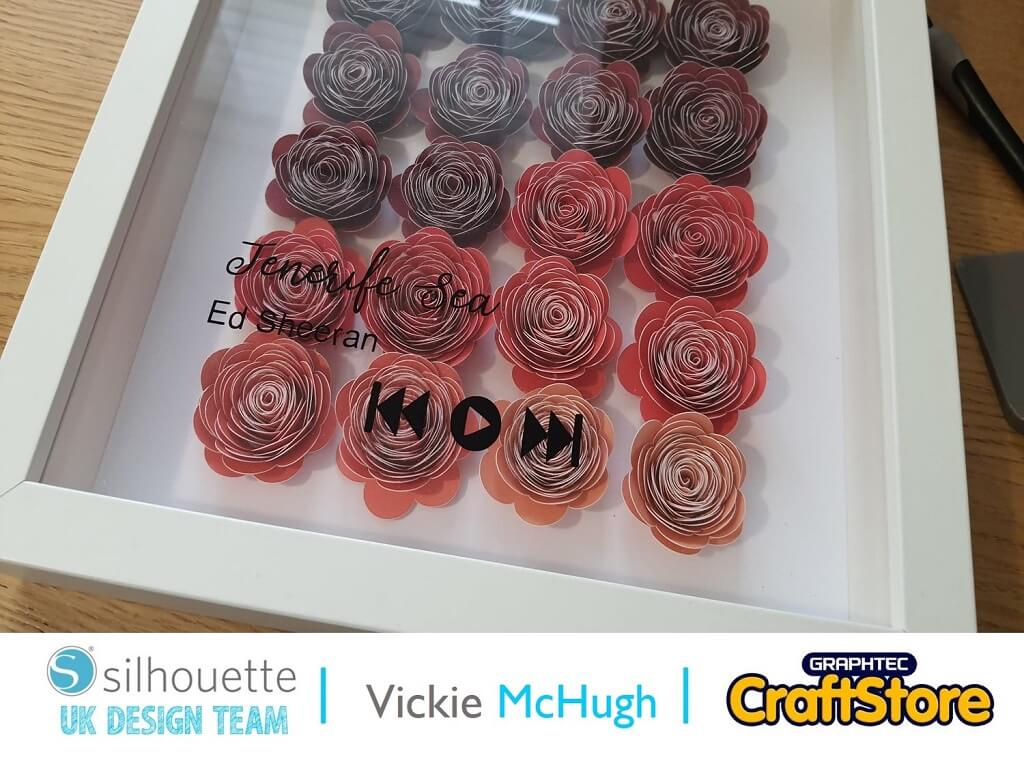
Putting it all together
Remove the vinyl elements and place onto transfer tape. Position your frame onto a flat surface, then place the image and vinyl onto the front of the frame.
For more inspiration and projects using the Silhouette, head to graphtecgb.shop/blog!


_600_338_s_c1.png "Celebrating Excellence: Winners of the Creative Book Awards 2024")

