


Birthday crafting Card making Die cutting Home decor Home decorations How to Papercraft Papercrafter Party makes Techniques Die cutting
If you’re serious about cardmaking, number dies are a really handy addition to your collection because they can be used on so many projects to add dates and anniversaries. With issue 104 you receive a 14-piece number die set, including numbers zero to nine plus ‘st’ ‘nd’ ‘rd’ and ‘th’ dies. In the magazine there are 12 exciting projects made with the dies by Colette Smith, including cards, gift boxes, tags and a notebook, and they’re so good that we’re throwing in three extra projects here. PaperCrafter issue 104 is on sale now, pick up your copy and start crafting today!
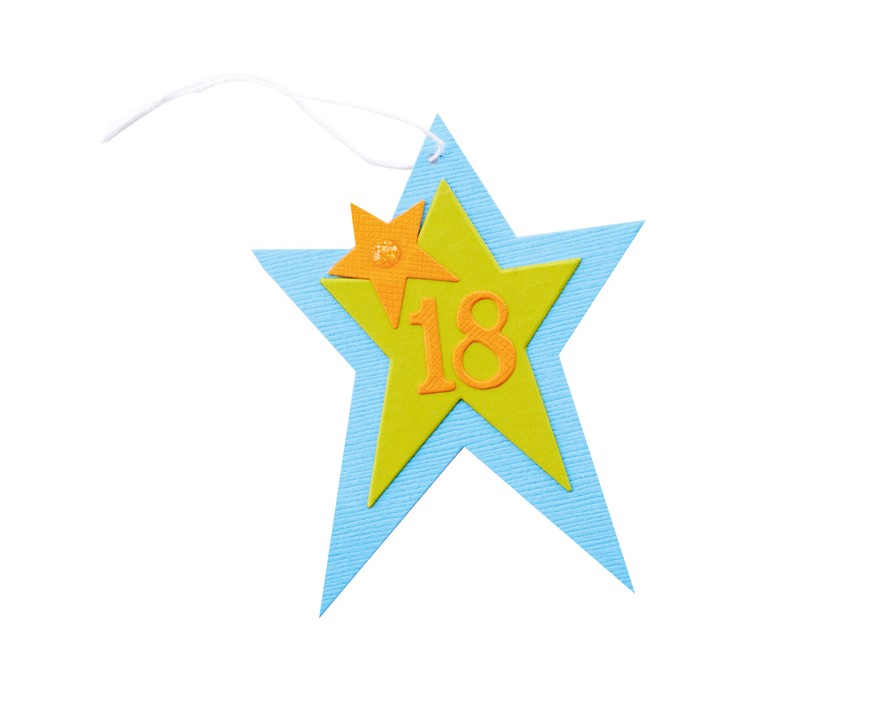
Star tag
1 Use three star dies from a nesting set on blue, green and orange card. Matt the medium green star in the centre of the large blue star, then fix the small orange star to the top-left so it overlaps the edge.
2 Die cut ‘18’ from orange card, then stick to the centre of the medium-sized shape. Punch a small hole at the top, then thread with white twine. Finish with an orange glittery enamel dot in the centre of the orange star.
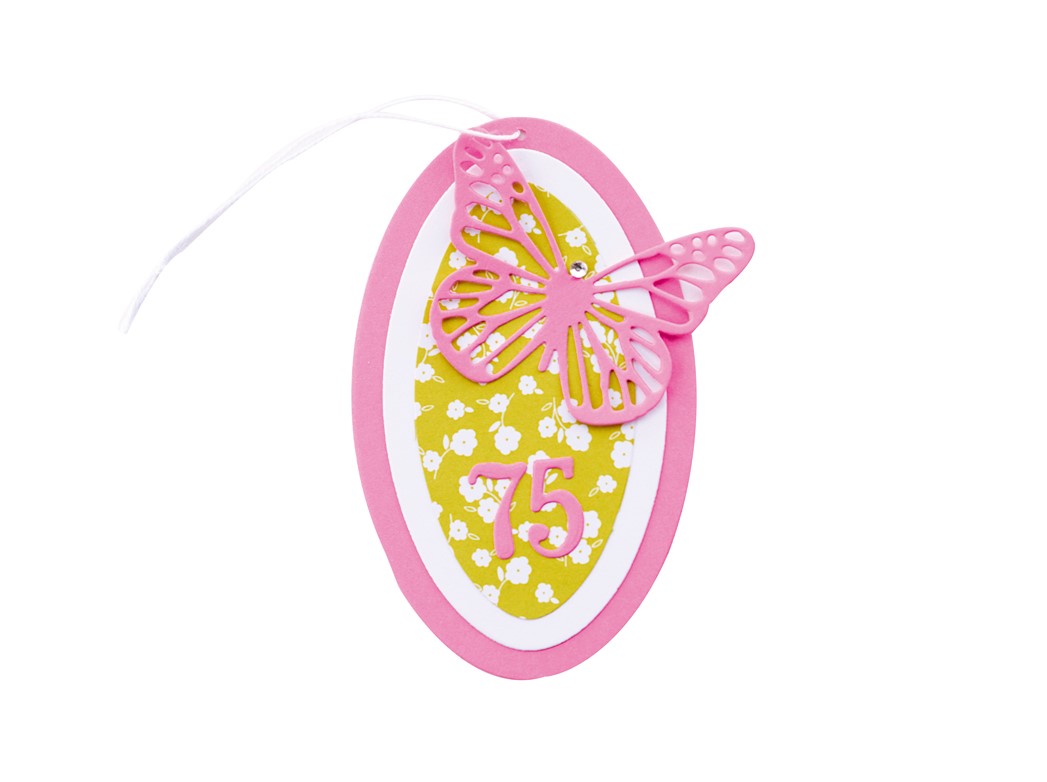
Beautiful butterfly
Die cut 7.5cm lime, 8.5cm white and 10cm pink floral ovals, then layer concentrically. Die cut a butterfly and ‘75’ from pink card, then attach to the tag. Punch a hole at the top, thread with white twine, then finish by adding a silver gem to the butterfly’s body.

Target clock
1 Cut four 18cm circles from white card and one from blue, plus a 13cm white and 8cm red circle. Snip a hole in the centre point of each circle.
2 Matt three of the large white circles together, then bind the edges with washi tape. Glue the fourth white circle on one side, and the blue on the other.
3 Stick the white, then red circle onto the blue face, lining up the central holes. Die cut the necessary numbers then arrange as a clock face.
4 Assemble a CD clock kit through the centre following the manufacturer’s instructions.
What are you making with your free number dies? We love to see, so share pictures with us on Facebook and Twitter!
If you missed issue 104, take out a subscription to PaperCrafter so it doesn’t happen again

Busy lives often involve a lot of memos and reminders, and it can sometimes be hard to keep track. Luckily, we’ve got a sophisticated solution to keep your desk tidy and…

If you’re having a quiet Valentine’s with your beloved at home this year, make the place look a little more special with a speedy-to-make hearts frieze. Papercrafting doesn’t get much easier than…
Home decor Home decorations How to Papercraft Papercrafter Techniques Projects

1. Using a 3.5cm circle die, cut eight discs from chipboard and sixteen circles from patterned paper. Glue the patterned circles to either side of the discs and punch a…

Craft essentials
1. Cut a 5cm x 15cm strip of double-sided patterned paper and fold in half lengthways. Draw parallel pencil lines at 1.5cm and 2cm from the…


